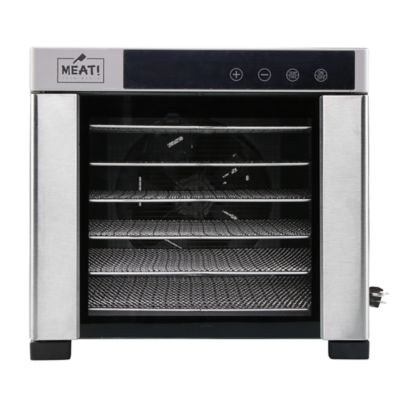
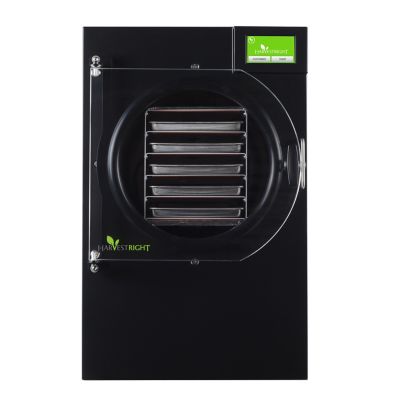
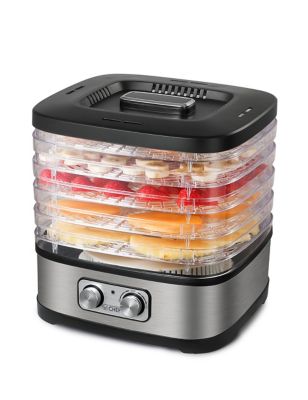
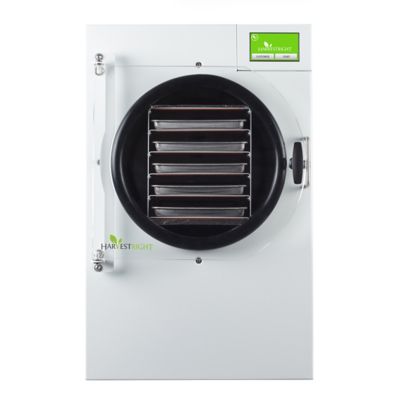
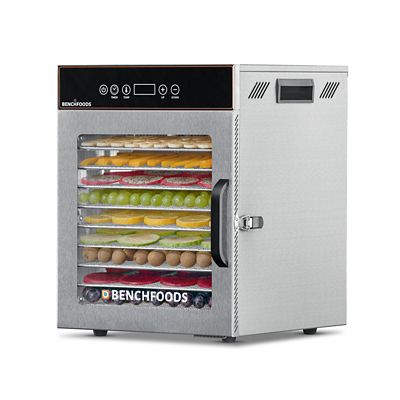
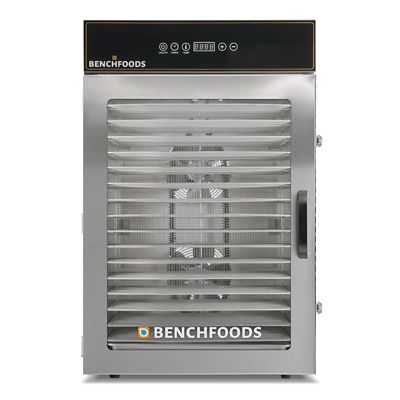
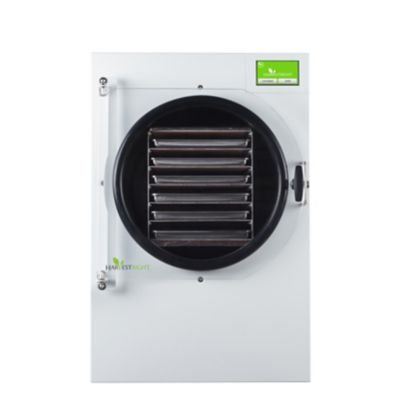
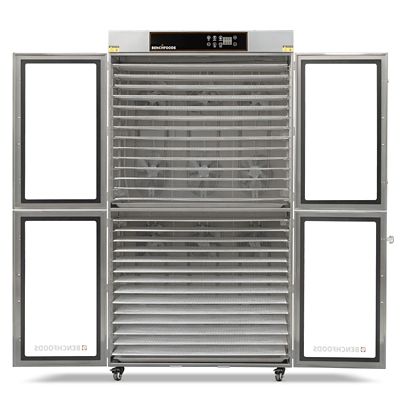
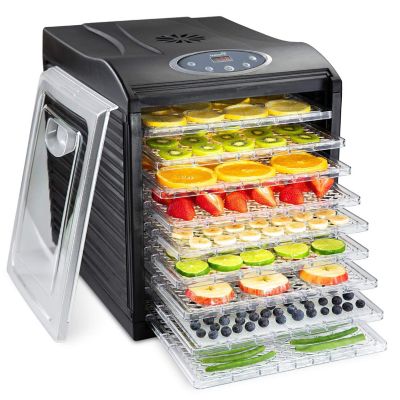
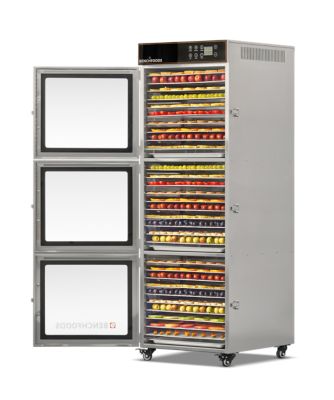
A food dehydrator puts steady heat and moving air to work, removing moisture from food for snacks, meal ingredients, and pantry staples. It can turn a bowl of apples into chewy slices, peppers into ingredients for soups, or a handful of garden herbs into a compact jar of seasoning. For households that grow food, buy produce by the crate, or pack lunches for long days away from home, an electric food dehydrator makes room for another way to handle what comes into the kitchen. The main differences between dehydrators are airflow direction, drying space, temperature controls, and tray design. Stackable dehydrators generally arrange trays above a base or beneath a top-mounted heating and fan assembly, with air traveling vertically through the stack. These designs can suit smaller batches, though tray rotation may be necessary according to the manufacturer’s directions. Cabinet-style dehydrators typically hold slide-out trays, and many position the fan at the back to move air horizontally across the food. Horizontal airflow can help keep drying more consistent between trays, but food thickness, spacing, and the size of the load still affect results. Neither shape tells the whole story: the layout of the vents and the appliance’s instructions matter, too. A useful comparison starts with the food headed for those trays. Herbs call for settings suited to gentle drying, while fruit, vegetables, and meat each have different preparation and temperature requirements. Adjustable temperature controls give a household more flexibility than a single fixed setting. A timer can make a long drying cycle easier to track, and an automatic shutoff can stop the appliance at the selected time, but neither feature confirms that the food has finished drying. Clear controls, readable displays, and straightforward tray access are worth considering for an appliance that may run for hours at a stretch. The best fit is the one that matches the household’s usual batches without making everyday kitchen work harder.
Capacity means more than the number of trays in the box. Total drying area, tray dimensions, and spacing between levels determine how much food fits in a single layer with room for air to circulate. A tall stack of small trays may offer less usable surface than a shorter cabinet with wider shelves. For someone drying a few sliced bananas for lunch bags, a compact footprint may matter most. A household working through baskets of tomatoes or preparing ingredients for camping meals may place greater value on broad trays and easier access to each level. Expandable stackable designs can add flexibility, but extra trays should stay within the manufacturer’s stated limits. Measure the intended counter space and storage shelf, allowing the ventilation clearance specified in the manual rather than squeezing the appliance against a wall. Think about the tray-cleaning space as well: a wide rack can be awkward in a small sink. Food-contact surfaces commonly include stainless steel or food-grade plastic, and some appliances combine a metal housing with plastic components. Stainless steel trays provide a firm surface for repeated loading and washing, while plastic trays can be lighter to carry between the cutting board and the appliance. Construction details such as smooth edges, steady feet, secure handles, and trays that slide or stack without binding deserve attention. Mesh size also matters. Small leaves and diced vegetables need more support than broad apple slices, while fruit purées need compatible solid sheets that contain the mixture without blocking airflow beyond the appliance’s design. Matching
Dehydrator Trays to the appliance’s exact dimensions and model requirements helps prevent poor fit and airflow problems. Accessories are not interchangeable simply because they look alike. Removable trays, accessible corners, and clearly stated washing directions can make cleanup less of a chore, especially after sticky fruit or marinated foods.
Day-to-day convenience often comes down to details that are easy to overlook when comparing food dehydrators. A clear door or lid allows a look inside without opening the drying chamber, while slide-out shelves make it easier to check a single tray. Fan sound deserves consideration if the appliance will sit near the kitchen table or another shared space. Wattage describes electrical power, but it does not, by itself, tell how quickly or evenly a full load will dry. Slice thickness, food moisture, room conditions, and tray loading all play a part, so a stated drying time is a starting point rather than a promise. Evenly cut pieces with space between them give moving air a clearer path than crowded piles. Strong-smelling foods can also transfer aromas during drying, making separate batches sensible for onions and delicate fruit. For jerky, select an appliance whose settings and instructions support the intended process, and follow a tested food-safety recipe. USDA guidance calls for heating meat to 160°F and poultry to 165°F before dehydration; verify that temperature with a food thermometer rather than relying on the dehydrator’s display. Low drying heat alone is not a substitute for that safety step. Finished foods also need appropriate cooling, dryness checks, and storage, with airtight containers and protection from moisture helping preserve the results. Follow tested guidance for the particular food, including any conditioning or refrigeration requirements. After each batch, unplug the appliance and let it cool before cleaning. Wash removable parts as directed, confirm which pieces can go in the dishwasher, and keep the electrical base out of water. Open vents and clean fan areas help the appliance keep doing its job over repeated batches. For a gardener, home cook, hunter, or frequent camper, a food dehydrator can be a thoughtful gift when its size and intended uses line up with their routine. A machine that fits the counter, cleans without a wrestling match, and handles the foods a household enjoys is more likely to earn a regular place in the kitchen.