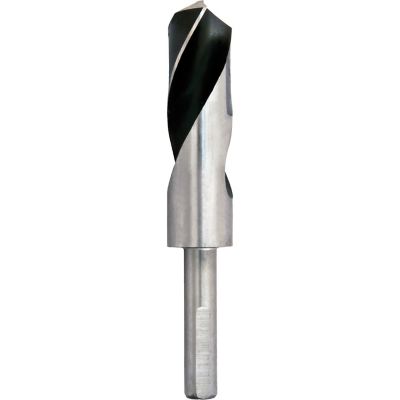
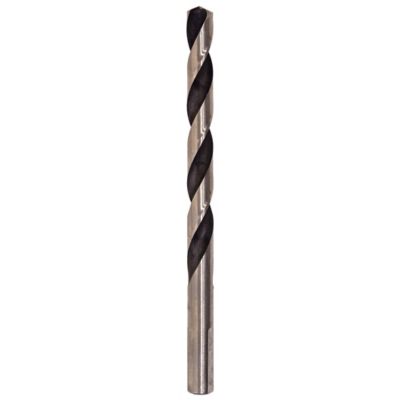
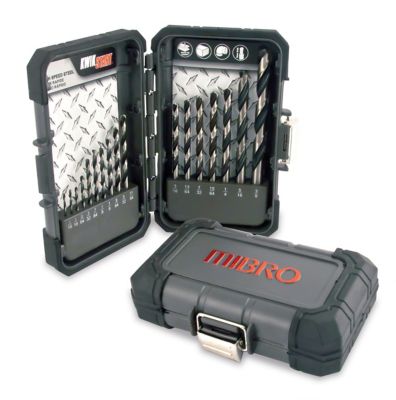
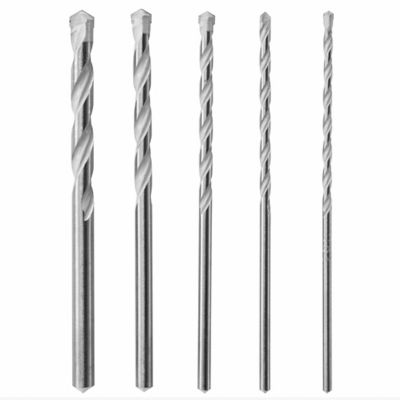
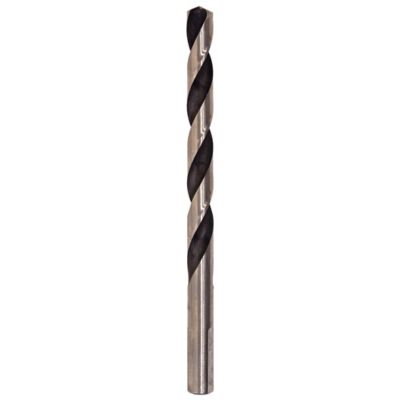
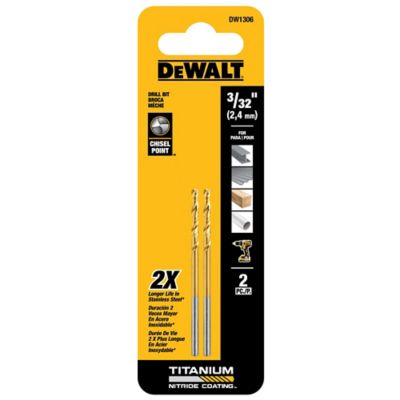
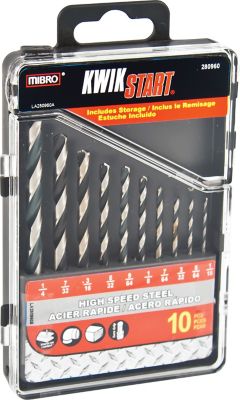
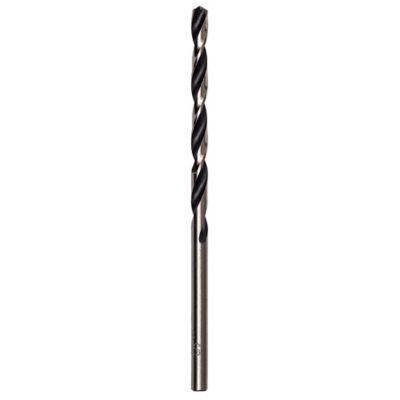
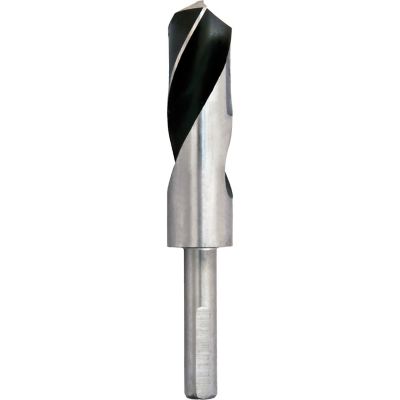
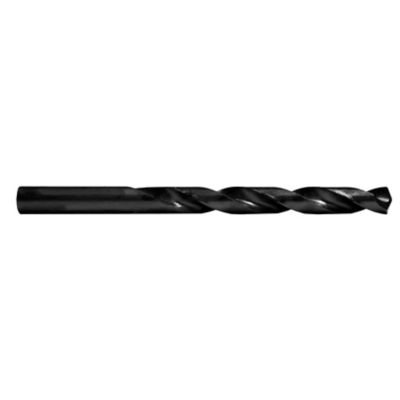
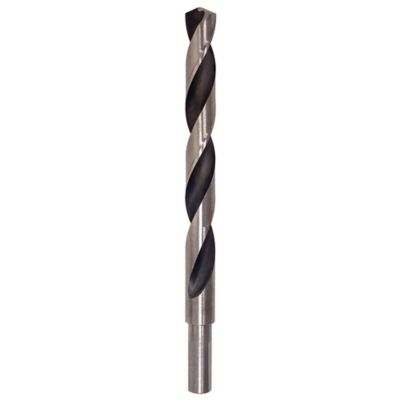
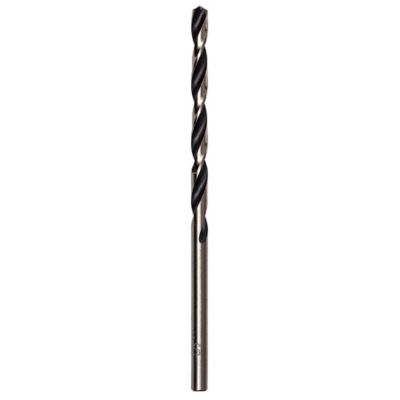
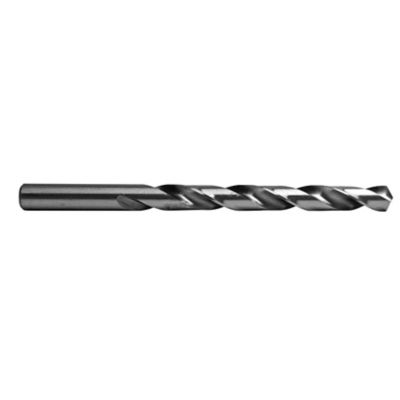
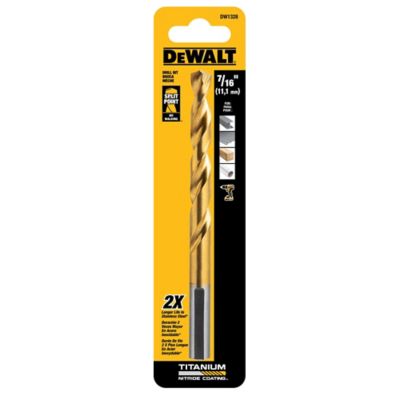
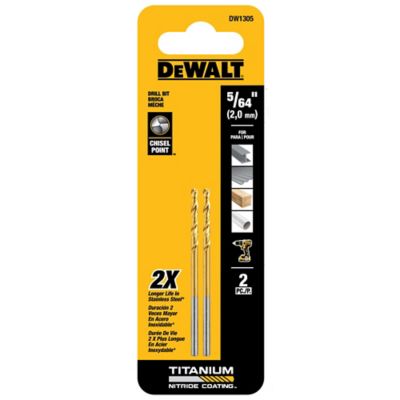
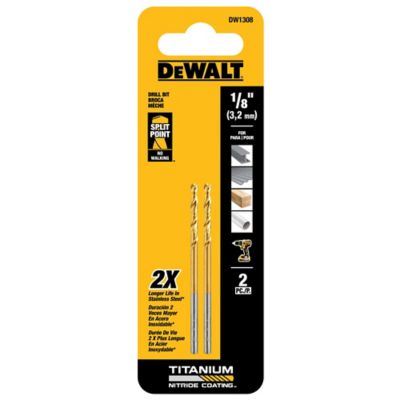
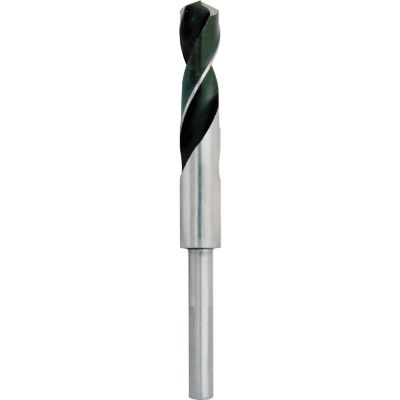
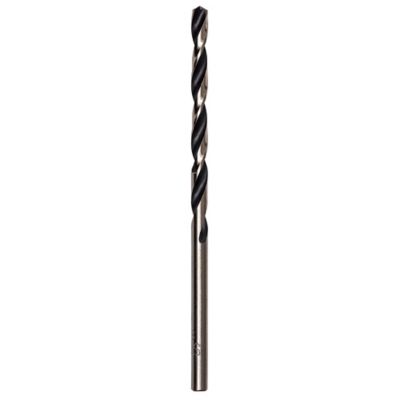
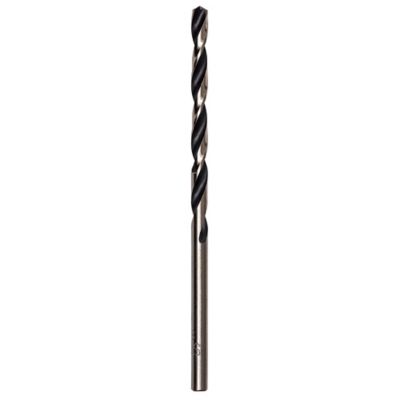
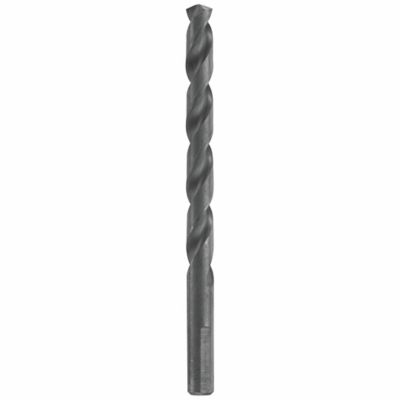
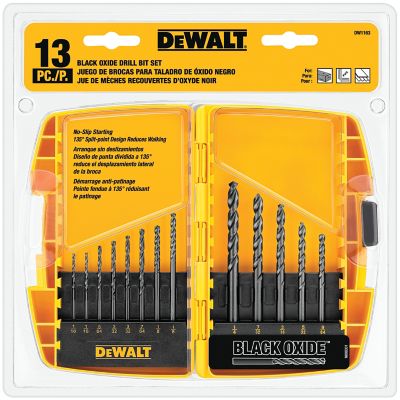
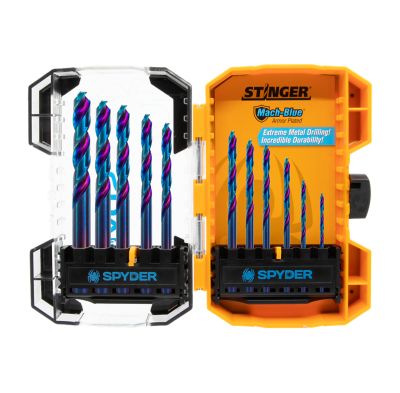
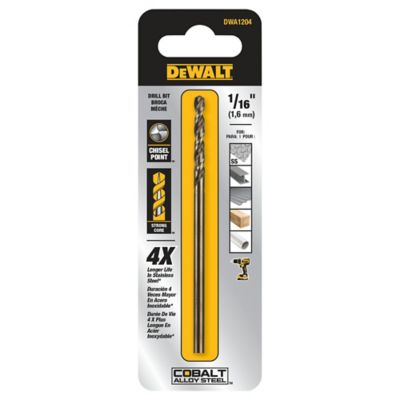
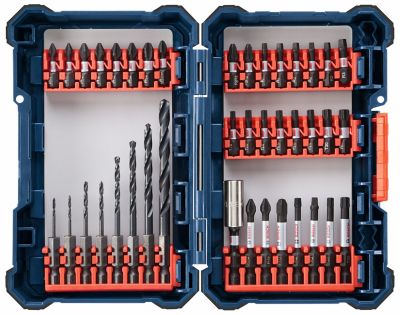
When a project calls for clean holes in aluminum, the right drill bit can make the work go a whole lot smoother. Aluminum is softer and lighter than steel, but it still takes a sharp, properly sized bit to prevent rough edges, wandering holes, and sticky buildup. High-speed steel (HSS) bits are a dependable choice for general aluminum work, occasional repairs, and one-time projects around the farm, shop, garage, or home. Cobalt bits are a good fit for heavier use, deeper holes, and jobs where heat can become a problem, since they hold up well under higher temperatures and help resist the gummy chip-welding that can happen when aluminum clings to the cutting edges. When shopping for drill bits for aluminum, consider the hole sizes you need, the thickness of the material, and whether you will use a handheld drill or a drill press. A set with several common sizes is handy for everything from mounting brackets and replacing hardware to working on trailer panels, tool boxes, light fixtures, small engines, and farm equipment. Standard 118-degree points work well for many general-purpose jobs, while a sharper point angle in the 90- to 100-degree range may help a bit start more cleanly on thin aluminum sheet. Step-style bits can be useful when a project calls for several hole diameters or a larger opening, while a pilot bit helps keep a wider final hole centered. Look for clearly marked sizes and sturdy cases if the bits will travel between the workbench, truck, and jobsite. A well-organized set saves time when the daylight is fading and a repair needs to be finished before the next chore, and it makes a useful gift for a handy neighbor, new homeowner, DIYer, mechanic, or anyone building up a basic tool collection.
The way a bit is used matters just as much as the material from which it is made. Begin by marking the hole location and securing the aluminum so it cannot shift, especially when working with thin sheet, flashing, panels, or loose parts. A center punch can create a small starting mark that keeps the bit from skating across the surface. For a larger opening, start with a smaller pilot hole and work up to the final diameter rather than forcing a wide bit into solid material all at once. Keep the drill aligned with the workpiece, use steady pressure, and avoid leaning hard on the tool. Aluminum can generate heat quickly, and excessive heat may soften chips and cause them to pack into the flutes. A small amount of cutting fluid, light oil, or another suitable lubricant can reduce friction, help the bit cut freely, and limit aluminum from sticking to the cutting edges. Apply only enough to wet the cutting area, and follow the lubricant and tool manufacturer’s directions, especially around painted surfaces or finished parts. Peck drilling is another useful habit: make a short cut, ease the bit back to clear chips, then continue. These brief pauses are particularly helpful in thicker aluminum, where packed chips can jam the flutes and make the drill work harder. A handheld drill generally calls for a controlled speed and a light, even feed, while a drill press offers better alignment and stability for repeated holes. The best speed depends on bit diameter, aluminum thickness, machine capability, and the condition of the bit; smaller bits can usually run faster than larger ones, but heat and chip buildup are signs to slow down, ease pressure, clear the hole, or add lubricant. Let the tool do the cutting instead of forcing it. For related metalworking jobs, you can also browse
Drill Bits For Stainless Steel Sinks when a project involves a tougher sink material and a different cutting setup.
After drilling, inspect the opening and remove sharp burrs before fitting a bolt, screw, rivet, or other fastener. A deburring tool, fine file, or a larger bit turned carefully by hand can help smooth the rim, but take care not to enlarge the hole beyond the planned size. Wear eye protection whenever drilling, since aluminum chips can be small, sharp, and surprisingly lively as they leave the flutes. Gloves may help when handling rough sheet metal, though they should be kept away from rotating machinery, and long hair, loose sleeves, and dangling cords need to be secured before starting the drill. Clamp larger pieces, support thin stock with scrap wood, and keep hands clear of the underside where the bit may break through. Clean the bits after use with a brush or cloth once they have cooled, check for chipped edges or dulled points, and store them dry in their labeled holder. A bit that has been overheated, dragged through packed chips, or used on the wrong material may not make a clean hole the next time around. Keeping separate bits for aluminum and harder metals can also help preserve sharp cutting edges and make it easier to choose the right tool at the bench. During the warmer stretch of the year and into the cooler months, these bits can earn their keep on a wide range of maintenance jobs, from patching a gate panel and adding tie-down points to assembling a workbench, repairing a utility trailer, or finishing a home improvement project. With the proper bit, a secure setup, a little lubricant, and patient chip clearing, aluminum drilling becomes a straightforward part of the job rather than a fight with the tool.