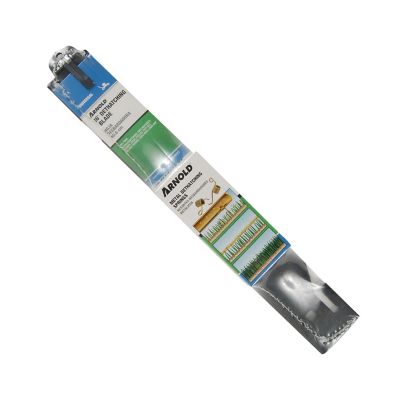
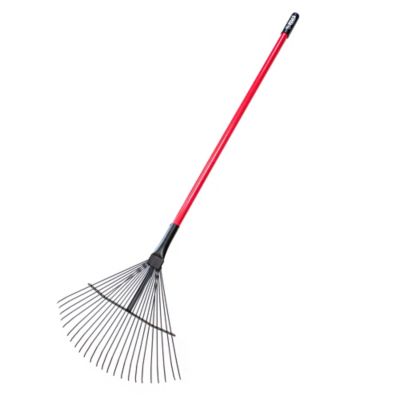
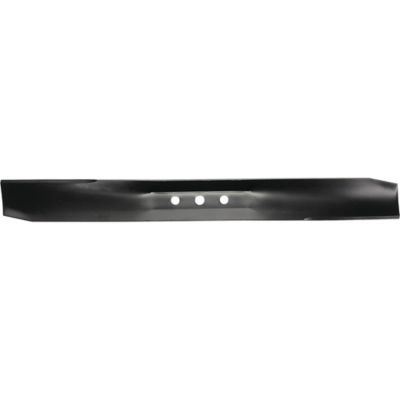
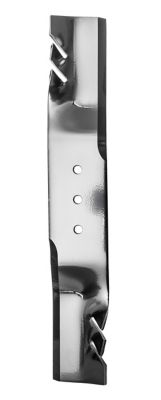
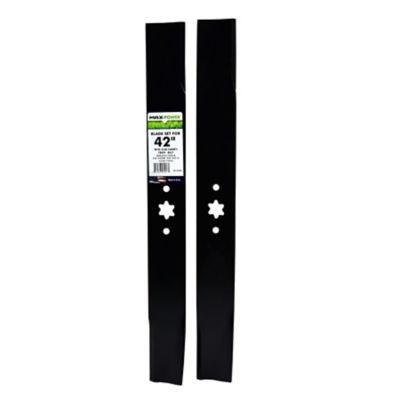
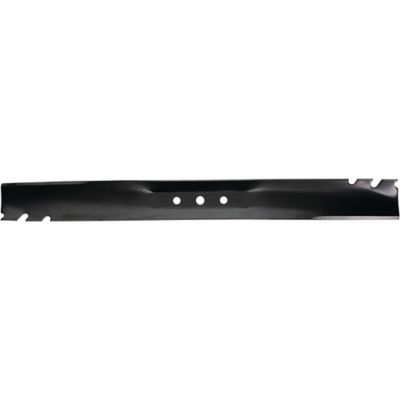
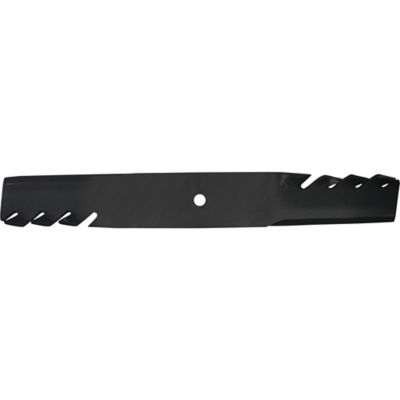
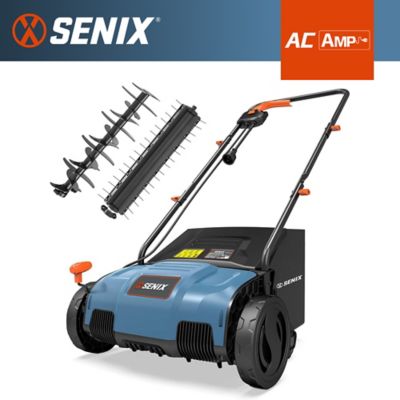
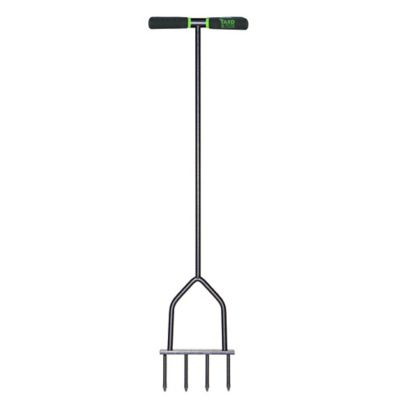
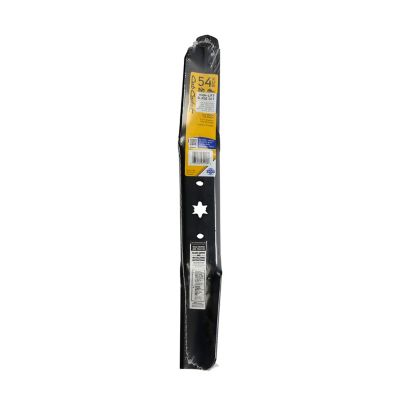
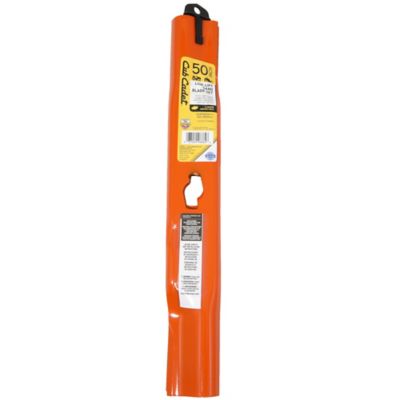
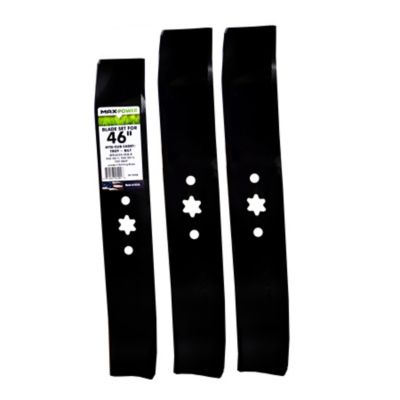
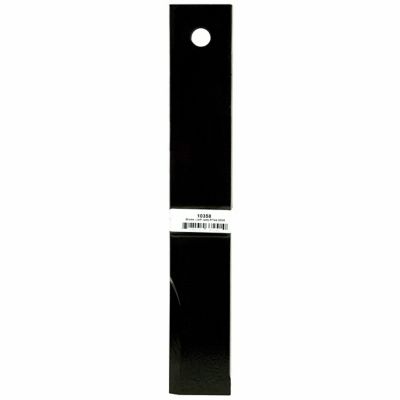
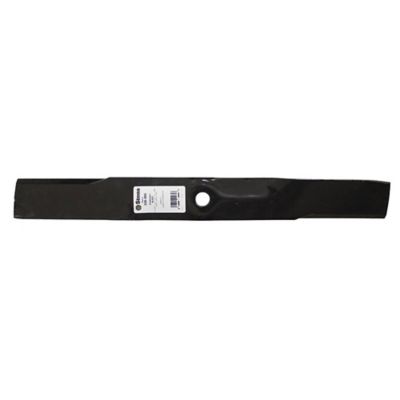
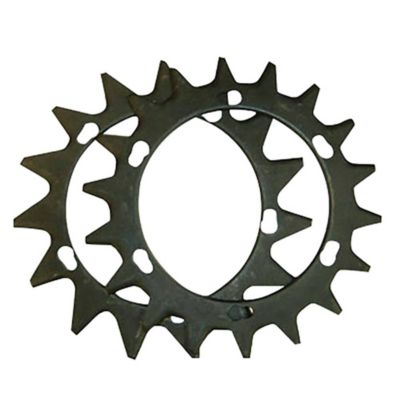
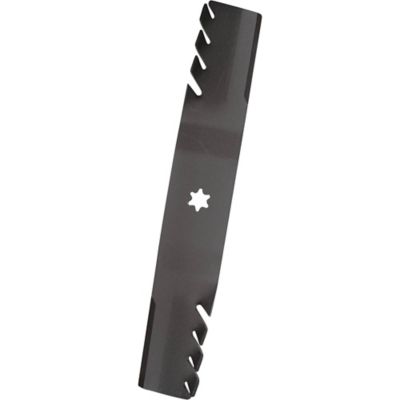
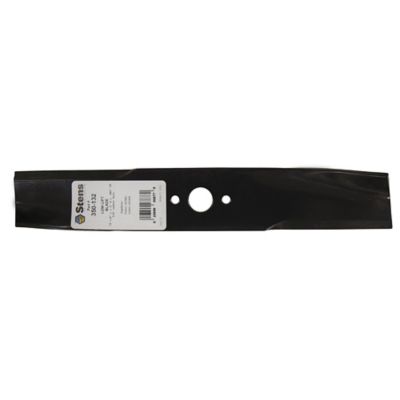
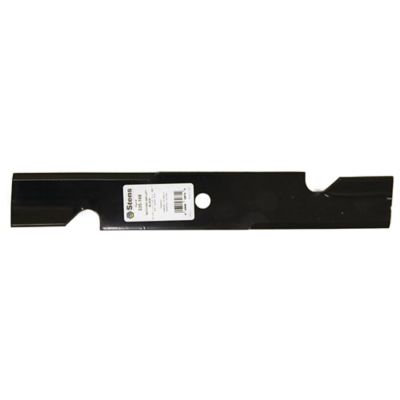
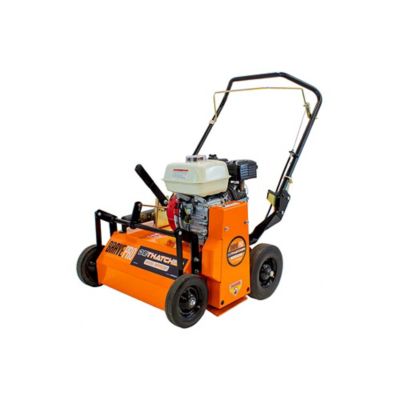
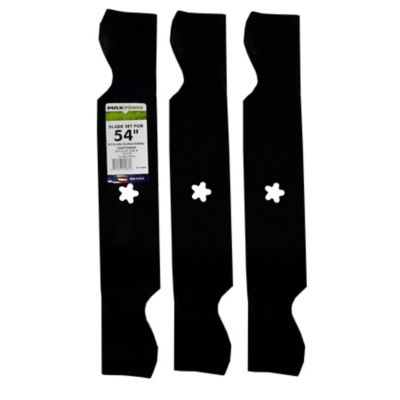
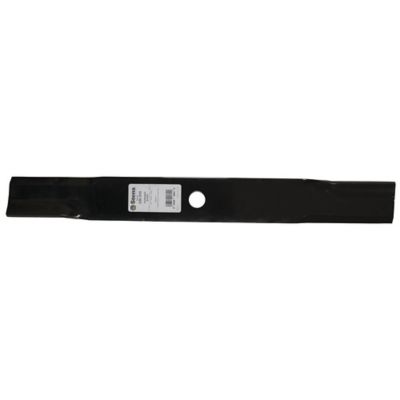
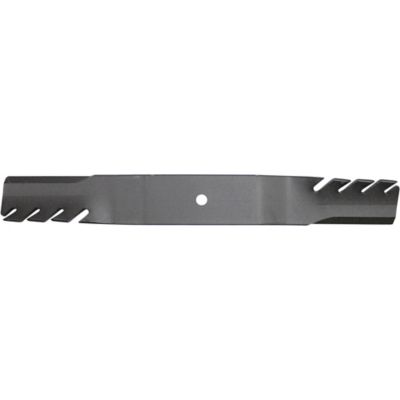
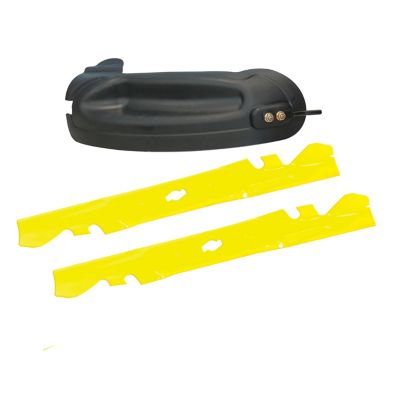
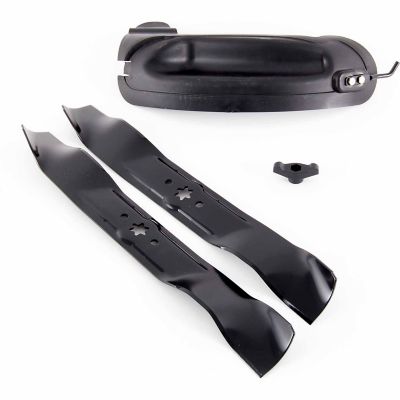
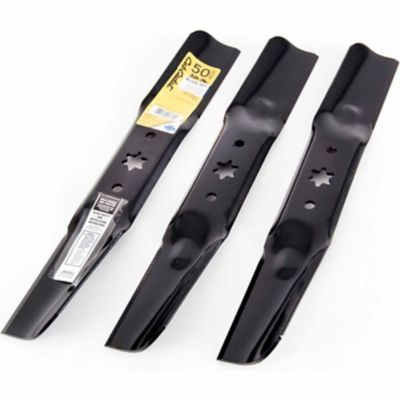
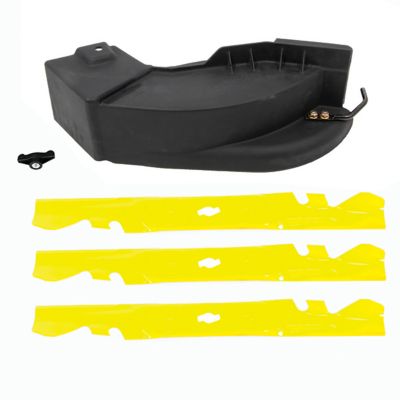
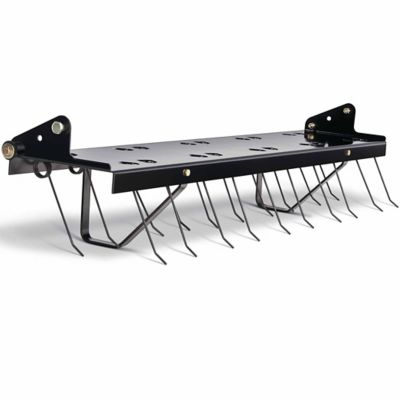
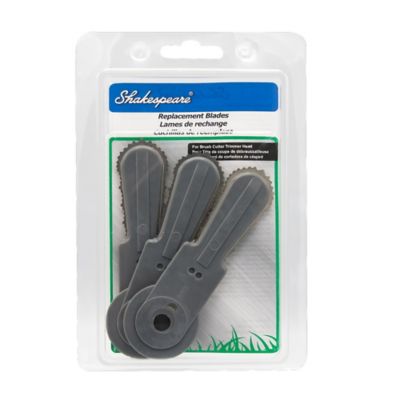
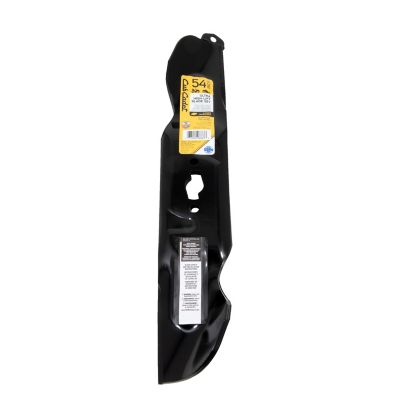
Dethatcher blades are mower attachments made to lift built-up thatch from the surface of a lawn so the grass can breathe, take in water and make better use of fertilizer. Thatch is a layer of dead stems, roots and other organic material that settles between the green grass and the soil. A thin layer can be helpful, but heavy buildup may keep moisture and nutrients from reaching the root zone, while creating a matted, spongy feel underfoot. Unlike a standard mower blade, a dethatching blade uses spring tines, wire teeth or rigid flails to comb through the turf as the mower moves. The loosened material rises to the top, where it can be collected with a mower bagger, raked into piles or cleared with a leaf blower. These attachments are useful for homeowners caring for established lawns, property managers maintaining larger grassy areas and anyone freshening up a high-traffic yard around outbuildings, driveways or play spaces. They can also make a practical gift for a neighbor, new homeowner or weekend lawn-care enthusiast who already has a compatible mower and enjoys keeping the place looking tidy. For an option that works without replacing the mower itself, shoppers may also want to compare an
Adjustable Dethatcher For Lawn Care with blade-style attachments and other lawn-care tools.
When choosing dethatcher blades, start with the mower rather than the appearance of the blade. Confirm whether the attachment is intended for a walk-behind mower, riding mower or another type of equipment, then check the deck size, blade length, center-hole pattern and included washers or adapters. Many universal mower attachments are designed around common center-hole sizes, but “universal” does not mean every blade fits every machine, so the owner’s manual and the mower’s existing blade are worth checking before purchase. Look for the correct mounting hardware, adequate clearance under the deck and a design suited to the type of turf and thatch being handled. Spring tines tend to flex over uneven ground and can be a good choice for routine lawn maintenance, while more rigid teeth or flails may pull harder in dense, matted areas. That extra pull also demands more from the mower. Thick thatch creates drag, and a battery mower may use its charge quickly or shut down under a heavy load; a gas mower can slow, bog down or show belt strain if the deck is lowered too far. Dethatcher blades are deliberately aggressive, so begin with the mower deck at its highest setting and make a test pass in a small, inconspicuous area. If the tines barely disturb the surface, lower the deck gradually rather than starting deep. The goal is to lift dead material without ripping up healthy crowns, exposing large patches of soil or scalping the lawn.
Safe timing and careful preparation matter as much as the attachment itself. Dethatching is best done when the grass is actively growing and has enough moisture and favorable weather to recover, not when the lawn is dormant, frozen, drought-stressed or saturated from rain. During the cooler months, turf may slow down or go dormant, so wait for a suitable active-growth window instead of working by the calendar alone. Cool-season grasses generally recover during their active growing periods, while warm-season grasses need warm soil and steady growth before they can fill back in. Avoid using a dethatcher blade on newly seeded grass, weak turf or areas with exposed roots, and take extra care around sprinkler heads, shallow edging, tree roots and uneven ground. Before installation, turn off the mower, remove the key or disconnect the spark plug wire as directed by the equipment manual, and use sturdy gloves and eye protection when handling the blade and debris. Clear sticks, stones and wire from the lawn, secure the mower on a stable surface and verify that the blade is tight and balanced before starting. Expect cleanup to take more than one pass; a heavily thatched lawn can produce surprising windrows of dry grass and moss, especially near fences and shaded spots. Bag the loosened material if the mower can handle it, or rake and remove it so the debris does not settle back into the turf. Afterward, give the lawn time to recover and follow up with appropriate watering, seeding or other routine care when conditions support healthy growth. Store the dethatcher blade clean and dry, inspect the tines for bending or wear and keep the mounting hardware together for the next round of lawn maintenance.