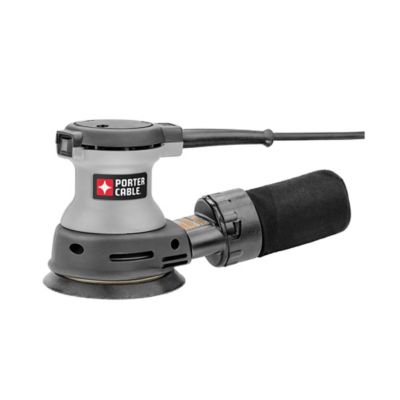
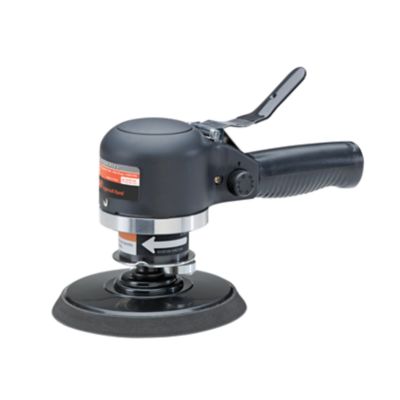
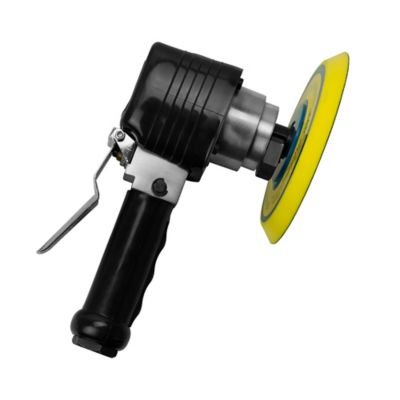
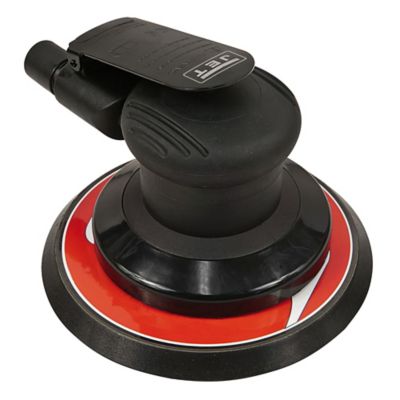
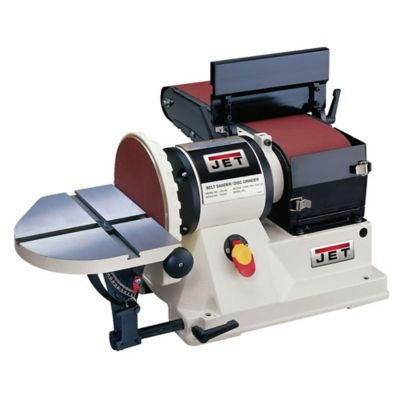
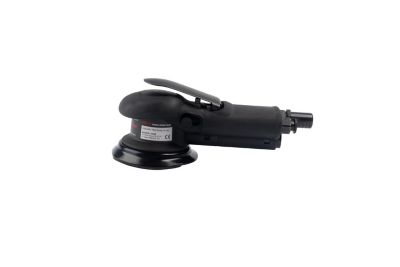
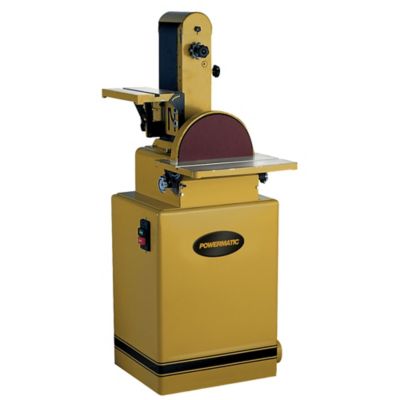
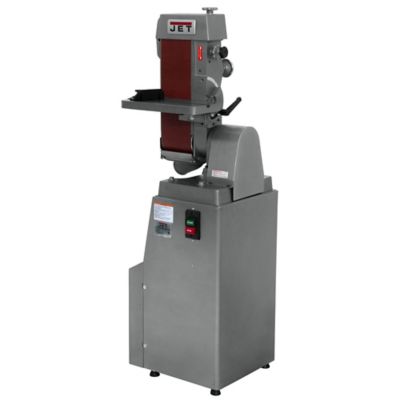
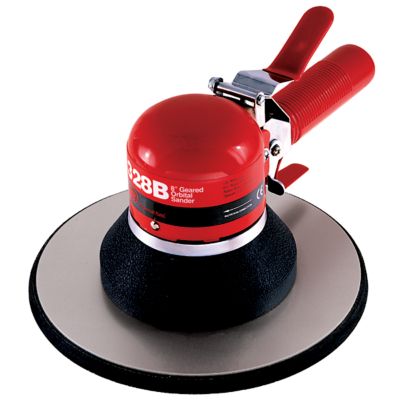
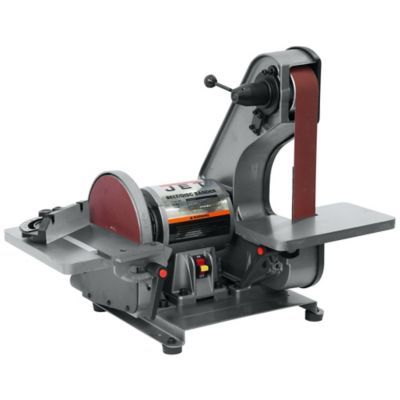
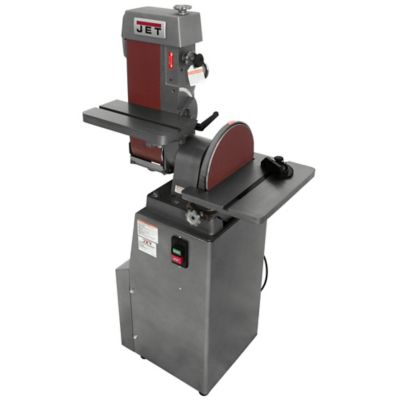
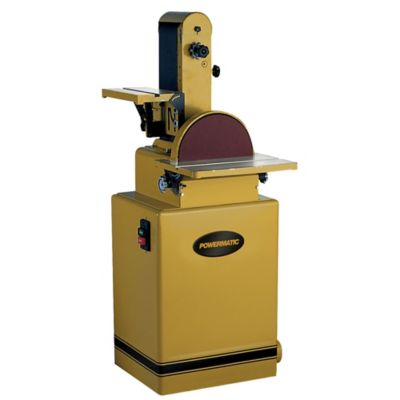
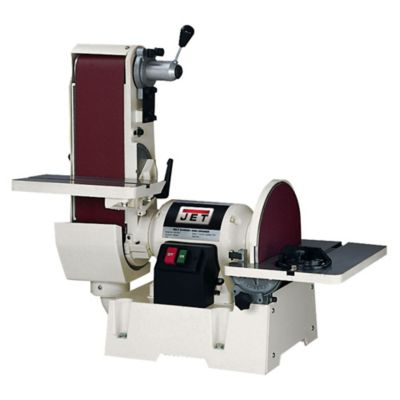
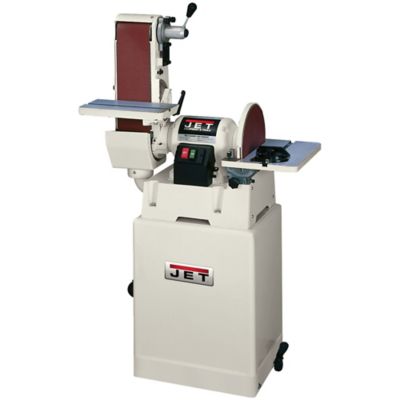
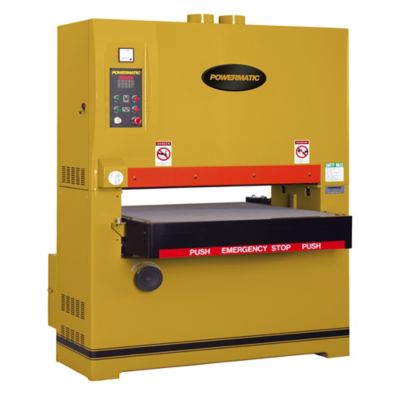
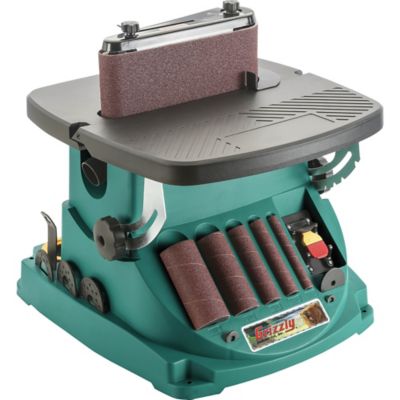
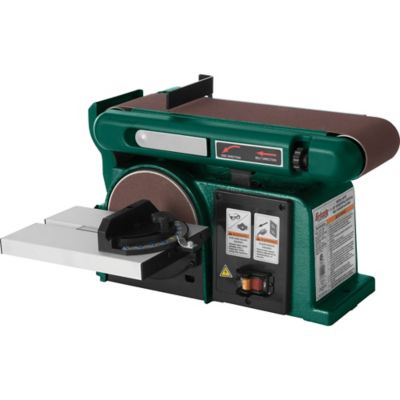
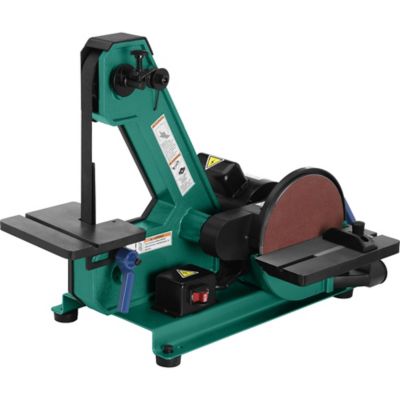
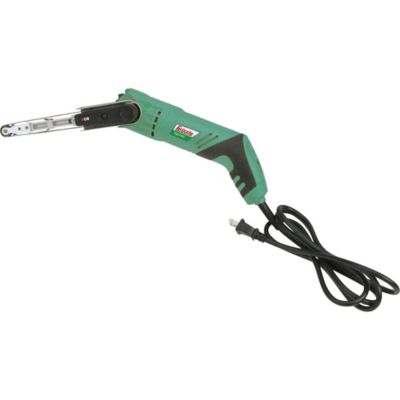
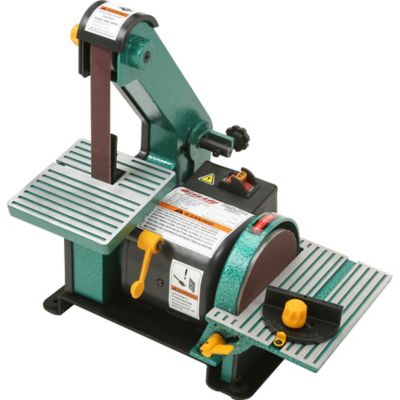
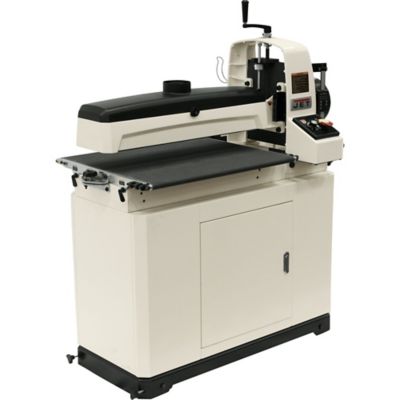
Finishing sanders are handy power tools for smoothing wood and other workable surfaces before paint, stain, clear coat or another protective finish goes on. They are often used after rougher sanding has removed saw marks, old finish or uneven spots, helping leave behind a flatter, cleaner surface that feels good to the touch and looks more even under a coat of finish. A finish sander can be useful for all kinds of projects around the house, shop, barn or homestead, from freshening up a porch bench and smoothing cabinet doors to preparing shelves, trim, tabletops, stall accessories and small furniture for a new look. These sanders are generally made for controlled surface work rather than aggressive stock removal, so they are a good choice when the wood is already close to its final shape and the goal is to refine it. A square-pad orbital or sheet sander uses a standard rectangular piece of sandpaper, often folded or cut to fit the pad, and moves in small circular motions to help create a smooth, even surface across broad boards and panels. Because the pad stays relatively flat, this style can be especially useful on tabletops, doors and other wide workpieces where keeping the surface level matters. Random orbit sanders use round sanding discs and combine a spinning motion with a small, offset orbit. That action helps remove material more quickly while reducing the chance of obvious swirl marks when the tool is used correctly. They are a versatile pick for many general woodworking jobs, including smoothing rough-cut boards, blending repaired areas and getting larger surfaces ready for stain or paint. Detail or corner sanders have a pointed, triangular pad shaped to reach into inside corners, narrow edges and other places a round or square pad may leave untouched. They are useful for furniture touchups, window trim, stair parts and smaller projects with plenty of nooks and tight spaces. For work that calls for sanding along an outside edge or in a narrow area, an
Edge Sander may be worth considering alongside a finishing sander, depending on the shape and size of the material.
Choosing the right finishing sander starts with the kind of work you do most often. Look at the pad shape and sanding motion, then think about whether you normally work on wide flat panels, small parts, corners or a mix of surfaces. Sandpaper compatibility matters, too. Some sanders use common sheets that can be cut from larger paper, while others require pre-cut discs or pads that attach with hook-and-loop fasteners. A tool that accepts readily available abrasives can be convenient for a busy workshop, especially when you like to keep several grits on hand. Lower grit numbers remove material faster and are useful for smoothing rough areas, while higher grit numbers are better suited to refining the surface and preparing it for a final finish. Moving through the grits gradually usually gives better results than jumping straight from a coarse abrasive to a very fine one. It also helps to let the sander do the work instead of pressing down hard. Too much pressure can slow the pad, create uneven marks, wear out the abrasive and leave dips that become more noticeable after stain or paint is applied. Features such as a comfortable grip, manageable weight, a long enough cord or dependable battery operation, and a dust collection port can make a real difference during a longer project. Dust collection helps keep the work area cleaner and makes it easier to see the surface as it develops, though it should not replace proper eye and respiratory protection. Before sanding, secure the workpiece on a stable surface, inspect the cord or battery, fasten the abrasive evenly and check that the pad is in good shape. Keep the sander moving at a steady pace, avoid lingering over one spot and lift it from the material before shutting it off. For best results, wipe or vacuum away dust between sanding stages and before applying any coating. Wood grain, end grain, old paint and softer materials can all respond differently, so practicing on a scrap piece is a simple way to learn how much pressure and which grit will give you the look you want.
Finishing sanders are useful for experienced woodworkers, weekend DIYers, maintenance crews, makers and anyone who enjoys bringing worn or unfinished pieces back into service. They can be a thoughtful gift for someone setting up a first home workshop, building holiday projects, repairing furniture or spending cooler days working on indoor improvements. A compact detail sander may suit a person who enjoys restoring small tables, picture frames and cabinets, while a versatile random orbit or sheet sander may be a better fit for someone who regularly works on boards, doors and larger household projects. They are also practical additions to a shared shop, where one tool may be used for everything from smoothing a rough shelf to preparing a freshly built workbench for stain. During the cooler months, sanding can be part of a satisfying indoor project routine, with sawdust swept up at the end of the day and a plain piece of wood slowly taking on a clean, finished appearance. As the weather changes and outdoor maintenance gives way to shop work, a reliable finishing sander can help turn salvaged boards, leftover lumber and well-used furniture into useful pieces again. Keep unfinished wood dry, store sanding discs and sheets where they will stay clean, and use the proper protective equipment every time. Fine dust can travel farther than it appears, so eye protection, hearing protection and a properly fitted dust mask or respirator are sensible choices, especially in an enclosed workspace. Avoid sanding surfaces that may contain lead-based paint or other hazardous coatings unless you have the right testing, removal and containment procedures. With the right sander, suitable abrasive and a little patience, it is possible to make rough surfaces feel smooth, edges look cleaner and finished projects hold paint or stain more evenly.