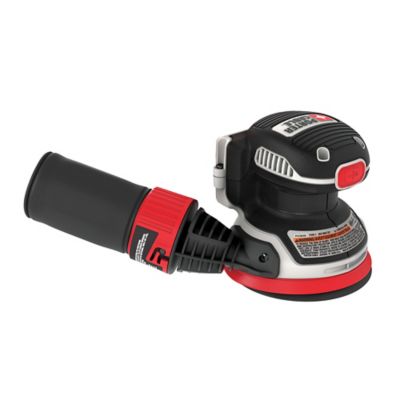
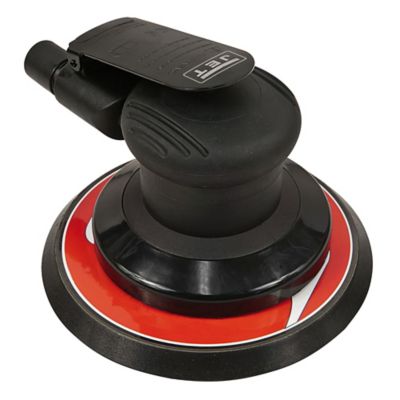
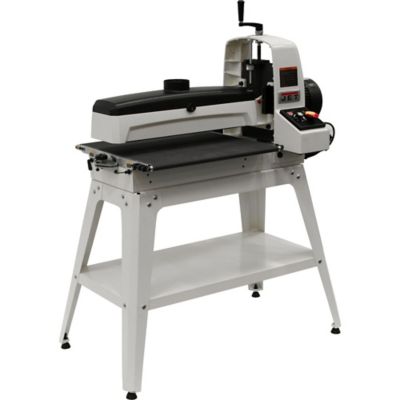
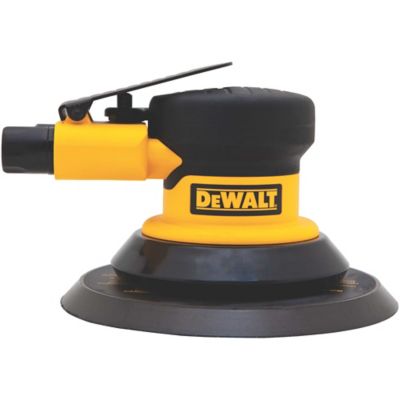
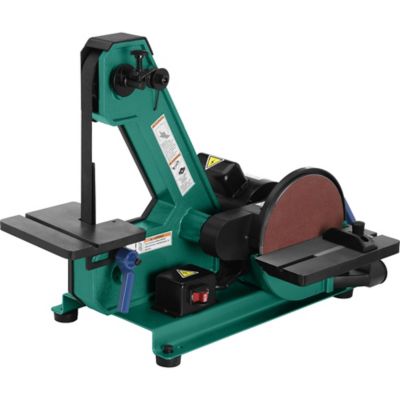
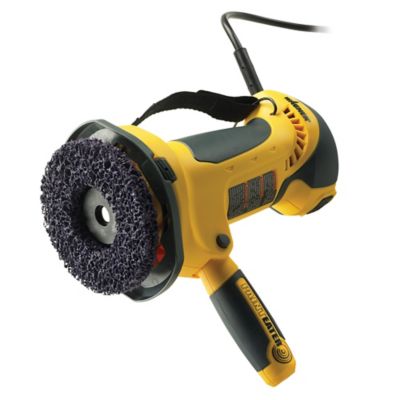
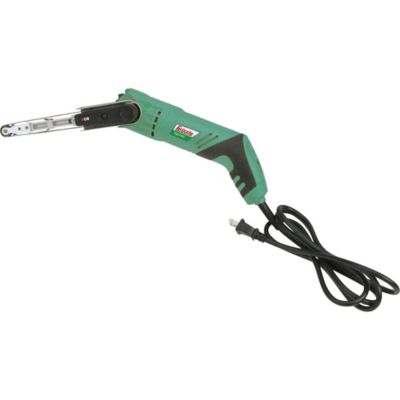
Floor sanders are built for the hard work of bringing worn wood floors back to a clean, even surface. Whether you are fixing up an old farmhouse, refreshing a rental property, or putting the finishing touch on a room during a larger renovation, the right floor sander can remove old finish, paint, scuffs and shallow scratches far faster than hand sanding. These machines are commonly used on hardwood floors, pine and other wood flooring, stair treads, porches and broad, open areas where a hand tool would take a long time and leave an uneven result. Drum and belt sanders are made for the main part of the floor, using a continuous sanding belt or rotating drum to cut through old coatings and level worn boards. They cover ground quickly, but they also require a steady hand because leaving the machine in one place can create a deep hollow or gouge. An edger uses a smaller sanding disc to work along walls, in corners and beneath toe-kicks where a larger machine cannot reach. For the final passes, an orbital or buffer-style floor sander can help smooth the surface, blend the transition between the center of the room and the edges, and prepare the wood for stain or finish. When comparing floor sanders, consider the size of the area, the condition and hardness of the flooring, the machine’s weight, handle design, controls and dust-management features. A heavier machine may cut more aggressively and stay steady on a broad room, while a lighter option may be easier to guide in a smaller space or around doorways. Look for straightforward height or pressure adjustments, a power cord that gives you room to move, and a design that makes changing sanding belts, discs or sheets less of a chore. If you are also working on drywall or overhead surfaces during the same renovation, a
Wall Sander can handle those separate jobs without trying to make one tool do everything.
Before sanding, take time to prepare the room. Clear out furniture, rugs, floor vents and anything else that could get in the way, then check the floor for nails, staples and screws that sit above the wood. A proud nail can tear an abrasive or damage the sanding head, while loose boards may need attention before the machine comes out. Close doors and seal openings with plastic or drop cloths to keep fine dust from traveling through the house, and use eye protection, hearing protection and a properly fitted dust mask or respirator suited to the work. A machine with dust collection can make cleanup easier, although sanding still creates fine particles that settle on windowsills, shelves and the tops of cabinets. Start with the least aggressive abrasive that will remove the existing finish, and move through progressively finer grits rather than trying to make one coarse pass do every job. Coarser paper is useful for thick finish, paint and noticeable wear, while medium and fine grits refine the surface and reduce visible sanding marks. It is wise to test the sander in an inconspicuous area first, especially on softwood, thin flooring, patched boards or floors with an unknown history. Keep the machine moving at a steady pace, follow the grain whenever the tool allows, and avoid stopping with the sanding drum or pad down against the floor. Work in manageable sections and overlap passes slightly so ridges are not left between strips. The perimeter usually needs separate attention with an edger, and corners may call for a smaller detail tool or careful hand sanding. Matching the abrasive grit between the main sander and edger helps prevent dark bands or uneven areas around the room. If the floor has deep stains, cupping, loose boards, veneer, asbestos-containing material or several old layers of paint, pause before sanding and get professional advice. Some floors have less usable wood than they appear to, and aggressive sanding can expose fasteners or wear through a thin top layer.
The best floor sander for a project is one that matches the floor, the room and the person running it. Homeowners tackling a single room may value easy controls, manageable weight and simple cleanup, while builders, flooring crews, landlords and maintenance teams may place more importance on durability, long operating time and readily available abrasive replacements. A floor sander can also be a practical gift for a hands-on homeowner, cabin owner or do-it-yourself renovator who enjoys restoring old wood instead of covering it up. It is especially useful when a warm-weather project moves indoors during the cooler months, giving you a way to repair tired flooring before family gatherings, visits from friends or everyday life fills the room again. Take measurements before choosing a machine so you can judge whether it will fit through doors, around stair landings and into the vehicle used to carry it. Check the required power supply, available extension-cord length and whether the machine is designed for residential electrical service. Floor sanders are powerful, heavy tools, so plan how the machine will be moved and stored, and consider whether another person will be needed to load or unload it. Replacement abrasives are just as important as the machine itself; having several grits on hand keeps the work moving and prevents the temptation to use a worn sheet past its useful life. After sanding, remove dust thoroughly with a suitable vacuum and clean cloths before applying stain or finish, since leftover powder can leave a rough feel or cloudy appearance. Let the floor dry and settle according to the finish manufacturer’s directions, and keep foot traffic, pets and farm grit away until the surface has cured. With careful preparation, steady handling and the right combination of machines, floor sanders can help turn boards marked by muddy boots, dragged furniture and years of daily use into a clean, smooth surface ready for many more seasons.