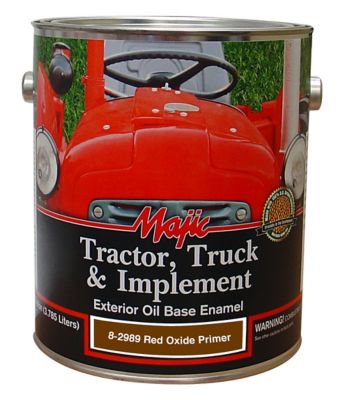
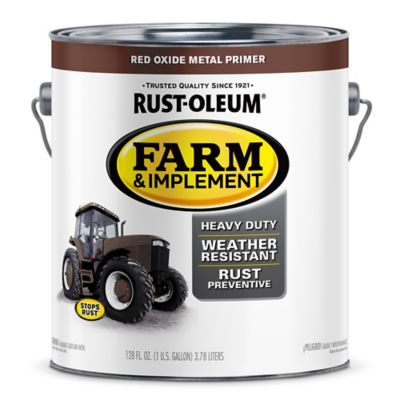
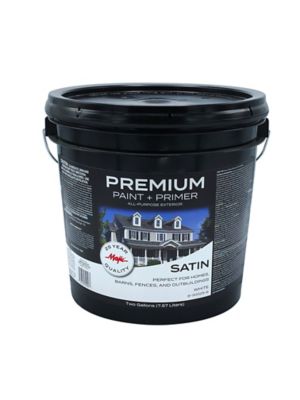
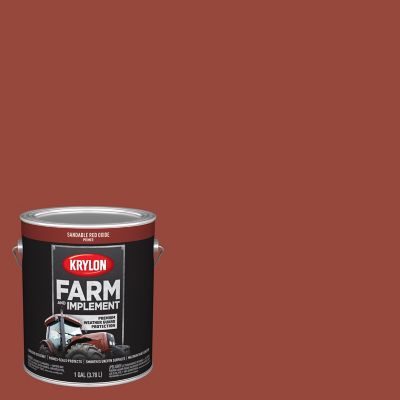
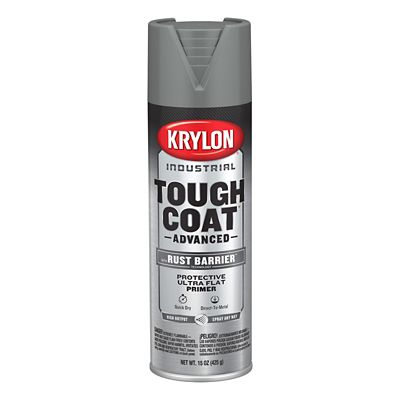
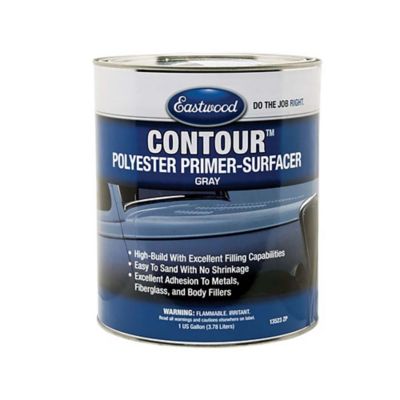
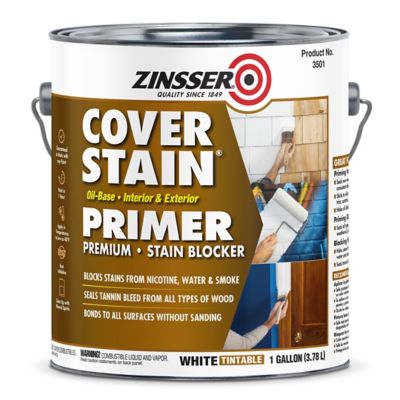
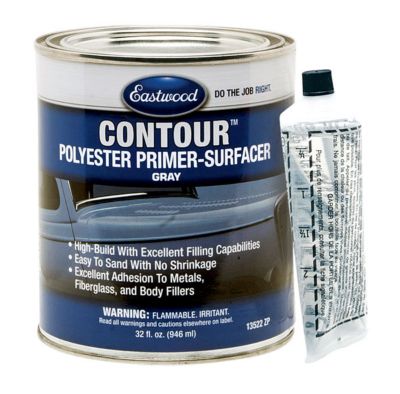
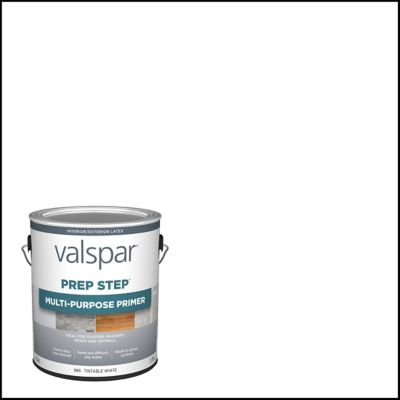
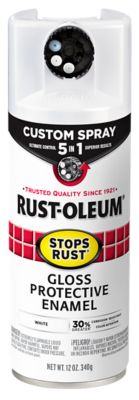
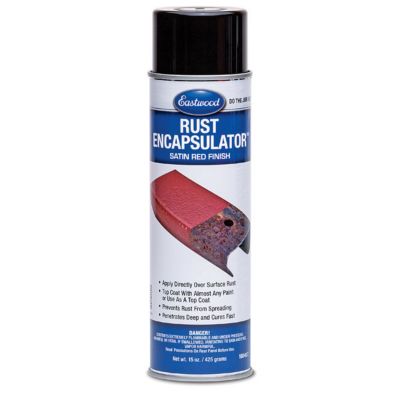
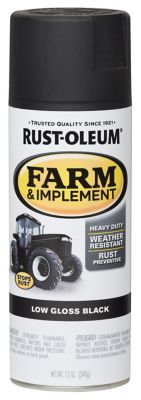
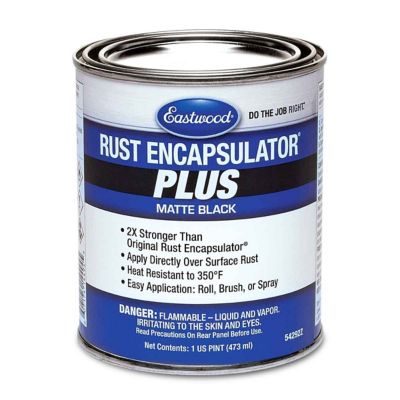
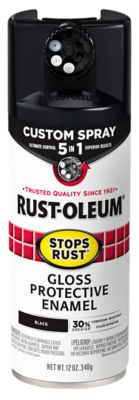
Metal primer paint is the behind-the-scenes part of a good paint job, doing the hard work before the color coat ever goes on. It helps stop rust, slow corrosion, seal out moisture, and give finish paint a solid surface to grab. That matters whether you are freshening up a steel gate, protecting a livestock panel, repainting a trailer part, or bringing an old patio chair back into service. Bare iron and steel can begin to show orange spots soon after they are exposed to damp air, while smooth aluminum and galvanized metal may be too slick for ordinary paint to hold well without the right primer. Start by identifying the surface and its condition. Ferrous metals such as iron and steel are more likely to rust, especially where rain, mud, fertilizer, animal bedding, road salt, or high humidity can collect. Nonferrous metals such as aluminum and galvanized steel do not rust in the same way, but they still need a coating made for good adhesion. A self-etching primer can help bite into clean, slick bare metal, while a bonding or galvanized-metal primer is often a better fit for zinc-coated surfaces. For sound but weathered steel, an oil-based or alkyd primer may penetrate small areas of rust and form a moisture-resistant barrier. Water-based acrylic primers dry faster, have easier soap-and-water cleanup, and can be a handy choice for clean metal, indoor projects, and jobs where you want to move on to the topcoat without a long wait. Always check the label for compatible metals, indoor or outdoor use, drying times, and whether the primer is meant to go under water-based or oil-based paint. A spray primer can make quick work of railings, hardware, curved furniture legs, and other parts with lots of edges, while brush-on primer gives you more control on broad panels, heavy equipment parts, and larger repairs. If you are planning a dark finish on a gate, mailbox, tool chest, or outdoor furniture, coordinating your primer and finish coat can help create an even appearance; browse
Black Spray Paint for a classic color that suits everything from farm hardware to workshop projects.
Good preparation is what separates a finish that lasts from one that starts peeling after the first rough season. Move the metal to a dry, well-ventilated work area, and let damp surfaces dry completely before you begin. Remove loose paint, flaking rust, dirt, grease, and old oil with a wire brush, scraper, sanding block, or other suitable tool. On a piece that has been sitting outside, pay special attention to the underside, seams, bolt heads, welds, and places where water tends to sit. A pressure washer can help with stubborn grime on larger outdoor items, but give the metal plenty of time to dry afterward. Degreasing is especially important on equipment, shop parts, and anything exposed to fuel, chain lubricant, livestock oils, or road film. Smooth glossy paint may need light sanding so the new coating has something to hold. Do not assume primer will hide deep pitting, peeling layers, or heavy scale; those areas may need more scraping, sanding, or a rust treatment approved for the surface before priming. Remove sanding dust with a clean cloth, and avoid touching prepared metal with bare, oily hands. When using a rust-inhibiting primer, cover the entire cleaned area and feather the edges into surrounding sound paint when the label allows. Bare spots left around the repair can become the starting point for rust to spread under the new finish. Apply thin, even coats rather than one heavy coat, keeping a spray can moving or working a brush in steady strokes. Heavy application can lead to runs, soft spots, wrinkling, or a primer that stays tacky longer than expected. Pay attention to the recoat window: some formulas need another coat within a certain period, while others perform best after a longer cure. Cooler weather can stretch drying times, and damp air can affect both adhesion and appearance, so plan outdoor work for a dry stretch with moderate temperatures. During the cooler months, a sheltered shop or garage may give you more dependable results, but always follow the product label for ventilation, temperature, and safe application conditions.
The right amount and application method depend on the job in front of you. Aerosol cans are useful for touch-ups, small brackets, hinges, garden tools, decorative metal, and projects with tight corners, though overspray makes masking and drop cloths important. Brush-on quarts or larger containers make more sense for broad surfaces, multiple pieces, fencing repairs, trailers, implements, and restoration work where you need to build a consistent protective layer. Estimate coverage from the label, then allow extra for rough, pitted, or highly absorbent surfaces and for a second coat if one is recommended. Keep the primer and finish paint compatible, and do not paint over a primer that has not cured enough to handle the next layer. For farm and ranch projects, look closely at the kind of wear the finished item will face. A decorative planter may mainly need protection from rain and sun, while a gate, hitch, wheelbarrow, or equipment panel may see rubbing, grit, vibration, and repeated handling. Primer can help, but it is not a substitute for a durable topcoat suited to those conditions. Inspect painted metal from time to time, especially after wet weather or hard use, and touch up chips before moisture works its way beneath the surrounding paint. Metal primer paint can be a practical addition to a workshop shelf, making a thoughtful gift for someone who enjoys restoring old tools, fixing up outbuildings, maintaining equipment, or tackling weekend projects around the house. It is also useful for a homeowner preparing outdoor furniture and hardware before the weather warms, or for a rancher protecting everyday metal from another season of rain, mud, and sun. With the right primer for the metal, careful surface preparation, and a finish coat made for the job, an ordinary piece of steel or aluminum can come back looking clean, sturdy, and ready for many more seasons of work.