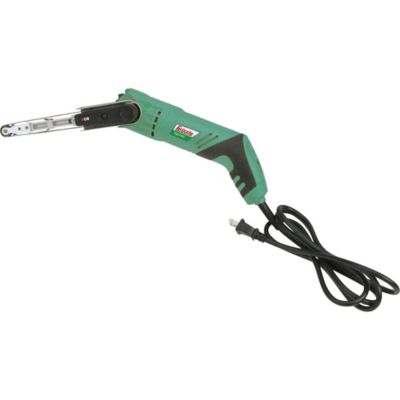
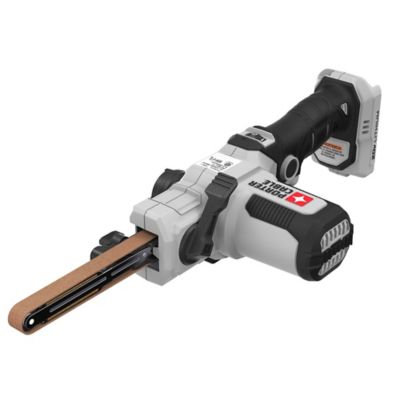
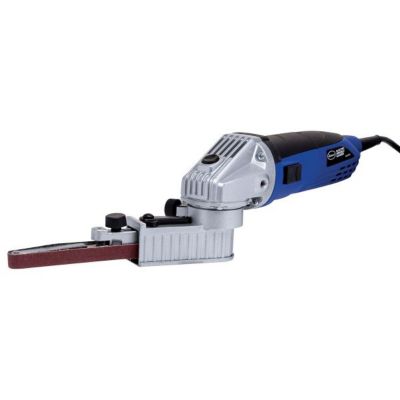
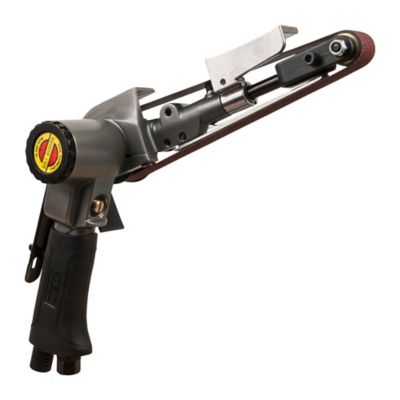
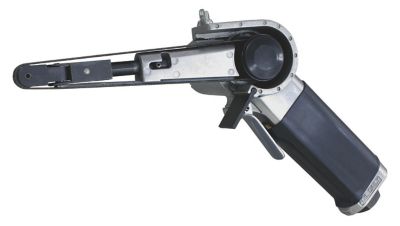
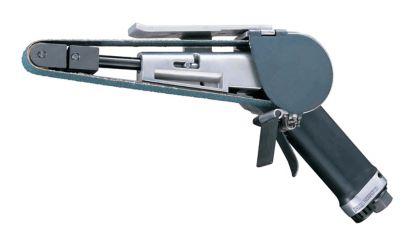
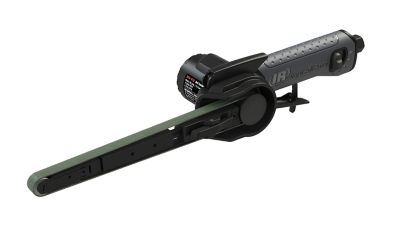
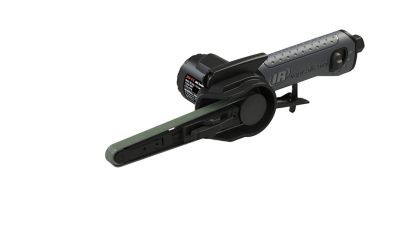
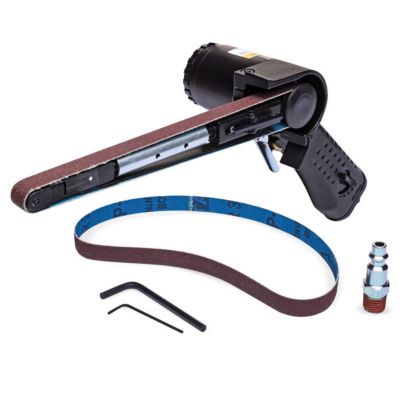
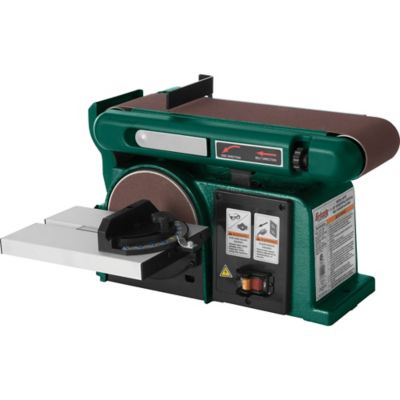
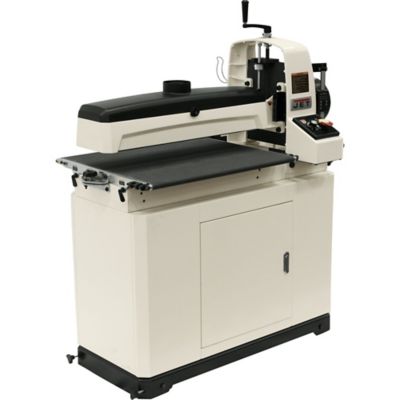
Handheld belt sanders are go-to power tools for taking down rough, uneven surfaces faster than a finishing sander or sanding block. Instead of using a single sheet of sandpaper, a belt sander runs a continuous loop of abrasive material around two rollers, giving you a steady sanding surface that removes a good amount of wood, paint, rust or other buildup with each pass. That makes these tools useful for smoothing rough boards, leveling glued-up panels, shaping edges, rounding corners and preparing large surfaces before staining or painting. Around the farm, shop or home workshop, a handheld belt sander can help clean up weathered lumber for a repair project, smooth the edges of a gate component, remove old finish from a workbench or prepare a salvaged tabletop for a fresh coat of sealant. They can also be used on some metal surfaces with the proper abrasive belt, making them handy for removing surface rust, old paint or weld splatter from compatible workpieces. These are aggressive tools, so they are best suited to jobs where material needs to come off efficiently rather than delicate finishing work. A belt sander can leave visible sanding marks if it is held in one place too long, which is why experienced users keep the tool moving in a steady, controlled motion and finish with a finer-grit sander when a smoother surface is needed. For broader, stationary sanding work, shoppers may also want to compare options such as a
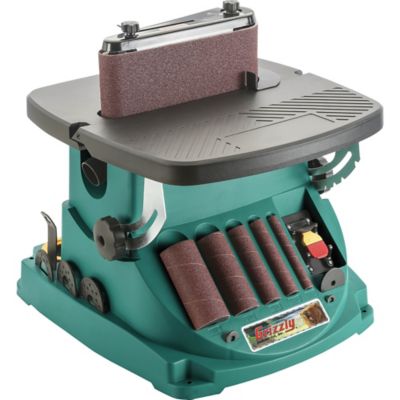
Wide Belt Sander, while handheld models offer the portability needed for repairs, remodeling and projects that cannot easily be brought to a machine.
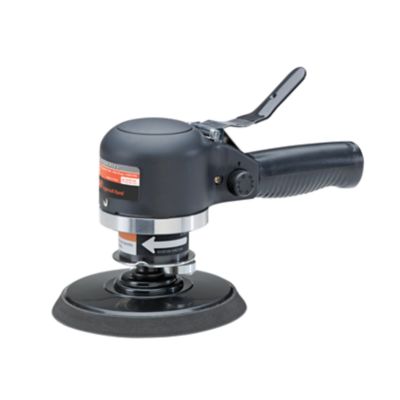
When choosing a handheld belt sander, start with the kind of work you expect to do and the materials you plan to sand. Belt size affects both coverage and maneuverability. Common sizes around 3 by 21 inches or 4 by 24 inches cover a good amount of surface and are well suited to boards, doors, benches, flooring repairs and other larger projects. Narrower belts can make it easier to work along edges, in tighter areas or on smaller pieces where a full-size tool may feel cumbersome. Pay attention to the motor and overall power, especially if the sander will be used on hardwood, thick lumber or stubborn layers of finish. Corded models provide steady power for long jobs near an outlet, while cordless sanders offer freedom to move around a barn, shed, porch or jobsite without dragging an extension cord through the work area. Pneumatic models can be a practical choice in shops that already have a suitable air compressor, though the compressor’s airflow requirements should be checked before purchase. Variable-speed control is another useful feature because a slower setting gives you more control over softer wood, edges and heat-sensitive finishes, while higher speeds can help with heavy material removal. A comfortable main handle, adjustable auxiliary handle and vibration reduction can make a noticeable difference when sanding for an extended stretch. A trigger lock is helpful for longer passes, but it should be used only when the tool is firmly under control and the work area is clear. Dust bags and dust collection ports help keep the bench and floor cleaner, although no collection system catches everything. For indoor work, connect the tool to a compatible shop vacuum when possible and make sure the belt, port and hose fit securely. Look for simple belt-release and tracking adjustments as well; being able to change belts quickly and keep them centered saves time when moving between rough removal and smoother preparation.
A handheld belt sander can be a practical addition to a homeowner’s tool lineup, a thoughtful gift for someone setting up a workshop and a useful choice for anyone who regularly handles maintenance or building projects. It is especially helpful for people who work with reclaimed lumber, repair wooden furniture, build shelves or benches, maintain outbuildings, or take on seasonal projects during the cooler months when more work shifts indoors. Before sanding, secure the workpiece with clamps so both hands can guide the tool, inspect the belt for wear, and choose the correct grit for the job. Coarser grits remove material quickly, while medium and finer grits help smooth the surface after the main shaping is complete. Start the sander just above the workpiece, set it down gently, and guide it with the grain whenever possible. Keep the base flat to avoid digging grooves, and ease up near corners and edges, where the abrasive can remove material in a hurry. Never force the tool by pressing down hard; steady movement and the weight of the sander usually do the work better. When sanding painted, stained or treated surfaces, take sensible precautions against dust and follow the material manufacturer’s safety guidance. Wear eye protection, hearing protection and a properly rated dust mask or respirator, keep loose clothing and long hair away from moving parts, and allow dust to settle before cleaning the area. For metal work, watch for sparks and use the tool only in a well-ventilated space away from flammable materials. Store belts flat and dry, replace clogged or worn abrasives, and unplug corded tools or remove the battery before making adjustments. With the right belt, a secure workpiece and a little patience, these portable sanders can turn a rough board, rusty surface or tired piece of furniture into a clean starting point for the next stage of the project.