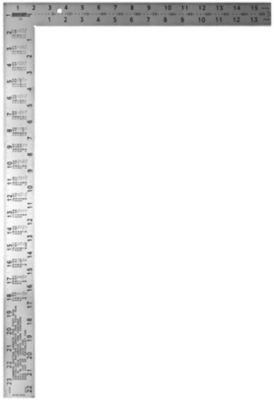
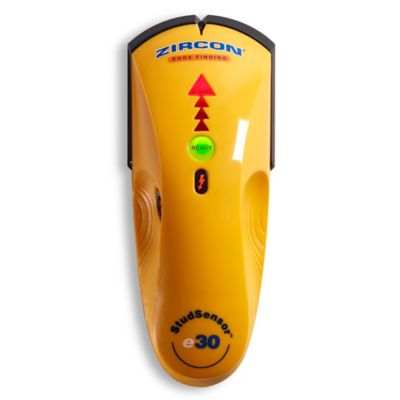
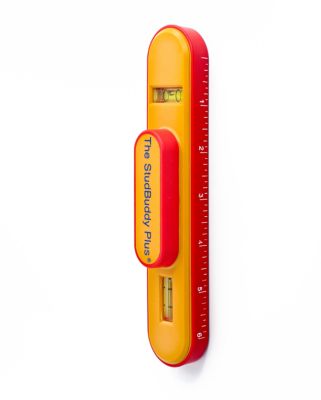
Tools for framing walls help turn a stack of lumber into a straight, sturdy frame ready for sheathing, insulation and finish work. Whether you are framing a new room, adding a partition in a shop, repairing a shed or building out a barn, the right equipment can make a big difference in accuracy and pace. A wall framing setup commonly includes tools for laying out stud locations, cutting boards, checking alignment and fastening the frame together. An on-center stud layout jig or spacer is especially handy for repetitive work, helping position studs at standard 16-inch or 24-inch intervals without stopping to measure every location with a tape. These tools are useful for DIY projects and jobsite work alike, particularly when several wall sections need to be laid out the same way. A tape measure, carpenter’s pencil, chalk line, framing square and level remain valuable companions, since a spacer can help with stud placement but does not replace checking the overall wall for square and plumb. Look for durable construction, easy-to-read markings and a comfortable grip, especially if the tool will be used through a long day of framing. Aluminum layout tools are often chosen for their strength and light weight, while simple wood or composite tools can be practical for occasional repairs around the homestead. If your project also includes masonry work, related equipment can be found with
Tools For Brick Laying.
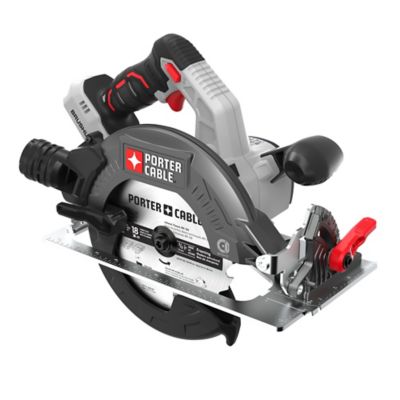
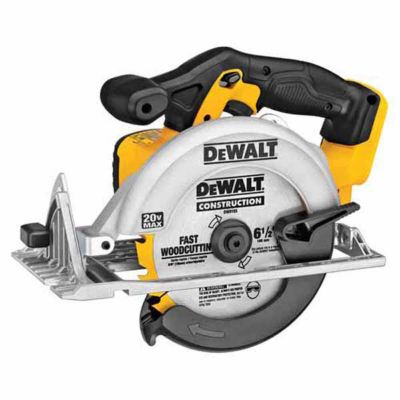
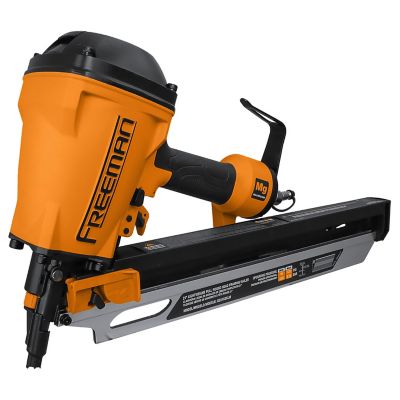
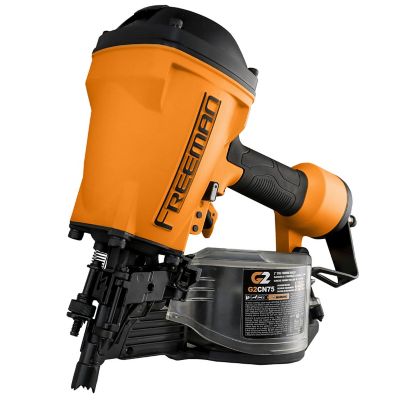
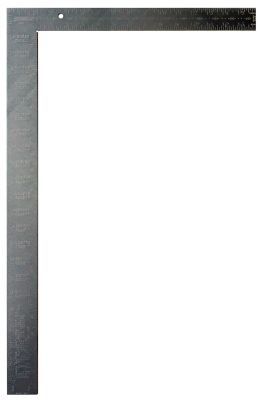
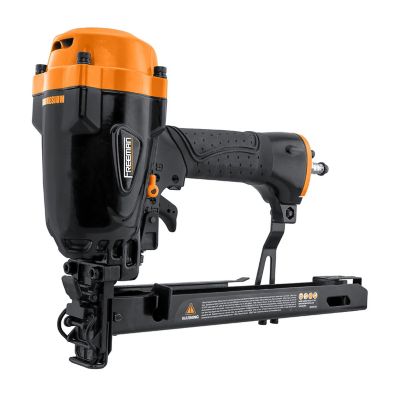
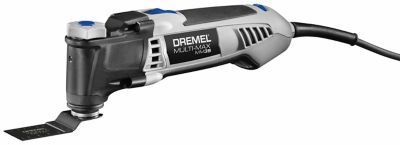
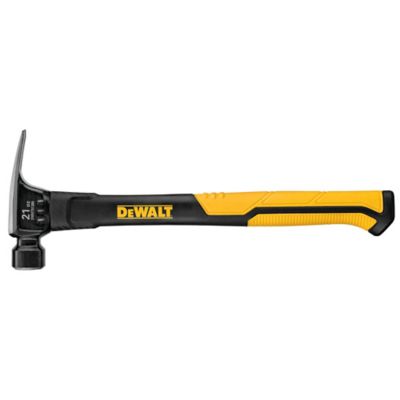
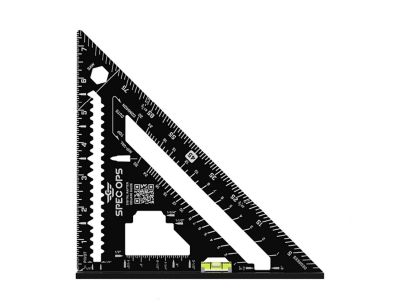
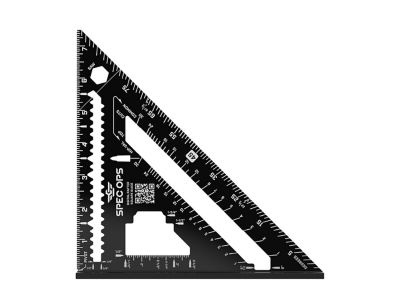
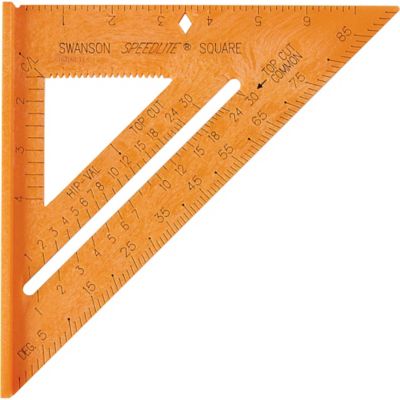
Fastening tools are another important part of a wall framing collection. A pneumatic framing nailer can drive compatible nails quickly and consistently, making it a practical choice for larger builds, repeated repairs and crews working on a deadline. Before choosing one, check the fastener range, magazine capacity, operating pressure and whether your air compressor can keep up with the tool. A cordless framing nailer offers freedom from an air hose and compressor, which can be useful when working in a remote outbuilding, unfinished addition or area without convenient power. For smaller projects or anyone who enjoys a more traditional approach, a heavy-duty framing hammer with a rip claw can handle common framing tasks while also helping with nail removal and minor adjustments. Handle material, balance, head weight and grip texture all matter; a hammer that feels comfortable in your hand is easier to control when you are working overhead or making repeated fasteners. Keep compatible nails, screws and other fasteners on hand, and match them to the lumber, structural requirements and tool manufacturer’s specifications. A framing square or speed square helps mark crosscuts and layout lines, while a circular saw, reciprocating saw or miter saw can help prepare boards and make clean cuts when the project calls for it. Clamps, sawhorses and a solid work surface are useful additions for keeping lumber steady, and a bright work light can make pencil marks easier to see in a dim garage or partially enclosed structure. For outdoor work, choose tools that are easy to carry across uneven ground and protected from ordinary dust and jobsite wear. During the cooler months, battery performance and air hoses may need a little extra attention, especially when tools are stored in an unheated shed or truck.
When comparing tools for framing walls, think about the scale of the job, the material being used and how often the equipment will see use. A homeowner framing one basement wall may value straightforward hand tools and a compact saw, while a contractor, farm builder or serious weekend woodworker may benefit from layout equipment and powered fastening tools that save time across dozens of studs. If multiple people will use the tools, comfortable handles, simple controls and clear adjustment points can make the equipment easier for everyone to operate. Storage is worth considering, too. A nailer, hammer, layout jig and measuring tools are easier to find when they have a dedicated place in a tool chest, rolling cabinet or job box, and keeping them covered helps protect against dust, moisture and accidental damage. Personal protective equipment should be part of the setup: safety glasses help shield eyes from flying chips and fasteners, hearing protection is useful around saws and compressors, and work gloves can provide a better grip when handling rough lumber. Follow the instructions for each tool, inspect cords, hoses, batteries and fasteners before use, and keep the work area clear of loose boards and trip hazards. A well-chosen framing tool can also make a thoughtful gift for a new homeowner, apprentice, ranch hand or handy family member who is building confidence with repairs and projects. Even a small collection of reliable tools can bring order to a busy work area, from the first chalk line snapped across a sill plate to the final stud standing straight beneath the roof. With accurate layout tools, dependable fastening equipment and the right measuring and cutting accessories, framing work becomes more manageable and the finished wall has a solid foundation for the work that follows.