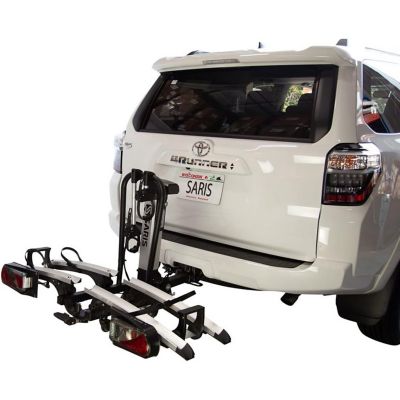
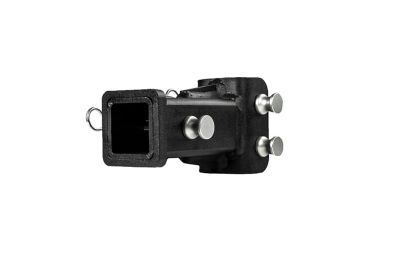
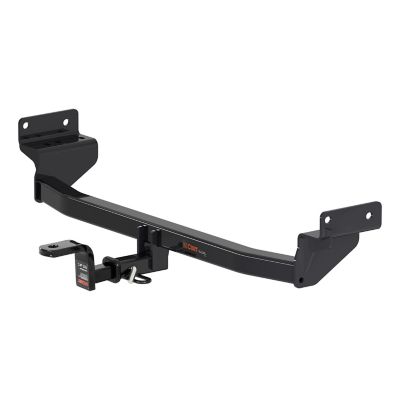
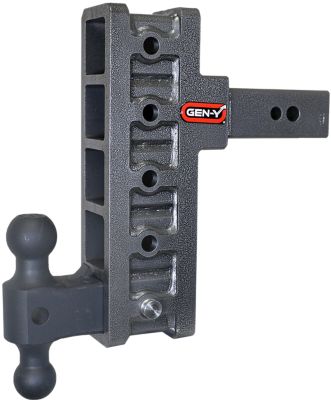
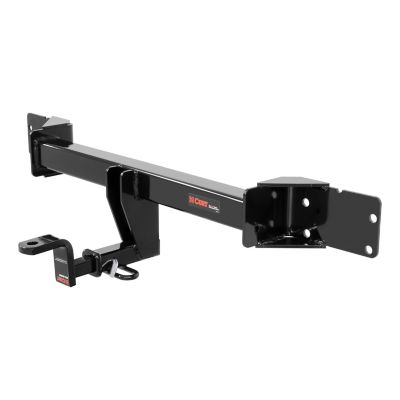
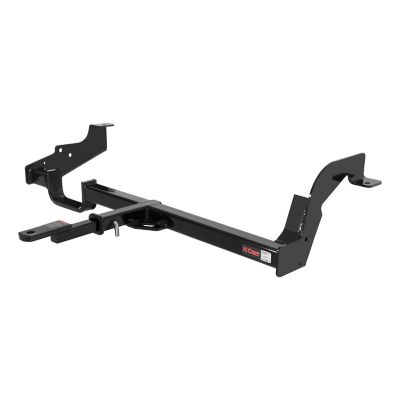
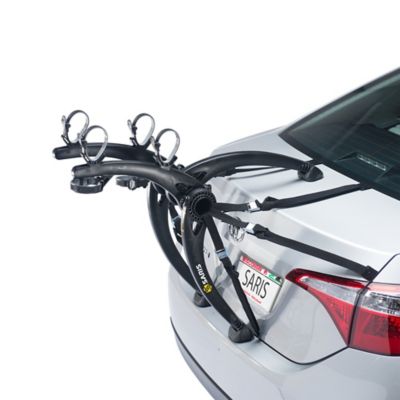
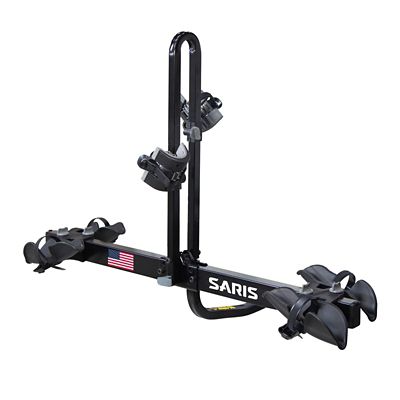
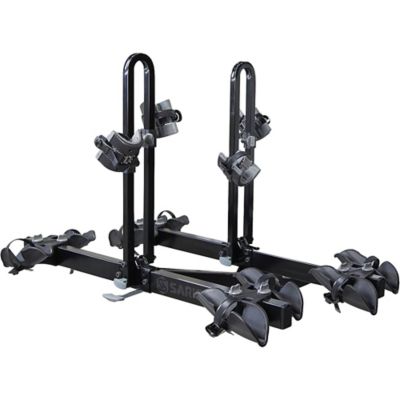
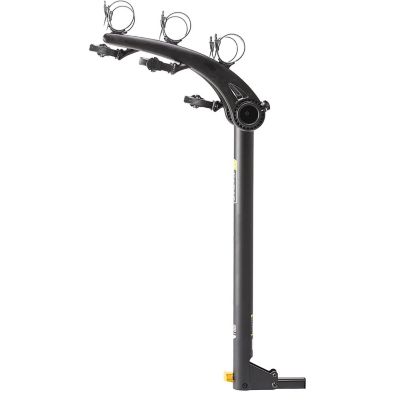
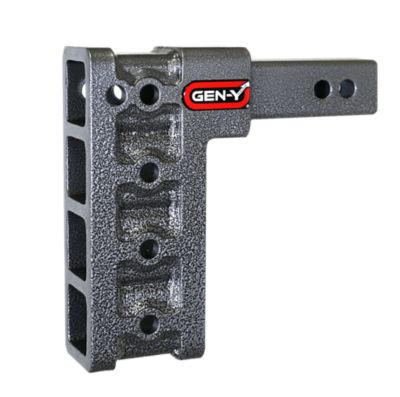
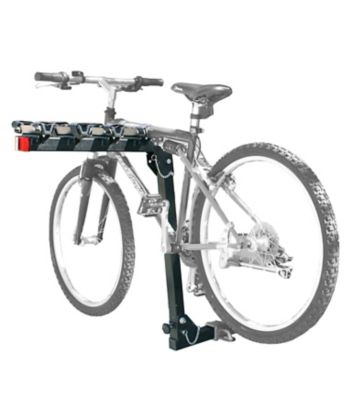
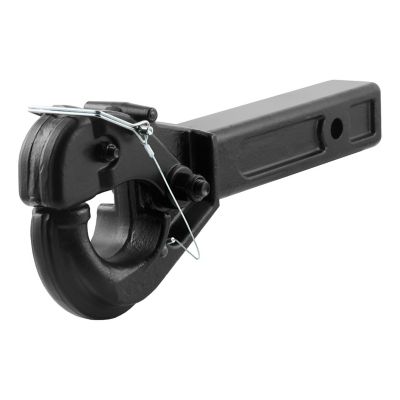
Trailer hitches for bike racks give a vehicle a solid mounting point for carrying bicycles behind the bumper, leaving room inside for passengers, riding gear, and the rest of the day’s supplies. A hitch-mounted bike rack needs a compatible receiver hitch; it does not need a hitch ball or ball mount. The rack’s shank slides into the receiver tube and is secured with the pin or fastening hardware specified by the rack manufacturer. That straightforward connection suits everything from a pickup headed to a trailhead to a family SUV hauling bikes to a campground or a car carrying a bicycle to a paved path. The most common receiver openings for bike racks are 1-1/4 inches and 2 inches, measured across the inside of the square tube. Class I and Class II receiver hitches generally have 1-1/4-inch openings, while Class III and many Class IV hitches have 2-inch openings. Larger hitch classes can have larger receiver tubes, so the class name alone does not establish a match. Receiver size, hitch class, and the rack’s approved applications all matter. A rack that fits the opening is not automatically suitable for every hitch with that opening, especially when a Class I hitch has limits on carrier weight or bicycle count. The combined weight of the rack and every bicycle must stay within the vehicle, hitch, and rack limits, with the lowest applicable rating controlling the setup. A hitch’s trailer towing rating is not the weight allowance for a bike carrier. The relevant tongue-weight or accessory-load limits deserve a close look, along with any restrictions in the vehicle and rack manuals. That distinction matters when a pair of lightweight bikes becomes several family bikes or heavier electric bicycles. Choosing the receiver around the actual carrying job helps keep a Saturday ride from turning into a wrestling match with mismatched equipment.
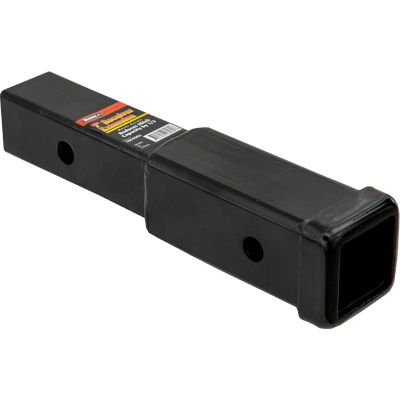
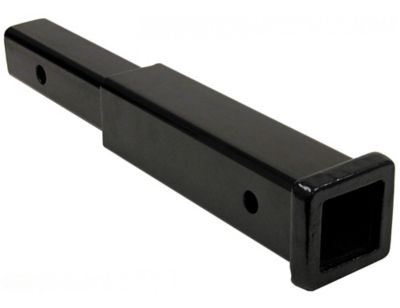
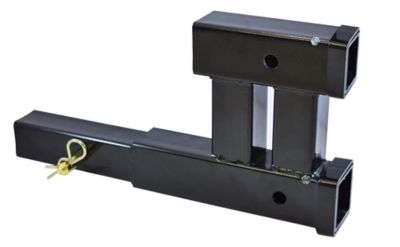
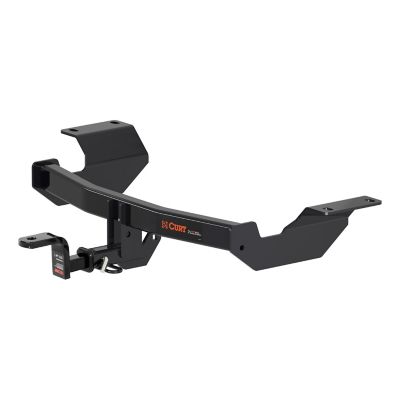
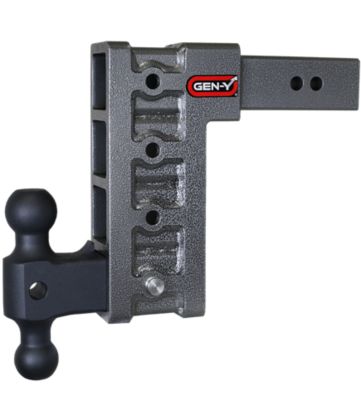
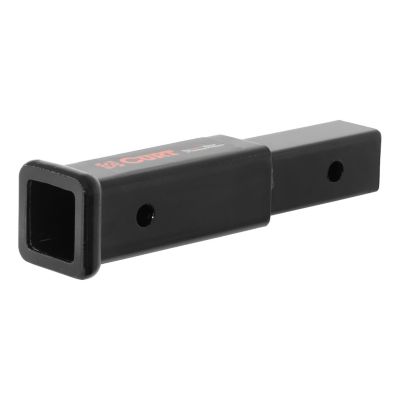
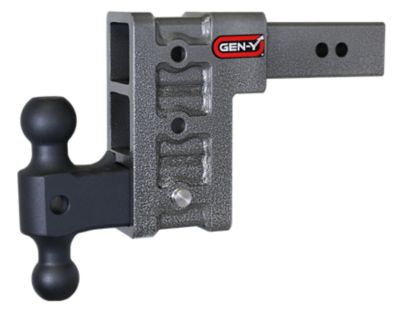
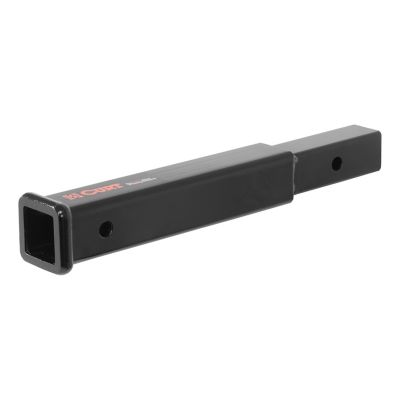
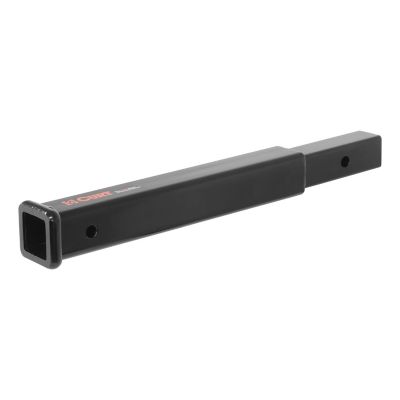
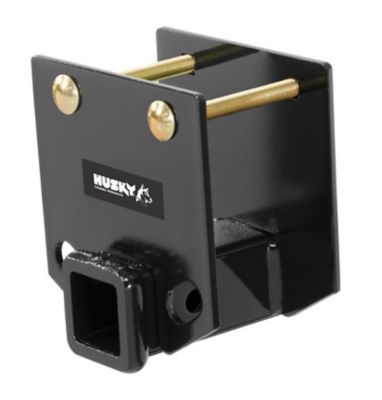
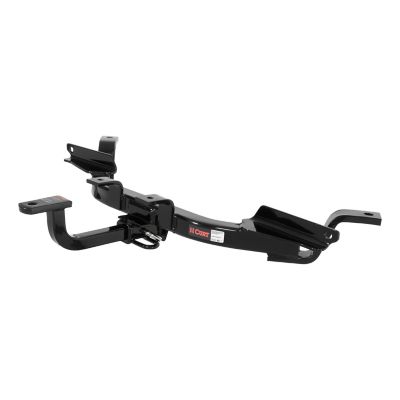
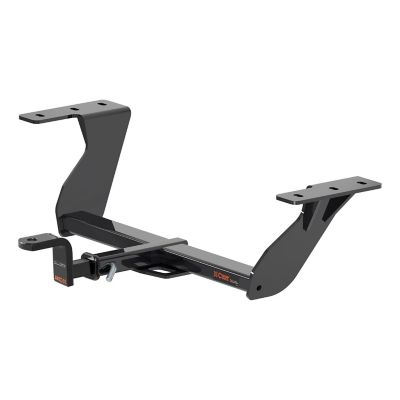
Vehicle fit is just as important as receiver size. Receiver hitches attach at designated mounting points, and the correct design depends on the vehicle’s year, make, model, and sometimes its trim level or factory equipment. Two pickups that look much alike can have different mounting requirements, while an SUV’s exhaust routing, bumper shape, or rear-mounted spare tire can affect clearance. Hitch designs often feature steel receiver tubes, welded brackets, and vehicle-specific mounting plates, with powder-coated or painted surfaces to help protect the metal from corrosion. The coating supports a long service life, but sound construction, correct installation, and regular inspection still matter. A receiver positioned close to the bumper may look tidy, yet the rack needs enough room for its shank, fastening hardware, and bicycle trays or support arms. The distance from the hitch-pin hole to the bumper is an important fit measurement, especially for a folding carrier. Ground clearance also deserves attention on a steep driveway, a gravel parking lot, or the entrance to a pasture road. A low receiver combined with a long carrier can leave less space beneath the rack than expected. Rear access is another everyday consideration: a tailgate, hatch, spare tire, or swinging rear door may need clearance that a loaded rack cannot provide. Tilting or swinging rack designs can help in some setups, but clearance depends on the vehicle and the carrier together. Correct mounting hardware and the manufacturer’s specified bolt torque are part of the hitch’s fit, not optional finishing touches. Locking hitch pins and compatible anti-rattle hardware can help secure the connection and limit movement, provided they match the rack’s requirements. A locking pin helps discourage carrier removal, while the bicycles may still need separate locks. Receiver adapters and extensions also need manufacturer approval because they change fit and leverage and may reduce the permitted load; they do not turn a smaller hitch into a higher-rated one.
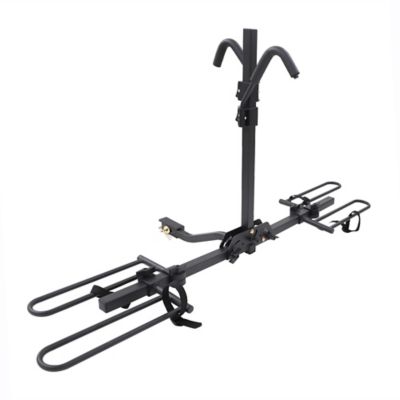
Pairing the receiver with suitable
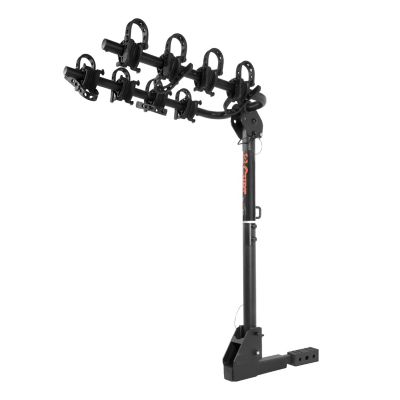
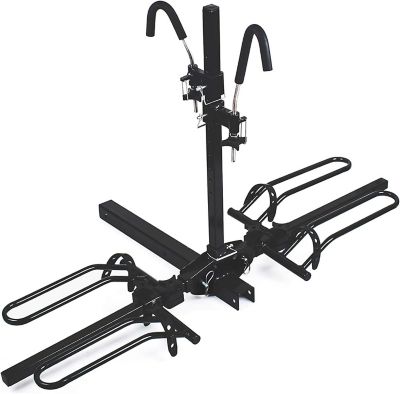
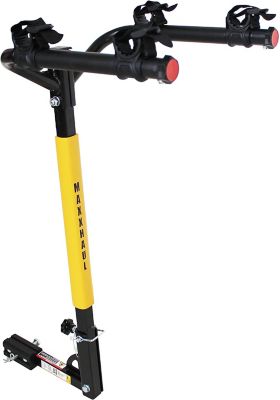
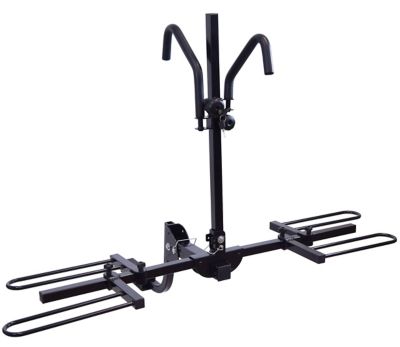
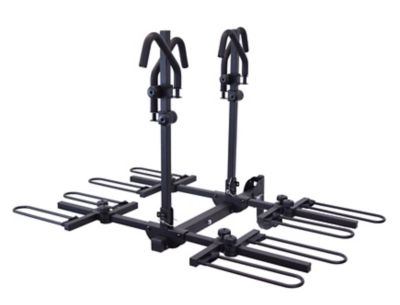
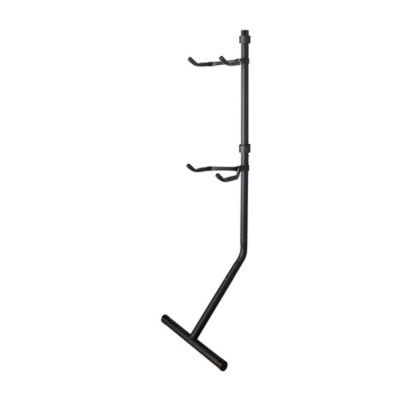
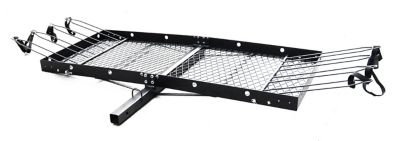
hitch mount bike racks brings the whole setup together, whether the plan is a solo ride after chores or a trip with the kids’ bikes lined up behind the truck. Platform racks support bicycles in trays, commonly at the wheels, while hanging racks suspend them from frame-support arms. Those designs place different demands on clearance, bicycle spacing, and loading, so the receiver choice works best alongside the intended rack rather than as a separate decision. Heavier bicycles, including electric bikes, call for particular attention to the rack’s per-bike rating as well as the total load on the hitch. A rack rated for several bicycles may still have a limit for each tray or position. Wide tires, long wheelbases, small children’s frames, and step-through frames can also affect rack compatibility, even when the hitch connection fits. For a household that carries different bikes throughout the year, those details make a bigger difference than simply counting the available carrying positions. Hitch and rack weight also count toward the vehicle’s applicable load limits, so passengers and cargo remain part of the picture. Care is mostly about keeping the connection clean and watching for changes before they become trouble. Dirt and grit inside the receiver can interfere with shank fit, while damaged coatings, corrosion, loose fasteners, or cracks call for attention according to the manufacturer’s directions. Hitch-pin holes and rack fastening hardware should remain free of damage that prevents proper engagement. Cleaning, coating touch-ups, and any lubrication should follow the hitch and rack care instructions rather than a one-size-fits-all approach. Removing the carrier when it is not needed can make parking and rear access easier, and storing it off the ground helps keep its mounting end clear of grit. For a cyclist receiving a hitch or rack as a gift, confirming the vehicle details and bicycle requirements beforehand keeps the choice practical. A well-matched receiver supports the kind of everyday convenience that matters: loading bikes without crowding the cab and heading down the road with each part suited to the job.