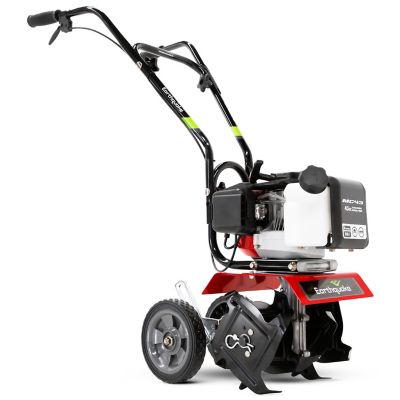
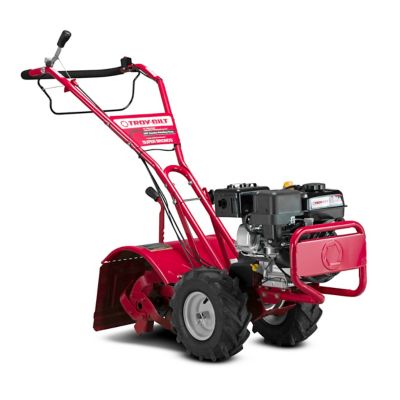
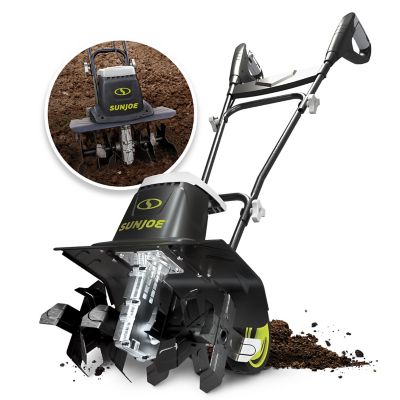
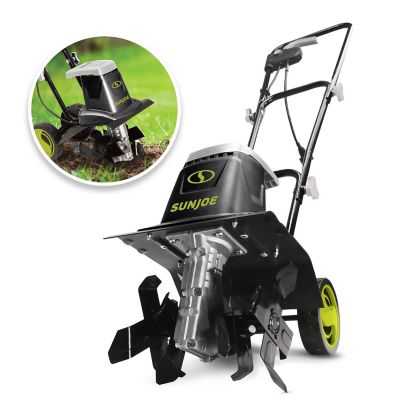
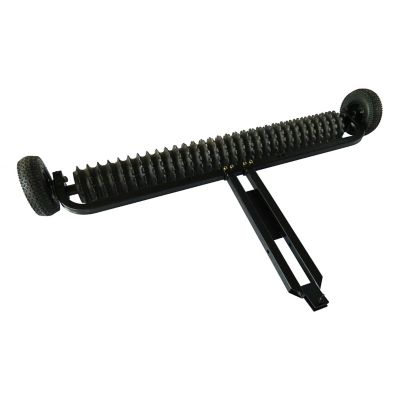
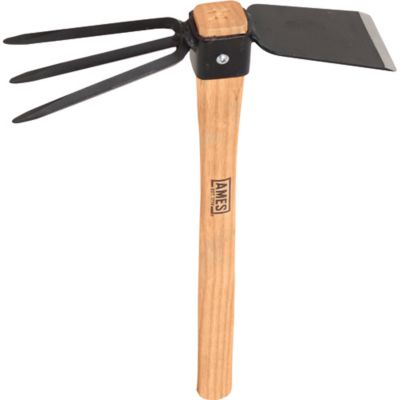
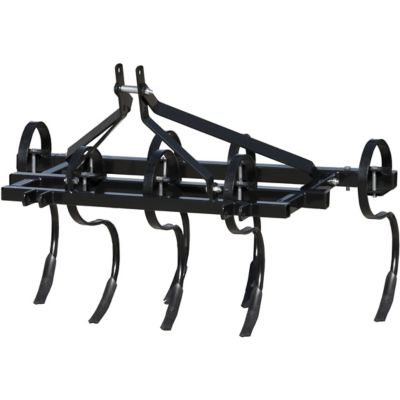
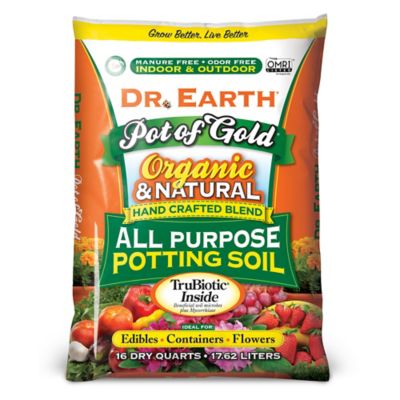
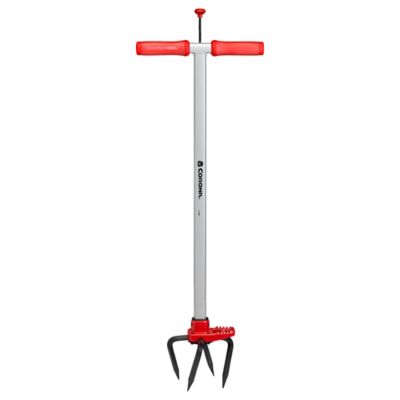
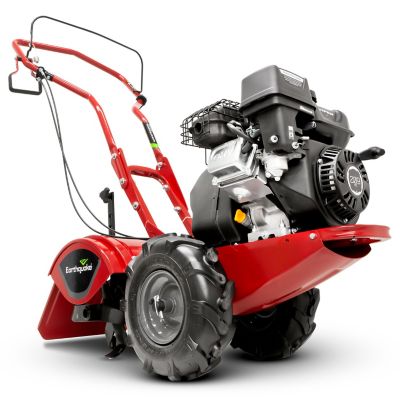
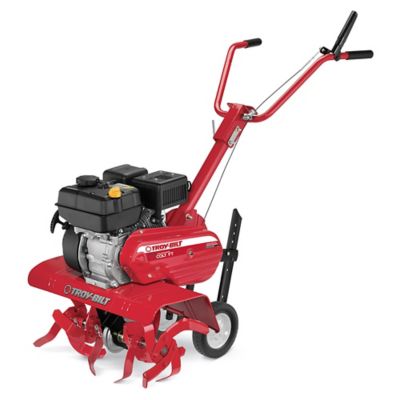
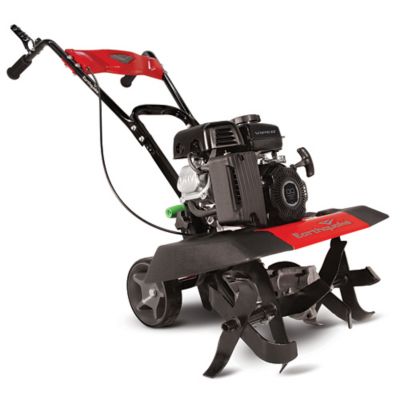
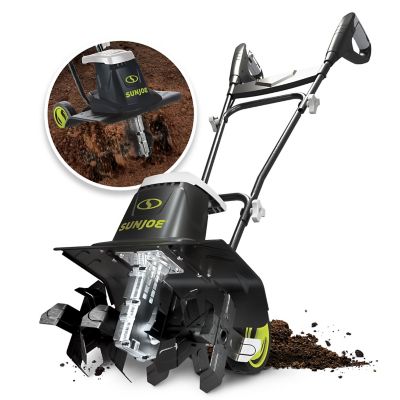
Preparing soil for planting starts with giving the ground a clean slate. Whether you are tending a few raised beds, laying out a backyard vegetable patch, refreshing a flower border, or getting a small homestead garden ready for the next growing season, begin by clearing away sticks, stones, spent stems, fallen leaves, roots, and visible weeds. A sturdy pair of gloves, a digging tool, a garden fork, and a wheelbarrow or tub can make the work easier, especially when the soil is packed around old roots or has been left untouched through a busy growing season. During the cooler months, the earth may be firm on top while remaining damp underneath, so check the soil before digging. If it clings to your boots or forms a shiny, sticky ball in your hand, let it dry a bit before working it. Turning wet soil can crush the air pockets that roots need and leave hard clods behind when it dries. When the ground is workable, loosen it to a depth of about 6 to 12 inches, breaking up compacted areas without pulverizing the soil into dust. A spade or shovel works well for opening a new bed, while a garden fork can lift and loosen established soil with less disruption. For narrow rows or smaller beds, a hand cultivator helps work around existing plants and remove shallow roots. The goal is a crumbly, open planting layer that lets young roots move downward, allows water to drain, and still holds enough moisture to support steady growth.
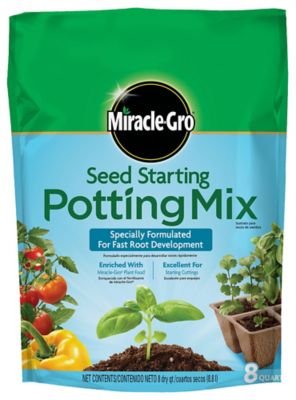
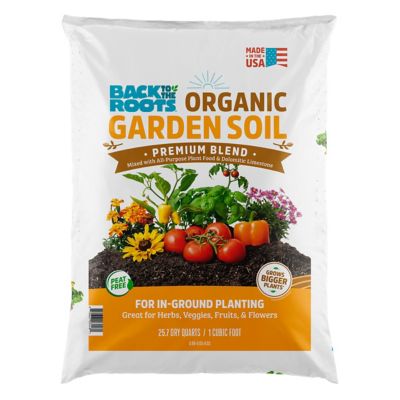
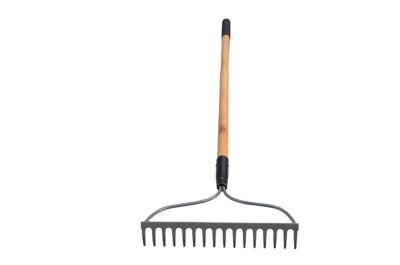
Organic matter is one of the most useful additions for improving tired garden soil. Finished compost, aged manure, leaf mold, and other well-rotted amendments can help sandy soil hold moisture while improving drainage in heavy clay. Spread roughly 2 to 3 inches over the prepared area, then mix it into the top 6 to 8 inches when starting a new bed or renewing soil that has become compacted. Avoid using fresh manure or unfinished compost around planting areas, since these materials can be too strong for roots and may contain weed seeds or pathogens. A soil test is also a sensible step before adding large amounts of lime, sulfur, fertilizer, or other amendments; soil color alone does not tell the whole story, and overcorrecting can create a different problem. For established no-dig beds, a lighter layer of compost left on top can feed the soil gradually as rain, worms, and other natural activity work it downward. This approach is especially handy when the weather is cool and you want to protect the soil structure rather than turn the bed over repeatedly. A reliable rake helps pull out loose roots and stones, spread amendments evenly, and smooth the finished surface. Use a leaf rake for light debris and a firm garden rake for leveling soil, breaking small clumps, and shaping straight planting rows; for more detail, see
Garden Rake For Soil Preparation Tasks. After mixing and leveling, water the bed thoroughly when conditions allow, then give it time to settle before sowing or setting out plants. In areas that receive heavy rain or freeze-thaw cycles, a layer of mulch or a cover crop can help reduce erosion and keep prepared soil from washing away or crusting over.
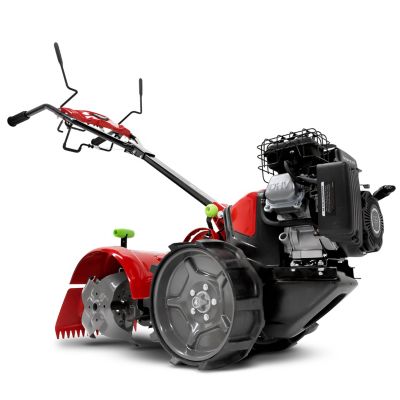
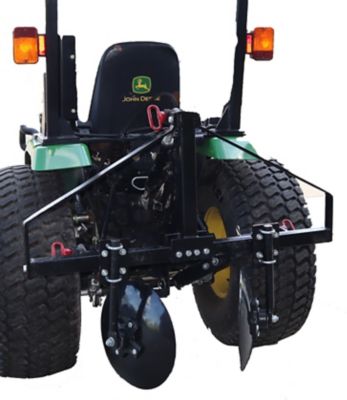
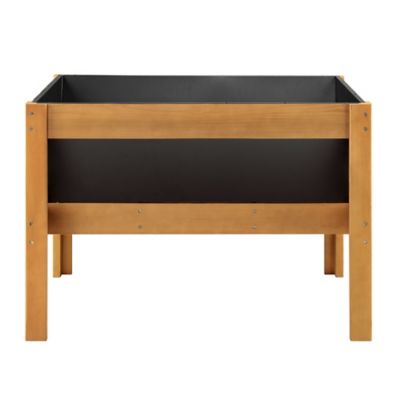
The right soil-preparation supplies depend on the size of the job, the condition of the ground, and what you plan to grow. A gardener opening a first vegetable bed may need digging and hauling tools, soil amendments, measuring tools, gloves, and a way to move rocks or compost. Someone maintaining raised beds may be better served by compact hand tools and a small amount of finished organic matter that can be spread without disturbing established roots. Gardeners working around shrubs, orchard trees, or perennial flowers should choose tools that offer control in tight spaces, while larger plots call for durable equipment that can handle repeated use across long rows. Look for handles that feel comfortable in your grip, solid connections between the handle and working head, and materials suited to damp soil and outdoor storage. It is also helpful to keep a bucket, tarp, or storage bin nearby for collecting weeds and stones as you work. Preparing soil can be a thoughtful gift for a new homeowner, a backyard gardener, a young person learning to grow food, or an experienced grower who enjoys getting beds ready when the air turns crisp. During the cooler months, many gardeners use the quieter season to repair bed edges, spread compost, remove debris, and arrange tools so planting is easier when the weather warms. Take care not to walk repeatedly across loosened beds, since foot traffic presses out the spaces you just created. Once the surface is clean, enriched, and level, mark rows or planting spots, keep remaining amendments stored where they will stay dry, and protect unused soil with mulch or another suitable covering. Good preparation does not need to be complicated: clear the bed, loosen the earth, add well-rotted organic matter, smooth the surface, and let healthy soil do its part when the next planting window arrives.