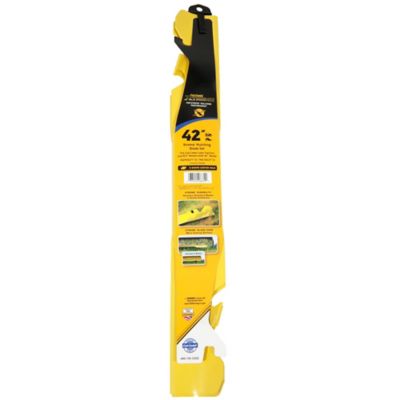
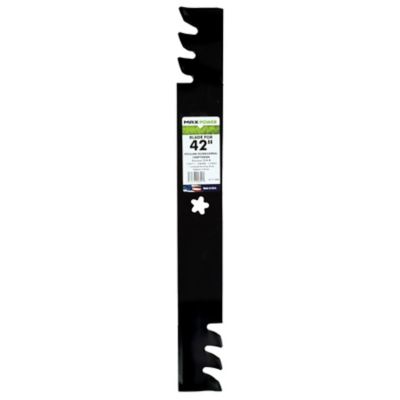
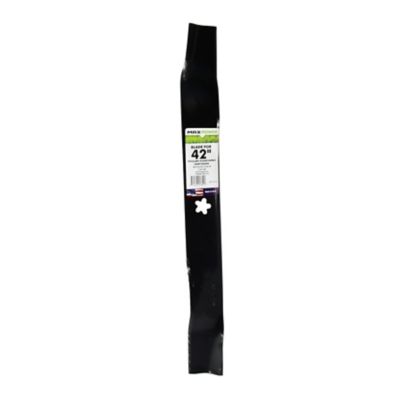
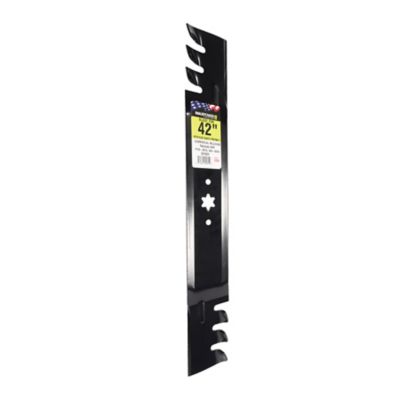
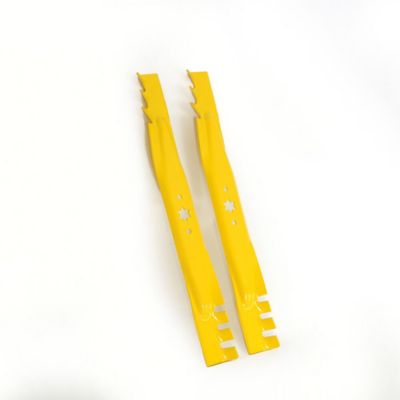
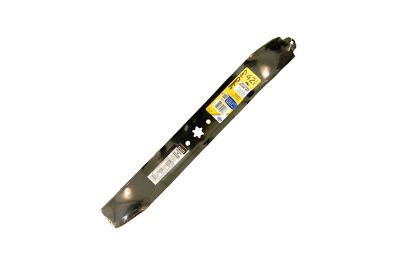
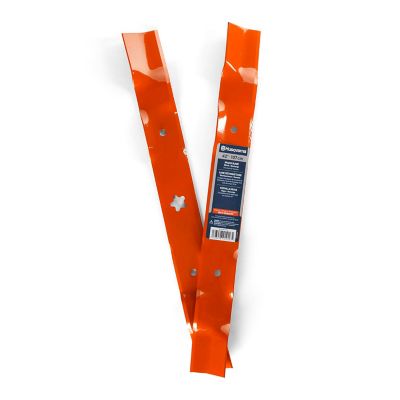
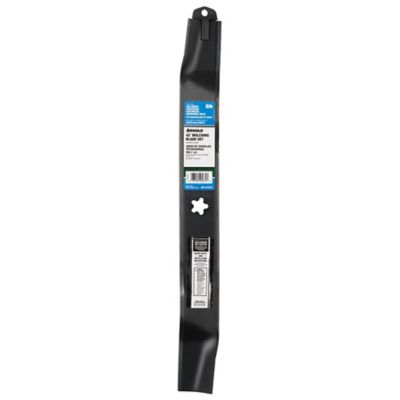
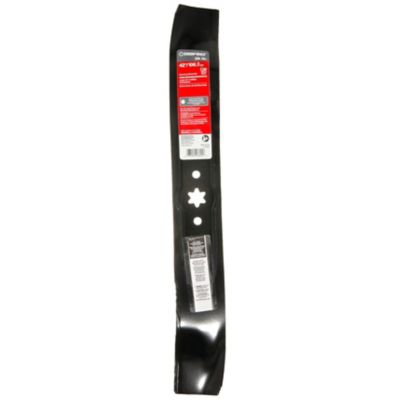
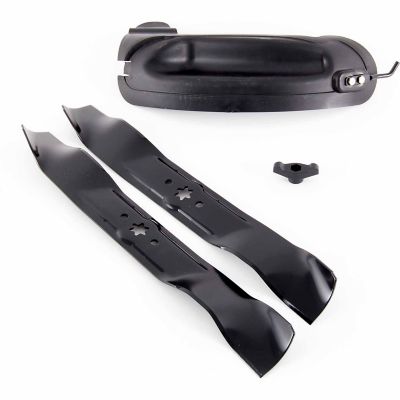
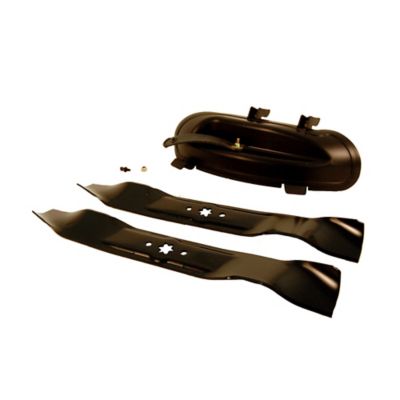
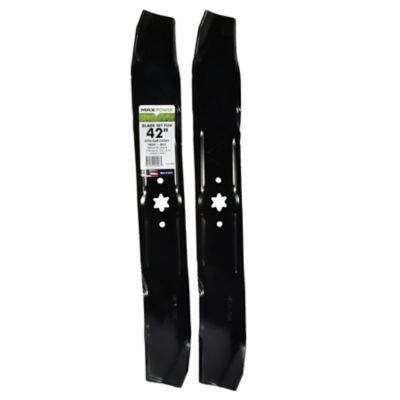
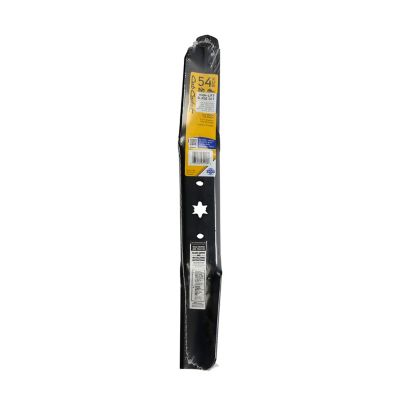
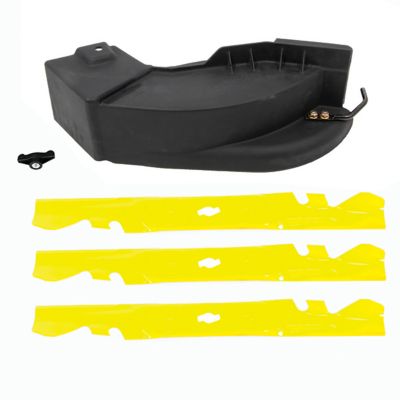
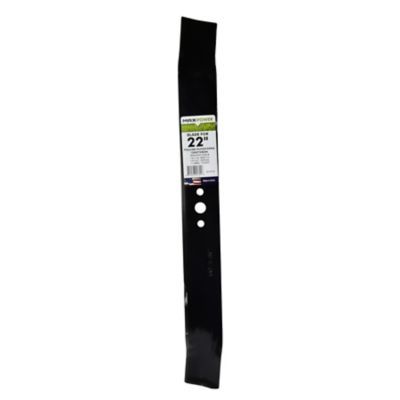
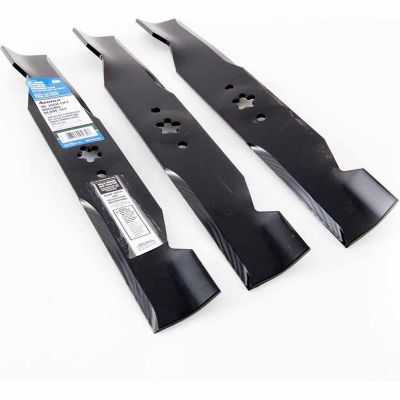
When a 42-inch riding mower deck starts leaving strips of uncut grass, scattering clumps across the yard, or taking more passes than it used to, a fresh set of mulching blades can help bring the cut back into shape. Most 42-inch decks use two blades, with each blade measuring about 21 inches long. Actual measurements may vary slightly, often falling in the range of roughly 21-1/16 to 21-3/8 inches, so checking the mower’s deck size and original blade dimensions is an important first step. Mulching blades are shaped to lift grass into the deck, cut it into smaller pieces, and spread those clippings back over the lawn instead of sending them through a side discharge chute. Those fine clippings can break down and return moisture and nutrients to the soil, which is handy for keeping a home lawn looking tidy through the growing season. They’re a practical choice for homeowners with medium to large yards, landowners maintaining paths around barns or outbuildings, and anyone who prefers to mow without gathering bags of clippings. A new set can also make a thoughtful, useful gift for a parent, neighbor, or family member who spends weekends keeping the property in order. Before adding blades to your cart, compare the mower’s model information, deck size, blade length, thickness, and center-hole pattern. A blade that looks close may still be the wrong fit if the mounting hole or locating points do not match the spindle. Keeping the old blade nearby while checking measurements can make this part easier, especially when the mower has been in the family for years and the owner’s manual has wandered off to the same place as every other important paper.
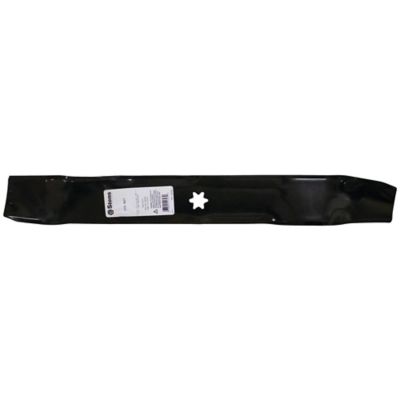
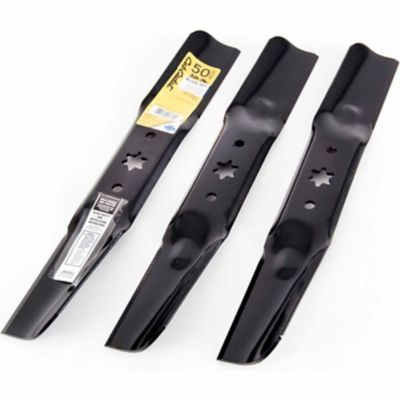
The center hole is one of the most important details to match. Depending on the mower, a 42-inch deck may use a star-shaped, multi-point, or round mounting pattern, and the number of points can vary. Some blades use five-point or six-point star centers, while others rely on a different spindle design. The outside length alone is not enough to confirm compatibility. Also check whether the replacement blade has the right lift profile and mounting hardware for the deck. Mulching blades often have raised or curved sections that create airflow under the deck, helping grass stand upright before it is cut and giving clippings more time to pass through the cutting path. That shape is useful when mowing ordinary lawn grass, but it still works best when the grass is not excessively tall, wet, or packed down. During the warmer part of the season, mowing regularly and removing only about one-third of the grass height at a time helps the blades mulch cleanly. As the weather cools and leaves begin mixing with the grass, make slower passes and avoid forcing a heavy layer through the deck all at once. Keep the mower deck reasonably clean so built-up clippings do not interfere with airflow, and inspect the blades for bends, deep nicks, cracks, or a noticeably rounded cutting edge. Hitting a hidden rock, root, fence post, or other hard object can damage a blade even when the mower continues to run. Dull blades tend to tear grass rather than slice it, leaving ragged tips that may turn pale or brown and making the lawn look rough a day or two after mowing. Sharpening may help a lightly worn blade, but a damaged or badly worn blade should be replaced rather than relied on for another season of hard work. For larger mowing decks, including other common sizes, you can also browse
48 Inch Lawn Mower Blades to find a closer match for a different machine.
Blade installation calls for a little patience and a clear work area. Park the mower on a level surface, set the parking brake, remove the key, and follow the mower manufacturer’s instructions before reaching under the deck. Disconnect the spark plug wire on a gas mower, or follow the appropriate power-disconnection procedure on an electric model. Wear thick work gloves, support or raise the deck securely as directed, and use a block of wood or another approved method to keep the blade from turning while the retaining bolt is loosened. Never depend on the mower’s brake or deck lift alone to hold things safely in place. Before removing the old blade, take a quick picture of how it sits on the spindle. The cutting edge belongs toward the direction of rotation, and the raised air-lift or curved portion generally faces up toward the mower deck; many blades have markings that identify the deck-facing side. Installing a blade upside down can reduce performance and may create a serious safety concern. Clean the spindle and mounting surfaces, seat the blade fully against the correct locating points, and tighten the retaining hardware to the mower manufacturer’s specified torque. If the deck uses more than one blade, replace or inspect both together so the cutting performance stays even. After installation, rotate the blades by hand with the engine disabled to make sure they move freely and do not contact the deck. A short test over a small patch of grass can confirm that the mower is cutting evenly, mulching without excessive clumping, and running without unusual vibration. Keeping a spare set of properly matched blades on hand can be especially useful for rural properties, where a quick repair may save a long trip into town and get the mowing finished before the next stretch of rain.