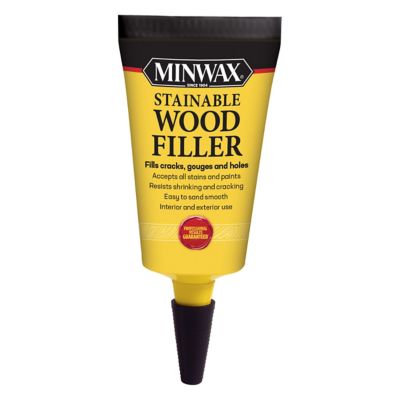
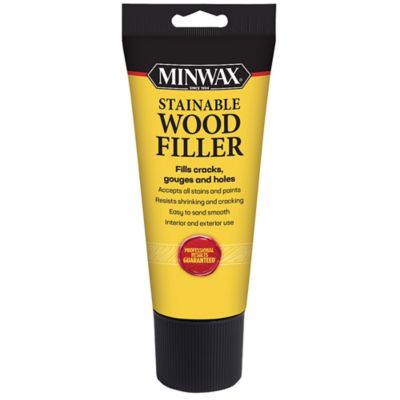
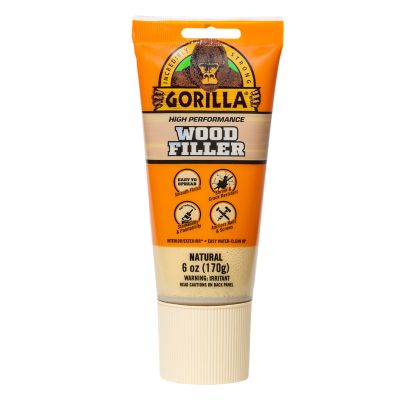
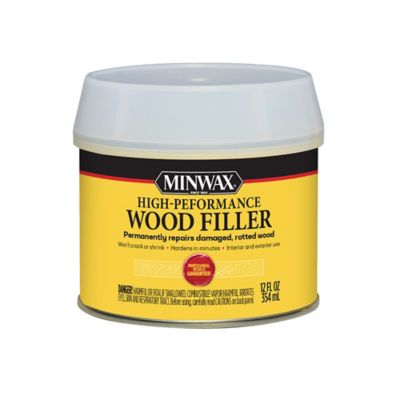
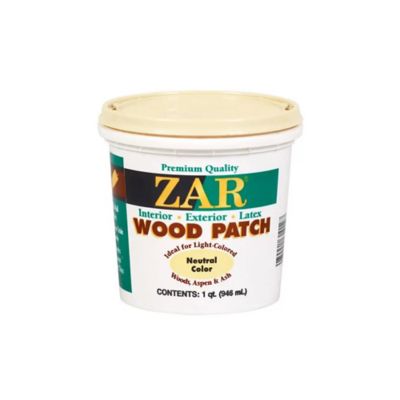
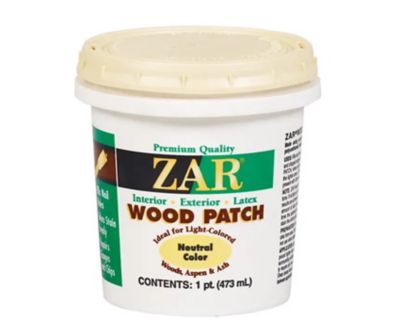
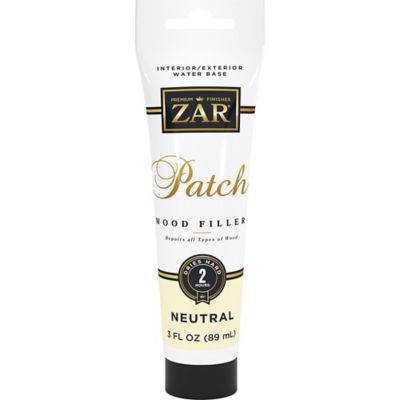
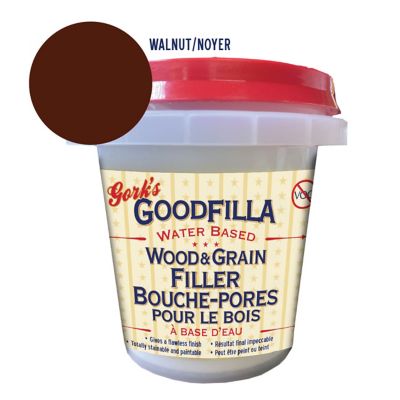
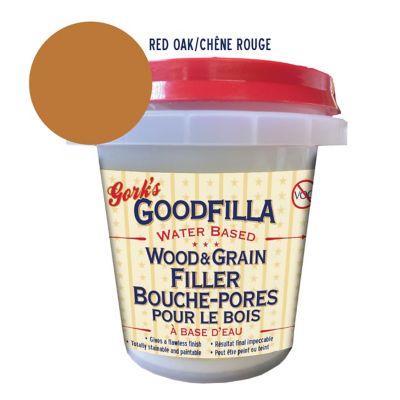
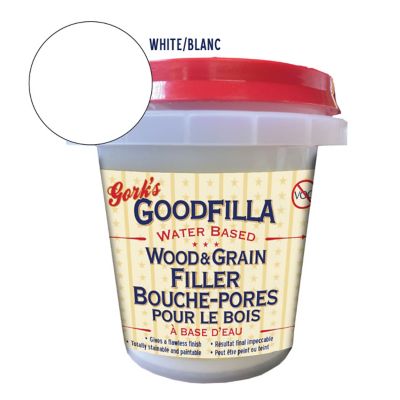
Wood fillers for doors are handy for the everyday wear that comes with a busy home, barn, workshop, or rental property. Doors take plenty of abuse: boots catch the bottom edge, pets scratch near the latch, moving furniture leaves a gouge, and years of hinge adjustments can turn small screw holes into loose, ragged openings. A good filler helps smooth those damaged spots so the door is easier to paint, stain, or seal. It can also freshen up a door frame, threshold trim, cabinet door, or other wood surface that has seen better days. When choosing a filler, start by looking closely at the damage. Small nail holes, shallow scratches, and narrow cracks usually call for a ready-to-use, one-part filler that spreads easily with a putty knife and cleans up with little fuss. Water-based formulas are a practical choice for many indoor repairs, especially when you want easy cleanup and a low-odor option; browse
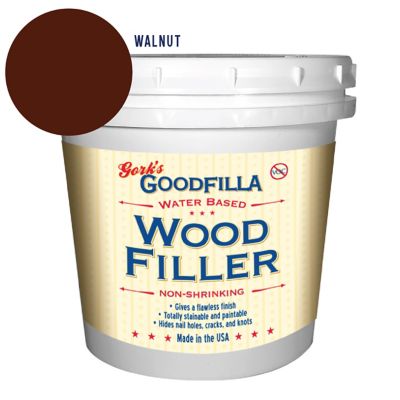
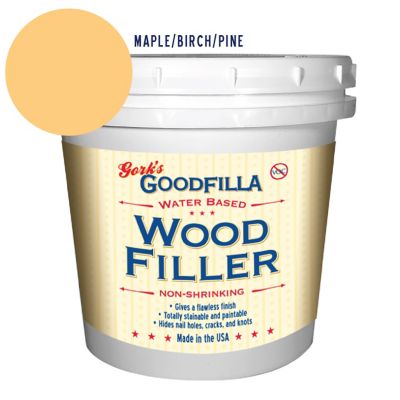
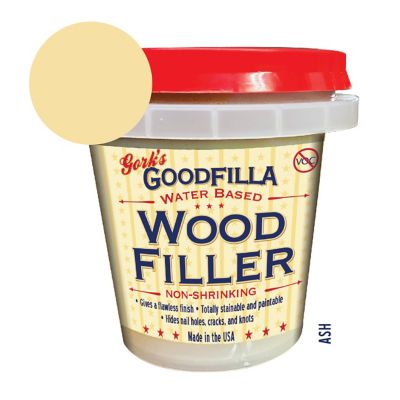
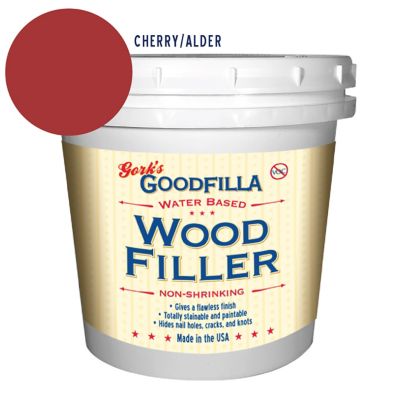
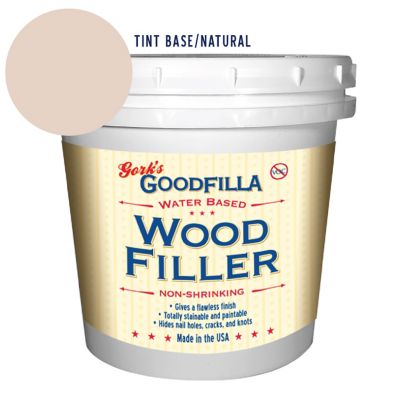
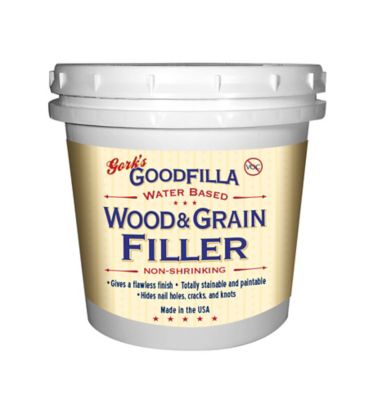
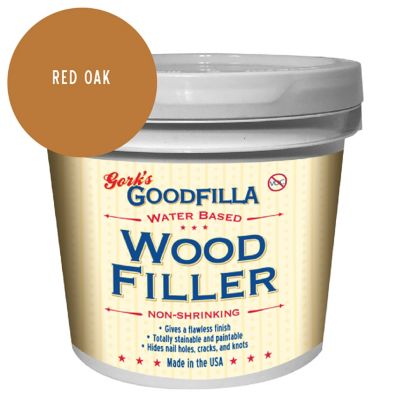
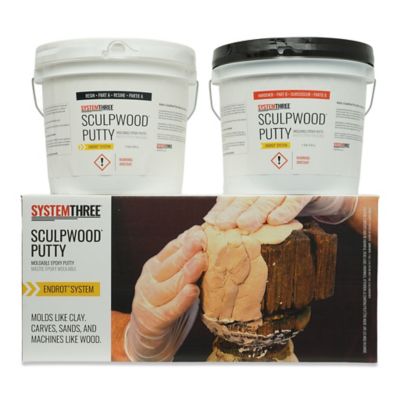
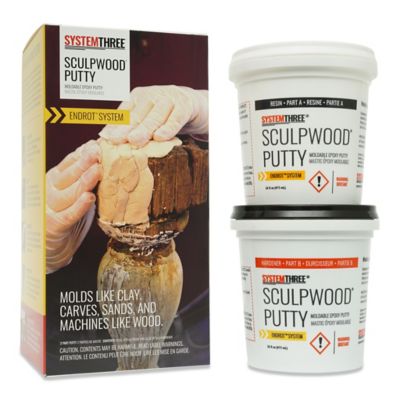
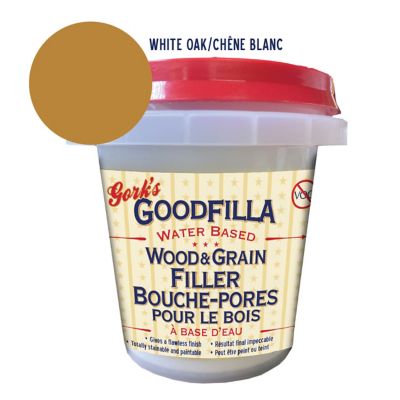
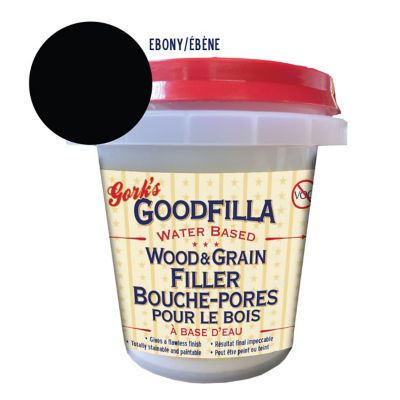
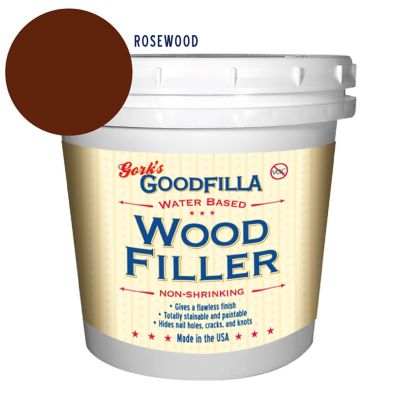
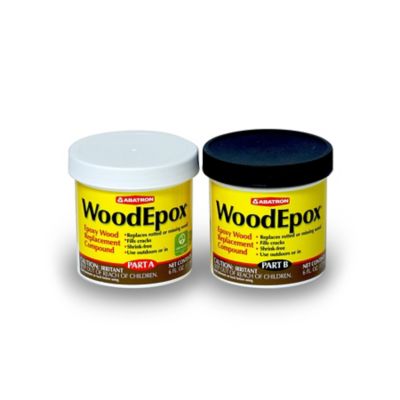
Water Based Wood Fillers for products suited to those projects. Deeper gouges, missing corners, crushed edges, and sections of wood damaged by moisture may need a two-part epoxy or polyester filler. These heavier-duty formulas are mixed before use and can harden into a firm repair that holds up better in a spot that needs shaping or added strength. Severely rotted wood should not simply be covered with filler, though. Soft or crumbling material needs to be removed first, and the area may need a wood replacement or other repair before filler is applied. For a stripped hinge screw hole, filler by itself is usually not enough to give the screw a solid bite. A small wooden dowel or piece of wood can be glued into the opening, trimmed flush after it dries, and then drilled for the screw. That approach gives the hinge something sound to hold onto instead of asking filler to carry the load.
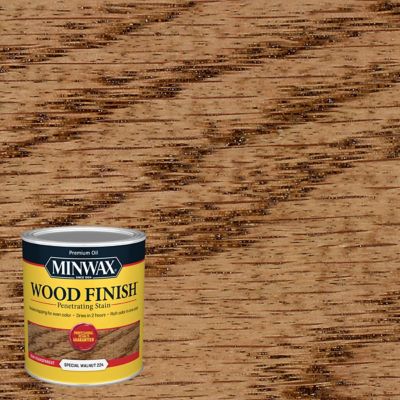
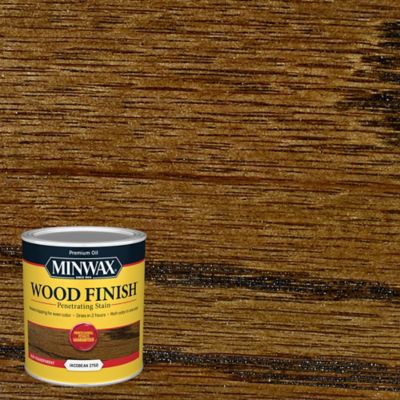
The finish on the door matters just as much as the size of the repair. Paint tends to hide a filled area more easily, while stain brings out differences in color and grain, so choose a filler that is labeled for the finish you plan to use. Some fillers can be sanded smooth and painted but do not accept stain in the same way natural wood does. If the repair will remain visible under stain or clear sealer, a stainable filler and a careful color match are important. Check whether the product is intended for interior or exterior use, too. An entry door, porch door, or outbuilding door faces changes in temperature and humidity, along with rain, dust, and sunlight. Interior fillers may be fine for a hallway door or bedroom door but can fail sooner when exposed outdoors. For exterior repairs, look for a formula made to handle weather and movement, and finish it with a suitable primer, paint, or sealant after the filler has cured. Keep in mind that wood expands and contracts, especially around unheated mudrooms, garages, and farm buildings. A flexible filler may be better for a small moving seam, while a rigid, heavy-duty filler is useful for rebuilding a damaged corner or filling a deep void. Always read the label for mixing ratios, working time, drying time, and recommended repair depth. Two-part fillers often set quickly, so have a clean mixing surface, putty knife, disposable gloves, and sanding supplies ready before combining the parts. For one-part fillers, a damp cloth may help with cleanup while the material is still fresh, but avoid adding water unless the label specifically allows it.
A clean repair comes down to preparation and patience. Remove loose splinters, flaking paint, dirt, grease, and soft wood around the damaged area. If the door is still hanging, protect the floor and hardware, or take the door down and lay it flat when the repair is large or located along an edge. Press filler firmly into holes and grooves rather than just skimming it across the surface, then leave the repair slightly proud of the surrounding wood so it can be sanded level after drying. Deep openings may need more than one application, with each layer allowed to cure according to the package directions. Start sanding with a medium grit and finish with a finer grit for a smooth transition. Run your hand across the area with your eyes closed; your fingertips often catch a ridge or low spot that is easy to miss while looking at it. Wipe away sanding dust before priming or finishing, since leftover dust can leave a rough texture under paint. These supplies are useful for homeowners handling a weekend fix, landlords preparing a rental between occupants, caretakers maintaining a farmhouse, and do-it-yourselfers restoring an older door instead of replacing it. They also make a thoughtful addition to a housewarming, workshop, or new-home gift basket when paired with basic repair tools and finishing supplies. During the cooler months, small door repairs can help keep drafts, dust, and moisture from finding their way through damaged edges and frames, while a fresh coat of finish helps protect the work as weather changes. With the right filler for the damage, a little time for proper curing, and careful sanding, a scarred wooden door can look smooth, solid, and ready for many more trips in and out.