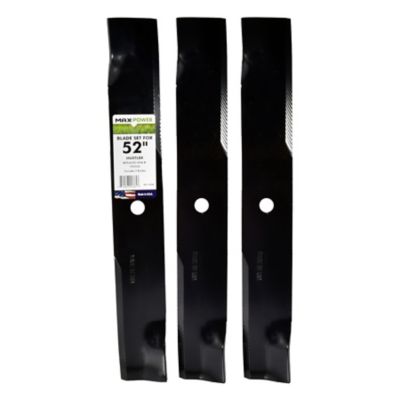
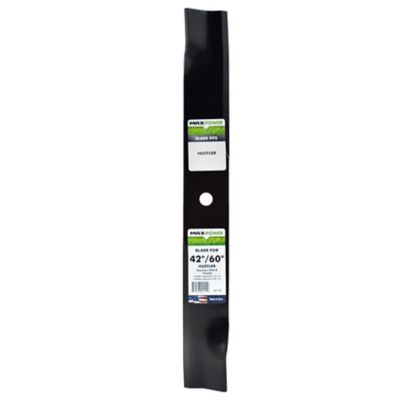
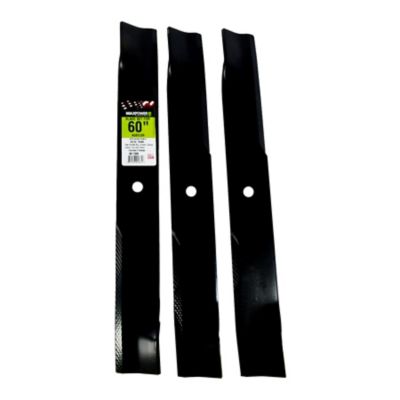
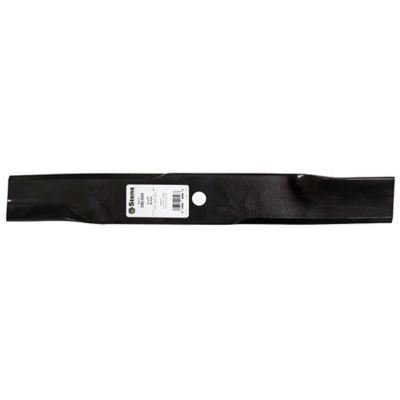
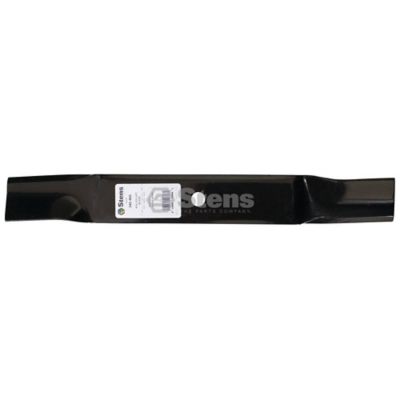
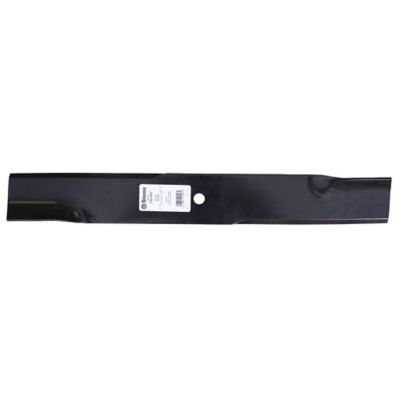
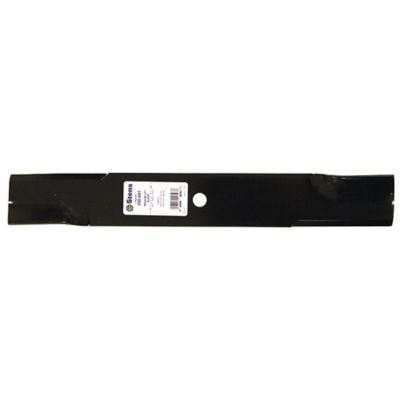
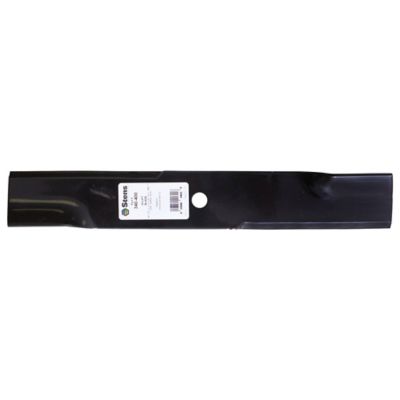
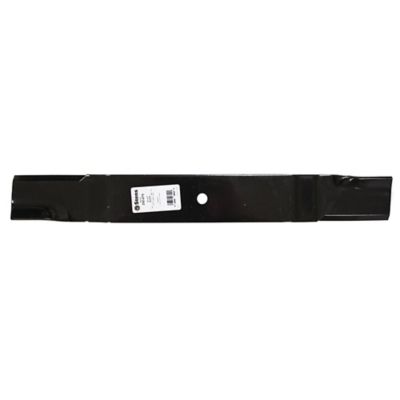
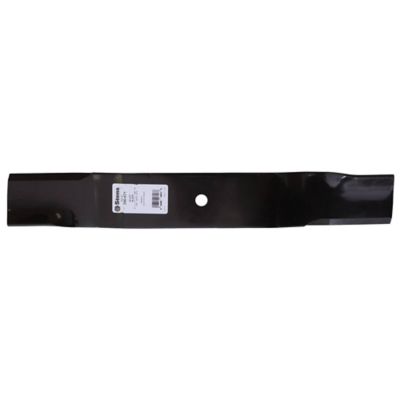
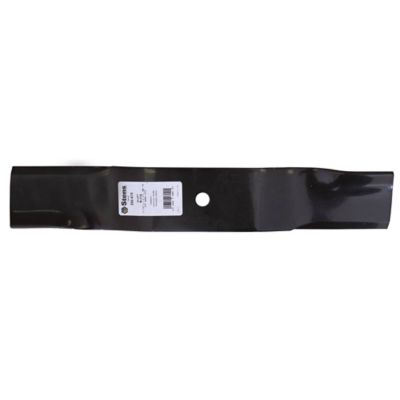
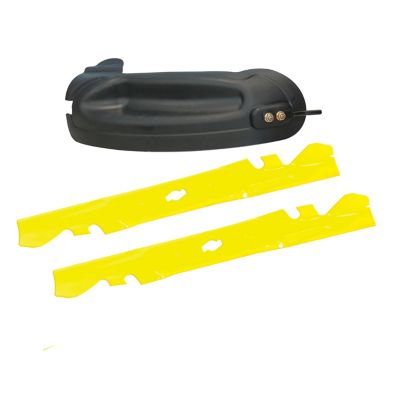
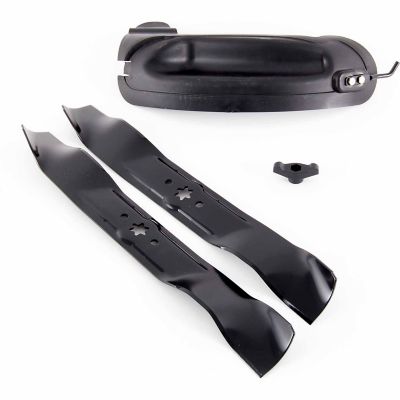
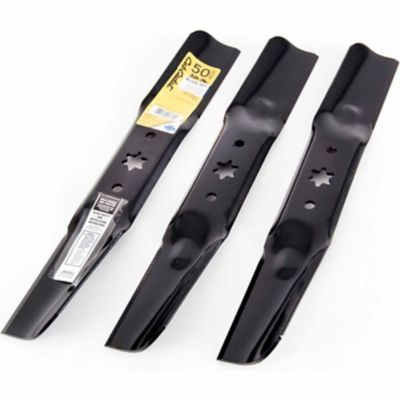
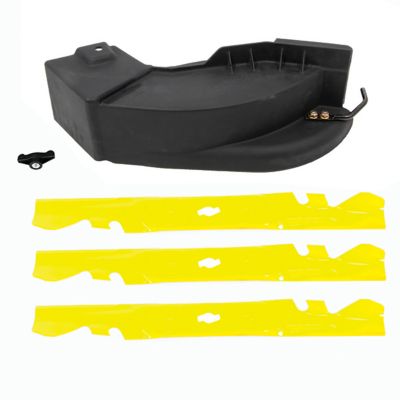
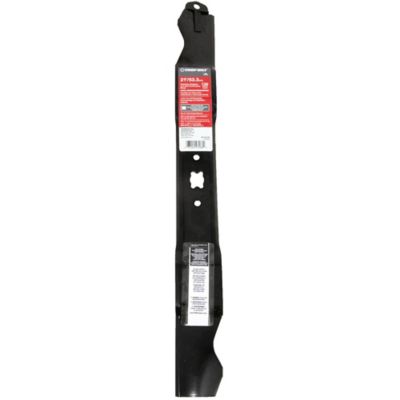
When a mower starts leaving thin strips of uncut grass, ragged tips, or a rough-looking finish behind, worn or damaged blades may be part of the trouble. Replacement mower blades help keep a zero-turn or riding mower working the way it should, whether you are caring for a few acres, maintaining a large lawn around the house, or keeping pasture edges and outbuildings looking tidy. Sharp, properly matched blades cut cleanly instead of tearing the grass, which can leave the lawn looking uneven and stressed. They also make routine mowing feel less like a chore when the deck moves smoothly through thick growth. During the cooler months, many folks take a little time to inspect the mower, scrape away built-up clippings, and replace worn parts before parking the machine for storage. Others may keep mowing whenever the grass is still growing, especially in milder areas. Either way, having the right replacement blades on hand can make seasonal upkeep easier and help reduce the chance of a last-minute parts run when the ground dries out and the grass needs attention. These blades are useful for homeowners, landlords, property managers, small-acreage landowners, and anyone who spends weekends keeping a rural property in shape. They can also make a practical gift for a parent, neighbor, or handy family member who takes pride in a neat yard and prefers to handle mower maintenance at home.
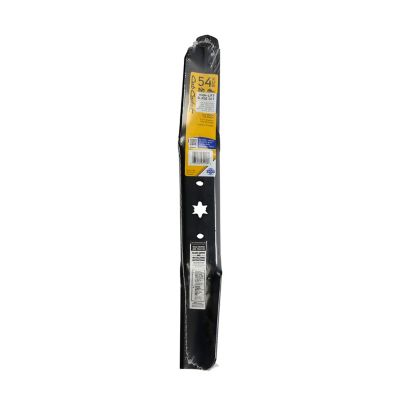
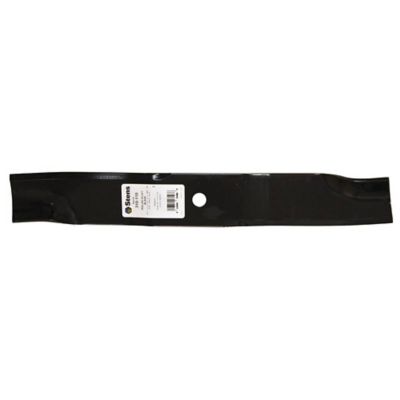
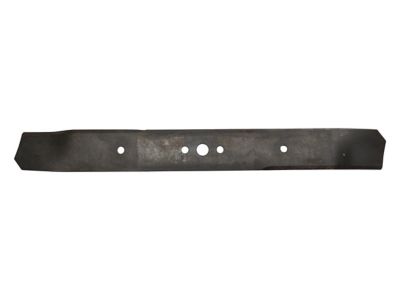
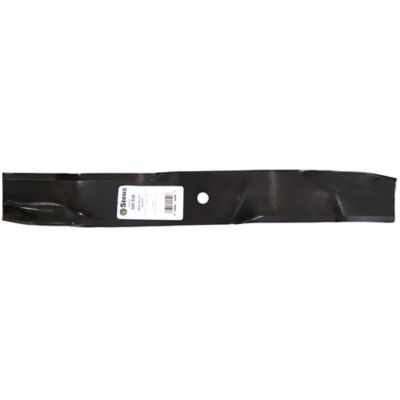
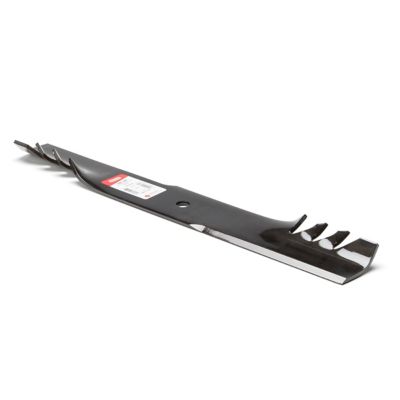
The most important step when shopping is matching the blade to the mower deck, spindle setup, and cutting system rather than choosing by appearance alone. Deck widths commonly range from the low 40-inch class through 48, 54, and 60 inches, but the correct blade length and the number of blades needed can vary even among mowers with the same advertised deck size. Check the owner’s manual, deck label, parts diagram, or the number stamped on the old blade before placing an order. Measure carefully if needed, including blade length, width, thickness, center-hole diameter, and the locations of any outer or star-shaped mounting holes. A standard center hole is common on many riding mower blades, but it is not universal, and a close-looking blade may not sit securely on the spindle. Many replacement blades are found in lengths around 16 1/2, 18 1/2, or 20 1/2 inches, while blade thickness is often near 0.203 or 0.204 inch; treat those figures as helpful starting points, not a substitute for checking the mower’s exact specifications. Some decks use a matched set of three, while other arrangements may call for different blade lengths in the same deck. The deck’s cutting style matters, too. Low-lift blades are often a good fit for regular side discharge and sandy conditions where excessive suction can pull up dust. High-lift blades create more airflow and may be helpful when clippings need to travel through a discharge chute or into a bagging system. Mulching blades are shaped to keep grass moving beneath the deck for additional cutting, making them useful when finely chopped clippings are returned to the lawn. Match the blade style to the way you mow, the kind of grass on the property, and whether you collect, discharge, or mulch clippings. For smaller walk-behind equipment, browse
Push Mower Blades to find options intended for that type of mower rather than assuming a riding mower blade will fit.
Before installation, park the mower on a level surface, shut off the engine, remove the key, disconnect the spark plug wires when appropriate, and follow the safety steps in the owner’s manual. Let hot parts cool, use sturdy gloves, and never rely only on a jack or lift to hold the machine in place. A solid block of wood can help keep the blade from turning while the retaining bolt is loosened, and a 24 mm or 15/16-inch socket is common on many mower setups, though the correct tool depends on the machine. An impact wrench can save time, but a hand tool gives you a better feel when removing or tightening hardware. Once the old blade is off, clean grass and packed dirt from the underside of the deck and look over the spindle, washers, and bolt for signs of wear. Install each blade with the curved lift wing, fin, or raised edge facing up toward the inside of the deck; the flat cutting edge faces down toward the grass. Installing a blade upside down can lead to poor cutting and unsafe operation. Tighten the fastener to the torque listed in the manual instead of guessing, then make sure the blade turns freely without contacting the deck. It is a good habit to replace blades as a complete matched set when the mower uses multiple blades, especially if one blade is badly bent or much more worn than the others. After installation, run the mower briefly at low speed in a clear area, listen for unusual vibration, and stop immediately if anything sounds or feels wrong. Bent blades, heavy vibration, frequent scalping, and a mower that struggles in ordinary grass can point to a larger deck or spindle issue. With the right size, mounting pattern, lift style, and careful installation, replacement blades can help deliver a cleaner cut and keep dependable mowing equipment ready for the next stretch of growing weather.