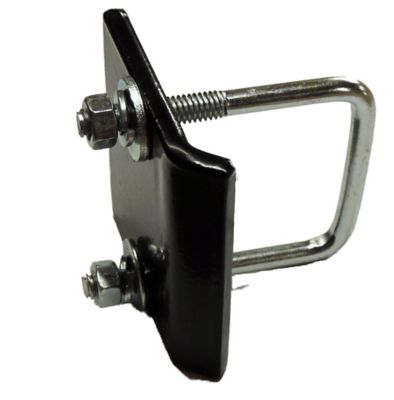
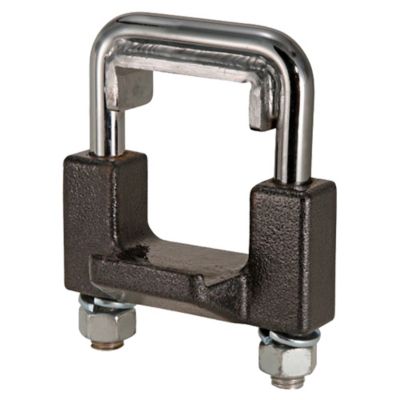
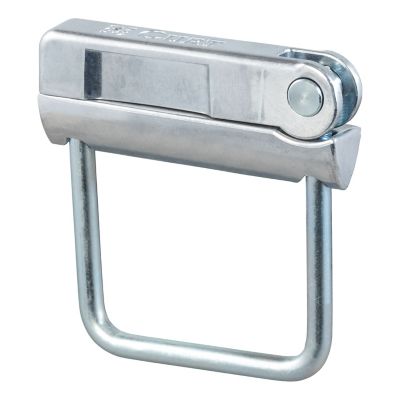
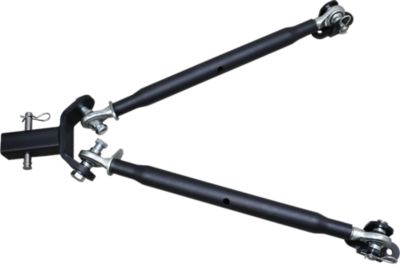
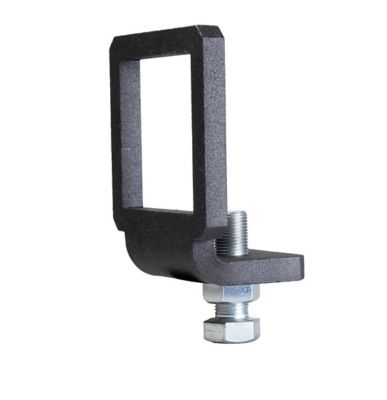
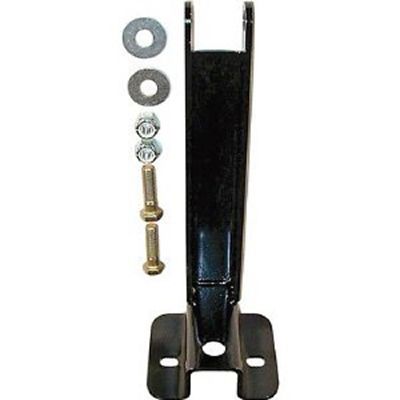
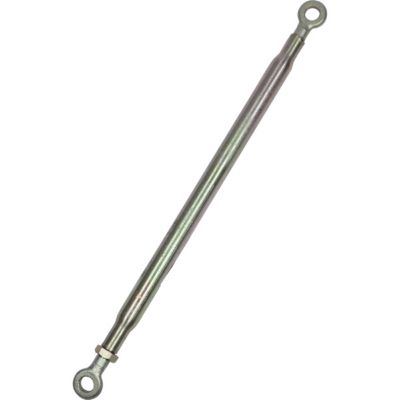
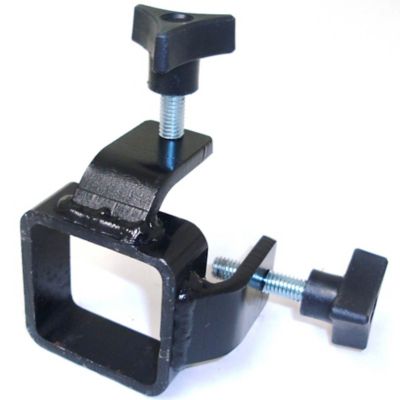
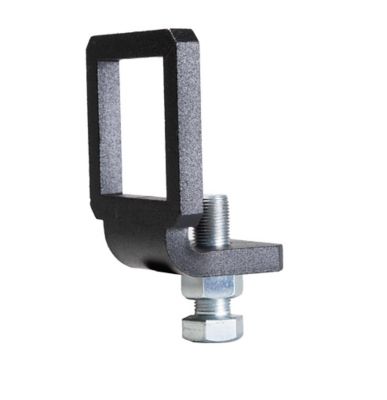
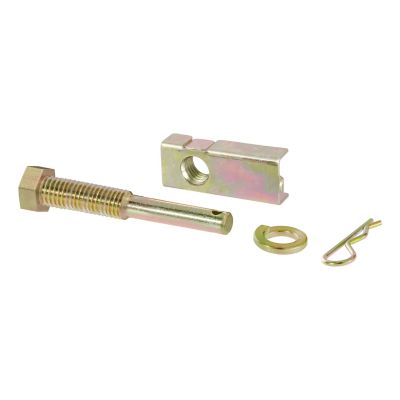
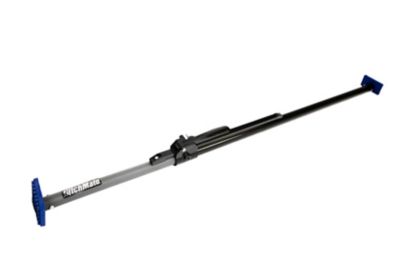
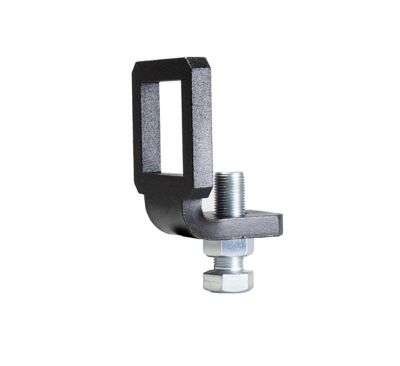
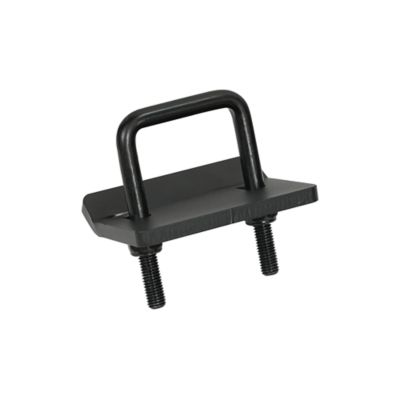
Hitch stabilizers help take the slack out of the connection between a vehicle’s receiver hitch and an accessory inserted into it. A standard hitch receiver has a small amount of clearance by design, giving a ball mount, bike rack, cargo carrier or other hitch-mounted item enough room to slide into place. That same clearance can allow the accessory to rattle, wobble and shift as the vehicle rolls over washboard gravel, potholes, rough pasture roads or uneven pavement. A hitch stabilizer, sometimes called an anti-rattle hitch clamp or hitch tightener, applies pressure to the accessory shank and the receiver tube to help hold those parts together. Many common styles use a U-bolt that fits around the receiver, along with a tightening plate and nuts that press against the shank. Once properly installed, the stabilizer can reduce the familiar metal-on-metal clank that echoes behind a truck and help keep a rack or carrier from bouncing around. It may also reduce repeated movement that can contribute to wear around the hitch pin opening and accessory shank. These useful additions are popular with folks hauling bikes to a trailhead, carrying coolers and firewood on a cargo basket, taking mobility equipment on the road or using a hitch-mounted step around the farm. If a receiver accessory rocks noticeably by hand or makes a steady thumping sound whenever the road gets rough, a stabilizer may help create a firmer connection. It is worth remembering that a stabilizer is not a replacement for the hitch pin, locking pin, safety chains, trailer brakes, weight-distribution equipment or sway-control equipment required for a towing setup. It is intended to limit play at the receiver and shank, while the rest of the towing system handles its own job.
Before choosing a hitch stabilizer, start by identifying the receiver size on the vehicle and the shank size of the accessory. Common receiver openings include 1-1/4-inch, 2-inch and 2-1/2-inch sizes, and not every clamp fits every combination. Measure carefully or check the vehicle and accessory paperwork rather than relying on appearance alone. A stabilizer must also have enough clearance around the receiver tube and shank for its U-bolt, plate or other clamping hardware. Look at the shape of the receiver, welded seams, safety-chain loops and nearby brackets, since these can affect how the stabilizer sits. Some designs are made for standard hitch accessories, while others are built for particular towing or recreational setups. Pay attention to the manufacturer’s stated use, weight rating and compatibility information, especially when the hitch carries a loaded cargo carrier, a rack with several bikes or equipment that will see frequent miles on rough roads. A stabilizer may quiet an accessory and reduce side-to-side movement, but it does not increase the vehicle’s towing capacity or tongue-weight rating. The vehicle, receiver, ball mount and accessory should all be rated for the load, with the lowest rating controlling the setup. Installation is usually straightforward: slide the accessory fully into the receiver, line up the hitch pin holes, install the required pin, position the stabilizer as directed and tighten the hardware evenly. Use the recommended torque when one is provided, and check that the clamp is snug without forcing hardware beyond its intended limit. After loading the rack or carrier, inspect the connection again. A short test drive at low speed can reveal shifting or unusual noise before a longer trip. It is also smart to recheck the fasteners after the first few miles and from time to time afterward, since vibration, dirt and repeated loading can affect a tight connection. Keep the contact surfaces reasonably clean, and inspect for bent hardware, stretched U-bolts, damaged threads or cracks before each season of use.
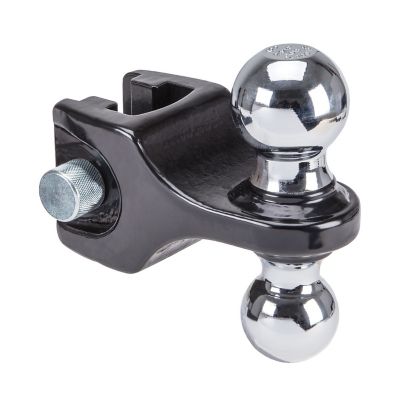
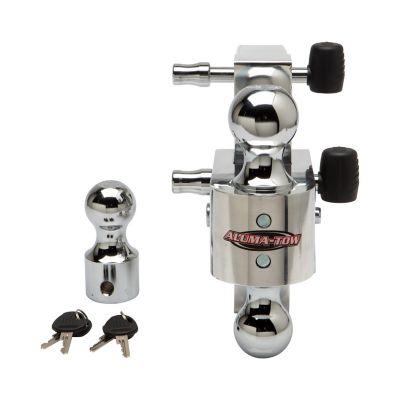
Hitch stabilizers can be a handy addition for anyone who spends time on the road with a receiver-mounted accessory, from a homeowner carrying yard supplies to a family heading out with bicycles during the warmer part of the year. They also make a practical gift for a camper, angler, hunter, cyclist, mechanic or new truck owner who already has a rack, basket or ball mount but is tired of hearing it rattle behind the vehicle. During cooler months, a steadier cargo carrier can be helpful for moving firewood, feed, tools, hunting gear or winter supplies without as much bouncing and clanking at the back of the truck. When choosing one, think about how often it will be installed and removed, how much road vibration the setup sees and whether the accessory needs to stay adjustable. A simple clamp may be a good fit for an occasional bike rack or light-duty carrier, while frequent hauling on gravel roads may call for heavier hardware and careful attention to the maker’s specifications. For a setup that needs changes in height or drop, take a look at
Adjustable Hitches as another part of planning the connection. Remember that stabilizers are generally most effective at the receiver-to-shank connection; they do not automatically stop movement elsewhere in a trailer, and they should not be used to correct an overloaded or improperly balanced load. Before every trip, make sure the accessory is fully seated, the hitch pin is secured, the stabilizer is tight, the load is tied down and lights and license plates remain visible where required. That few-minute check can make a noticeable difference when the road turns from smooth pavement to gravel, when a rack is loaded with muddy bikes or when a carrier is packed for a long day away from home. With the right fit and regular inspections, a hitch stabilizer can help keep your setup quieter, steadier and more comfortable to live with every time you pull out of the driveway.