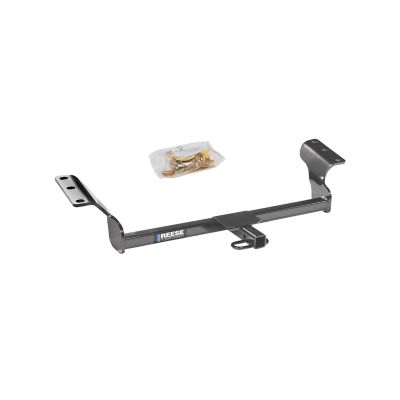
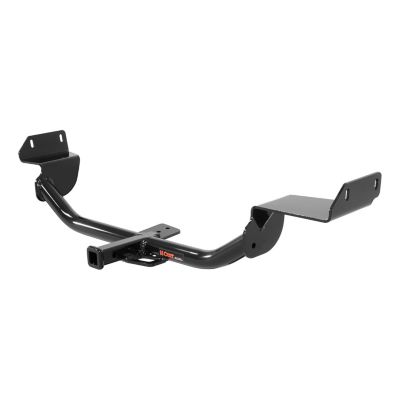
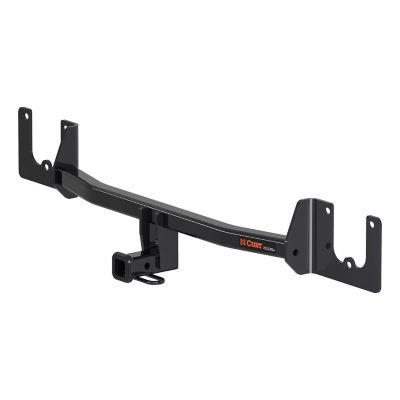
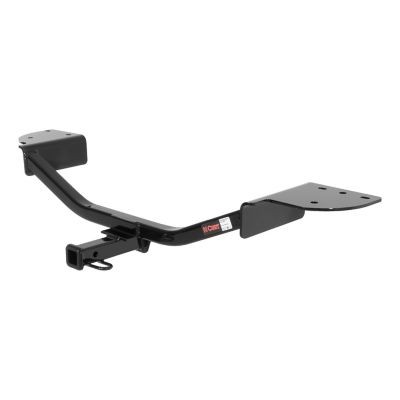
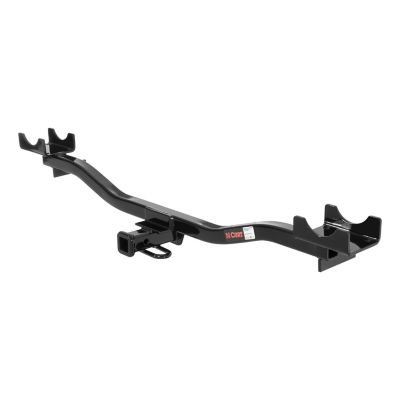
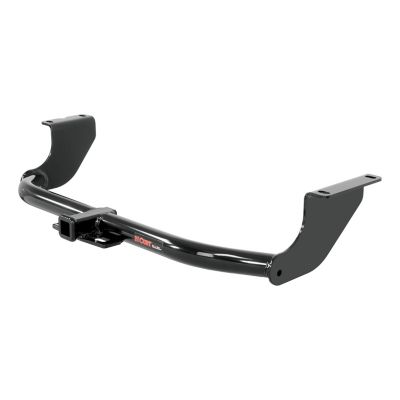
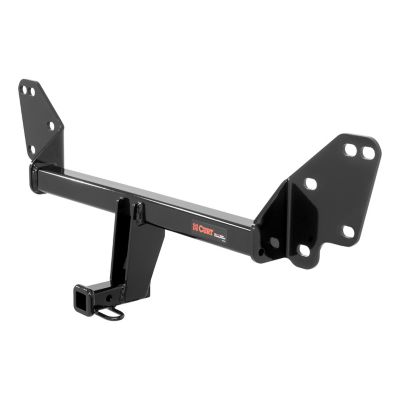
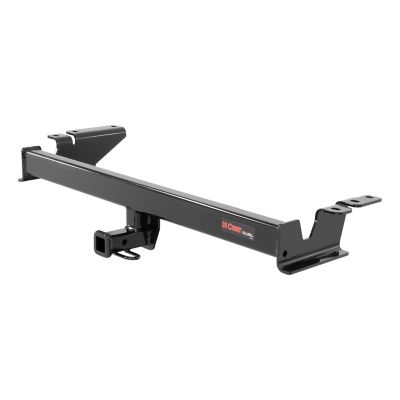
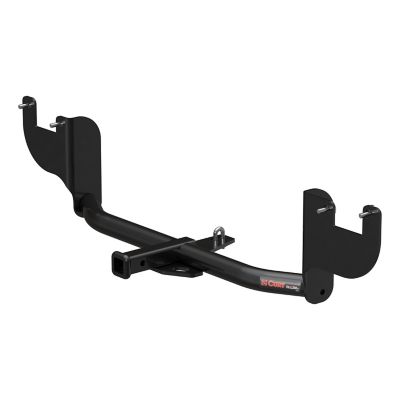
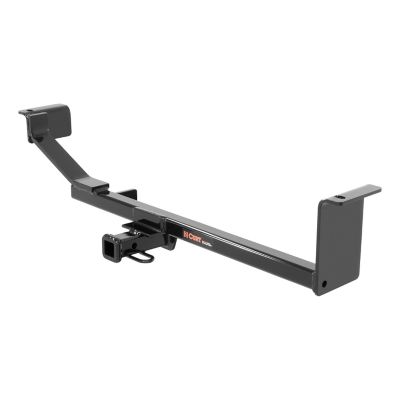
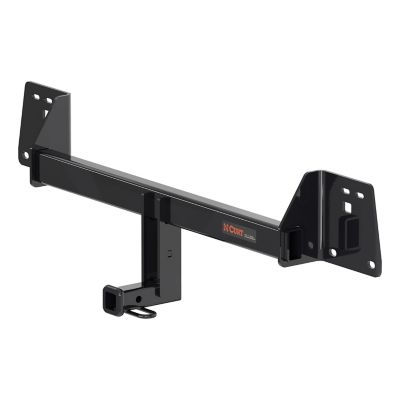
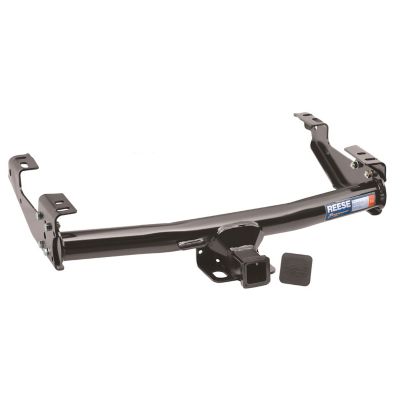
Class I hitches handle light-duty towing and certain hitch-mounted accessories without calling for the larger receiver found on many pickups. A typical Class I trailer hitch has a 1-1/4-inch-by-1-1/4-inch receiver opening and is rated for up to 2,000 pounds of gross trailer weight and up to 200 pounds of tongue weight. Gross trailer weight means the entire loaded trailer, while tongue weight is the downward force the trailer places on the hitch ball. Those numbers describe common upper limits for this hitch class, not a towing allowance for every vehicle or setup. The lowest applicable rating among the vehicle, hitch, ball mount, hitch ball, and other towing components sets the limit, and some applications have additional restrictions. For a compact car, sedan, small crossover, or certain minivans, a properly matched Class I hitch can provide a practical connection for a small utility trailer, a lightweight kayak trailer, or another light load within the vehicle’s approved capacity. A trip home with a few fence repair supplies or a little trailer headed to the boat launch is the kind of work this category can suit, provided the complete loaded weight stays within every rating. Trailer weight adds up faster than it may look: the trailer itself, a spare tire, tie-downs, tools, and everything loaded aboard all count. Tongue weight also counts toward the vehicle’s payload, along with passengers and cargo inside. Adding a receiver does not increase a vehicle’s tow rating or turn a passenger car into a work truck. Some vehicles permit an accessory carrier but do not permit trailer towing at all. That makes the vehicle owner’s manual and the hitch manufacturer’s application details just as important as the number stamped on the hitch. For everyday hauling needs, the right match is about the actual load and the vehicle carrying it, rather than choosing by receiver size alone.
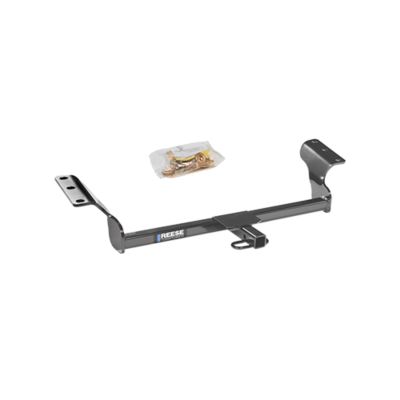
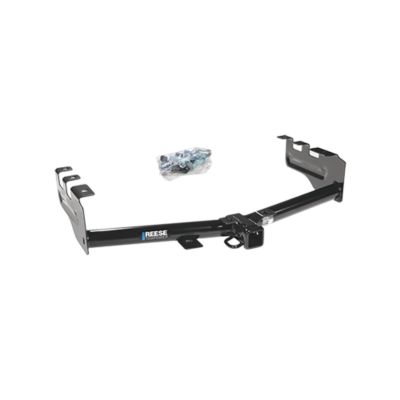
Vehicle fit is a big part of what separates one Class I hitch from another. These hitches commonly feature welded steel construction, a receiver tube, mounting plates, and a protective finish, with shapes and attachment points developed around particular vehicle applications. The cross tube may sit below the bumper or tuck partly behind it, depending on the vehicle and hitch design. Model year, make, model, body style, trim, and powertrain can all affect fit; two vehicles with similar names may have different exhaust routing, underbody panels, or mounting locations. Some installations line up with existing holes and approved attachment points, while others call for trimming, drilling, or temporarily moving components as specified in the installation instructions. A hitch that looks close is not a substitute for a confirmed application. Supplied or otherwise specified mounting hardware, proper fastener torque, and the manufacturer’s attachment method help the assembly carry its rated load. Professional installation can make sense when access is tight or the job calls for tools beyond the home toolbox. Ground clearance and bumper clearance also matter, especially on lower cars pulling into a sloped driveway or crossing a pronounced dip. A receiver’s position affects which approved ball mount can keep a trailer level and whether an accessory has room behind the vehicle. Powder-coated or painted finishes help protect steel, but scraped edges, damaged coating, and trapped road grime still deserve attention. Routine care generally includes cleaning away buildup, inspecting exposed metal and weld areas, checking hardware as directed, and addressing finish damage according to the manufacturer’s recommendations. Cracks, bent parts, or badly corroded mounting areas need evaluation before another load goes on. When comparing receiver sizes,
1-1/4 Hitches provides a related category to explore, but that opening size alone does not establish hitch class or accessory compatibility. Class I and Class II receivers can share the same opening dimensions while having different ratings and fit requirements.
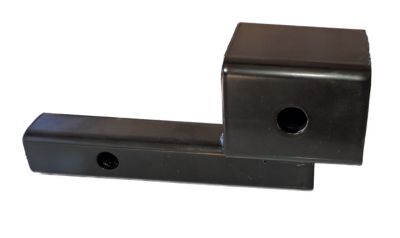
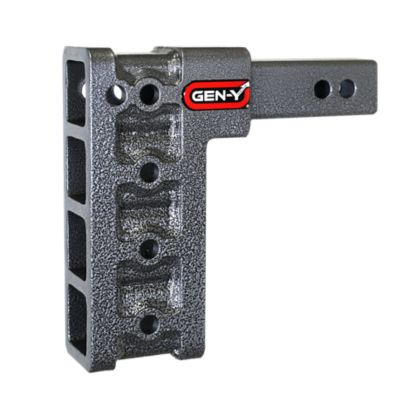
The connection behind the receiver deserves the same attention as the hitch itself. For trailer towing, a Class I-compatible ball mount needs the appropriate rating and the manufacturer-approved rise or drop for the application. The hitch ball must match the trailer coupler’s marked size, and its shank must fit the ball mount correctly. A suitable hitch pin or approved locking pin holds the mount in place; an improvised fastener is not a stand-in. Trailer wiring, working lights, designated safety-chain attachment points, and any required braking equipment are separate parts of a complete towing setup. A receiver by itself does not provide those functions. Load placement matters, too: a trailer with too little tongue weight can sway, while too much can overload the hitch or vehicle and affect handling. The trailer and vehicle manufacturers’ loading directions provide the applicable limits. Beyond towing, Class I hitches may support compatible bike racks or small cargo carriers, but not every accessory with a 1-1/4-inch shank belongs in a Class I receiver. Many Class I bike-rack applications are limited to two bicycles, and heavier bicycles can reach the permitted load well before all rack positions are filled. The rack’s own weight counts along with the bikes, just as a cargo carrier’s weight counts along with the bags or gear placed on it. Distance behind the receiver adds leverage, so tongue-weight capacity alone does not confirm that a long carrier or extension is suitable. Manufacturer approval for both the hitch and accessory matters. Receiver adapters do not raise the hitch’s rating and may introduce further restrictions; an adapter cannot make a heavy accessory appropriate for a light-duty hitch. Practical fit includes room to open the hatch, clearance from the exhaust, and visibility for lights and the license plate. Whether the plan is carrying a pair of bikes to a trailhead or pulling a small trailer for chores around town, Class I hitches serve best when the vehicle, connection hardware, accessory, and load all work within the same clearly established limits.