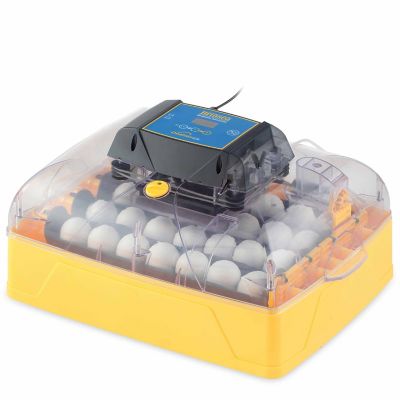
Chicken hatching supplies help turn a clutch of fertile eggs into a healthy group of chicks, whether you are tending a small backyard flock, adding birds to a homestead, teaching children about life on the farm, or preparing a hands-on classroom project. The right setup starts with a dependable incubator that can hold steady warmth and humidity, since developing eggs need a controlled environment from the time they are set until the chicks begin to hatch. When comparing
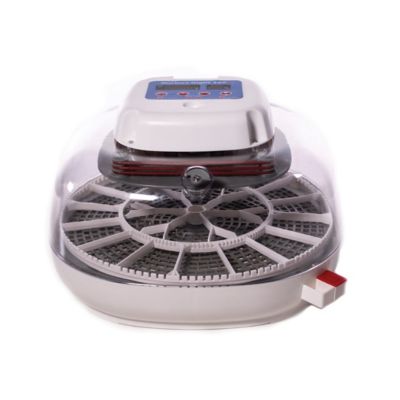
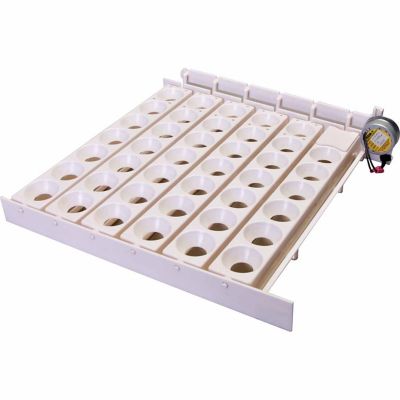
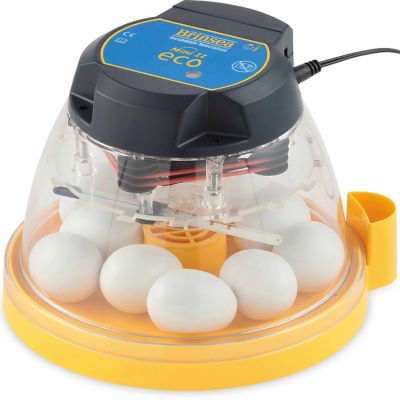
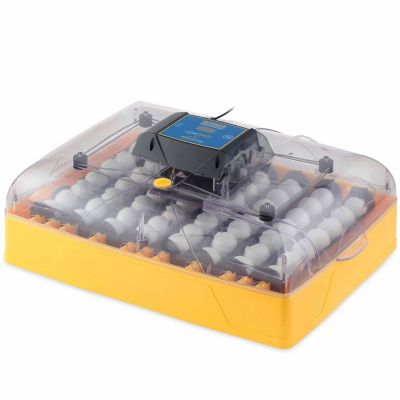
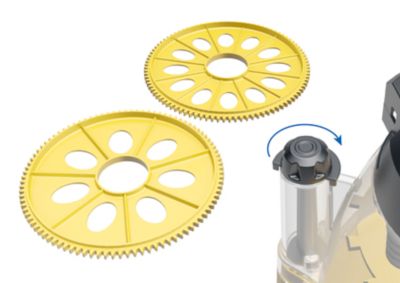
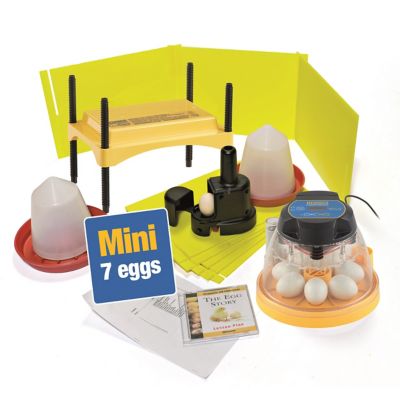
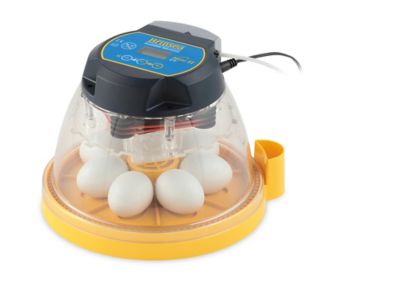
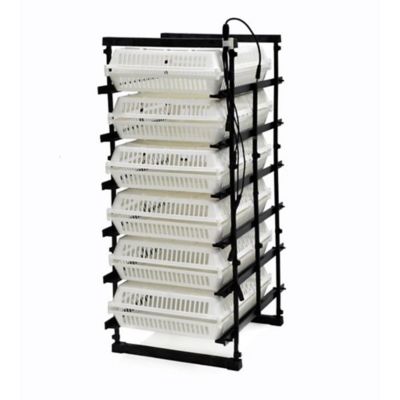
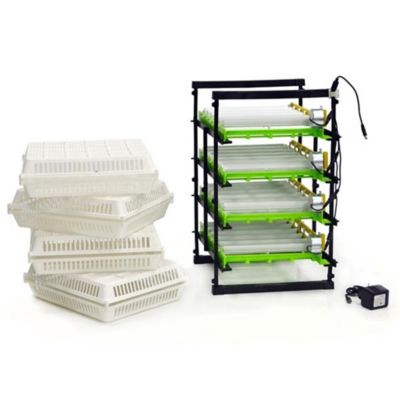
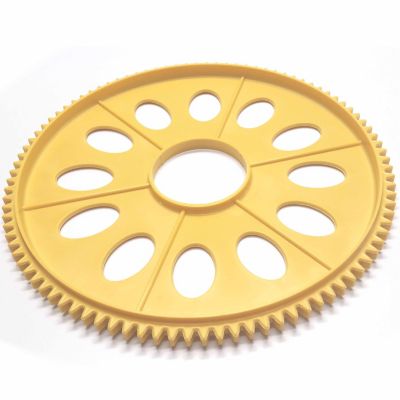
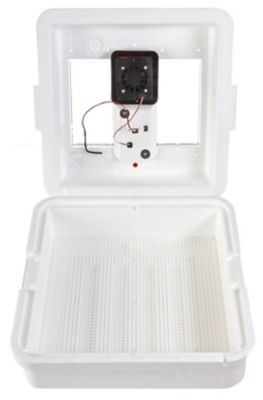
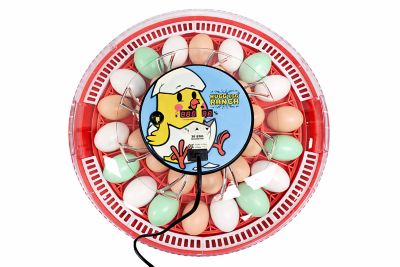
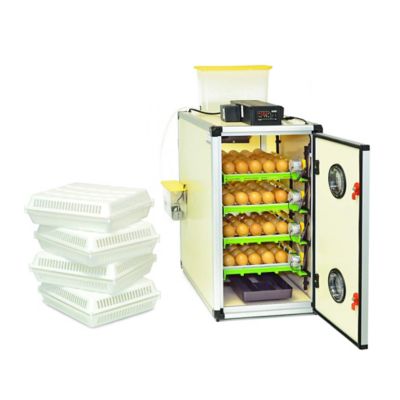
Egg Incubators, consider the number of eggs you plan to hatch, the size of your available space, how easy the controls are to read, and whether the unit includes features such as automatic turning or built-in temperature monitoring. A smaller capacity may suit a family flock, while a larger unit can be useful for a farm, poultry club, or 4-H project. Automatic turning can save time and provide consistent movement, while a manual setup may appeal to someone who enjoys checking the eggs as part of the daily routine. Whichever style you choose, place the incubator indoors or in another clean location away from drafts, direct sunlight, sudden temperature swings, curious pets, and heavy foot traffic. A quiet corner of a mudroom, utility room, or spare room often works well. Before setting eggs, allow the incubator to run long enough to confirm that it is holding the recommended temperature, and use a separate thermometer and hygrometer when possible to double-check its readings. Small changes in room temperature can affect the incubator, especially during cooler seasons, so a stable location makes the process easier to manage. Follow the instructions for the incubator and the poultry breed, since recommended settings can vary. Fertile eggs should be clean, undamaged, and handled gently, with the pointed end facing down when the design calls for upright placement. Avoid washing eggs unless the directions specifically recommend it, because the natural protective coating helps keep unwanted bacteria from moving through the shell.
Monitoring supplies give you a better view of what is happening inside the shell without disturbing the egg more than necessary. A candling lamp shines a bright light through the shell so you can look for signs of development, such as a network of veins or the growing shape of the embryo. Candling is best done in a dim room with clean, dry hands, and the egg should be returned to the incubator promptly so it does not cool. A thermometer helps confirm that the eggs are receiving the proper heat, while a hygrometer measures humidity, which affects moisture loss through the shell and the chick’s ability to hatch. Water reservoirs, vents, and humidity controls should be used according to the incubator’s instructions rather than adjusted by guesswork. As hatching day approaches, many setups call for turning to stop and humidity to change, giving the chick the best chance to move into position and break through the shell. Keep the lid closed as much as possible during this stage; opening it repeatedly can let out warmth and moisture and may make hatching more difficult. Hatching eggs can be a memorable gift for a young farm kid, a nature-loving family, or someone starting a backyard poultry project, but the supplies are only one part of the responsibility. Anyone receiving hatching equipment should have a plan for fertile eggs, chick care, housing, feed, and long-term flock needs before beginning. It is also wise to check local poultry rules and make sure there is a safe place for the birds once they outgrow the brooder. A notebook, washable marker, or simple tracking sheet can help record the date eggs were set, turning checks, candling observations, temperature readings, and hatch results. Those notes become especially handy when planning another hatch or comparing results after a change in location, egg source, or weather.
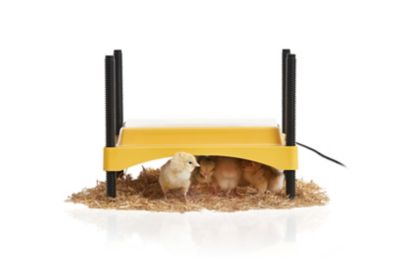
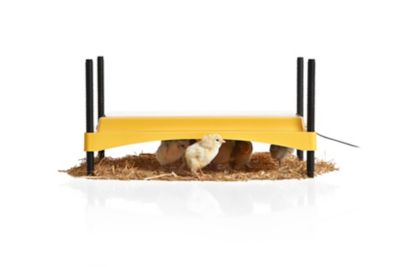
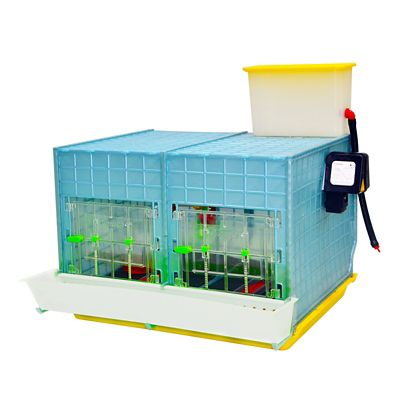
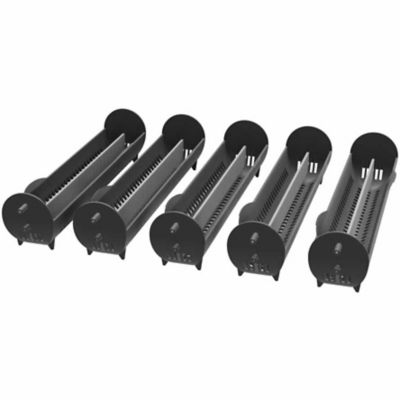
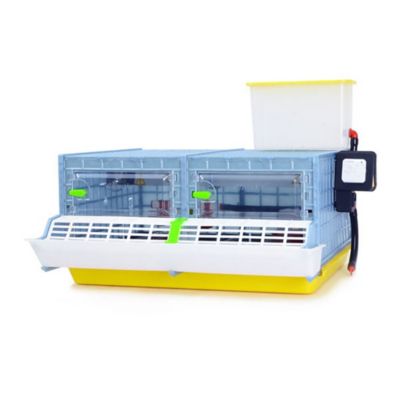
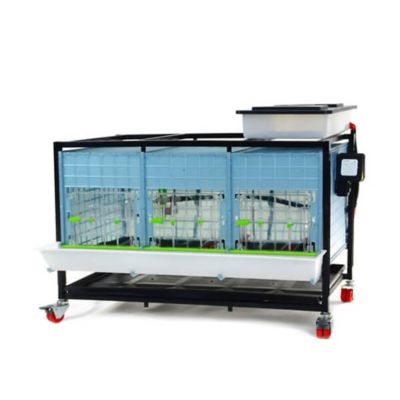
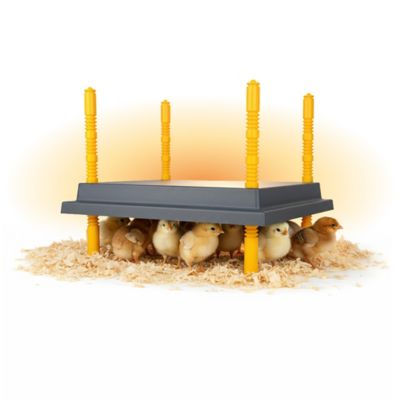
Once chicks hatch, they need a warm, secure brooder ready before the first shell begins to crack. A brooder box or enclosed tub should be roomy enough for the chicks to move away from the heat, tall enough to prevent escapes, and free of sharp edges, loose wire, and drafts. As the weather cools, keeping the brooder in a protected indoor area can make it easier to maintain a steady temperature, while good ventilation helps prevent dampness and stale air. A heat plate or properly secured heat lamp provides warmth, but any heat source must be installed with fire safety in mind and checked often. Chicks should have space to gather beneath the heat when they are cold and room to spread out when they are comfortable; their behavior is often a better signal than a number alone. Crowding directly under the heat may mean they are chilly, while constant panting or staying far from the warm area can indicate that they are too hot. Use clean, dry bedding that gives young feet secure footing, and replace wet or soiled areas promptly. Specially designed chick feeders and shallow chick waterers help reduce spills and keep small birds from climbing into their food or water. Fresh, clean water should be available at all times, and chick starter feed supplies the balanced nutrition needed during the early growing period. Avoid deep containers that could allow a chick to fall in, become chilled, or drown. Check the brooder several times a day for temperature, bedding condition, feed, water, and signs of weakness or piling. Keep the area protected from other animals, including household pets and older poultry. With dependable hatching supplies and a little daily attention, the scene can change quickly from quiet eggs beneath a warm lid to a lively brooder filled with soft peeps, bright eyes, and tiny feet scratching through clean bedding.