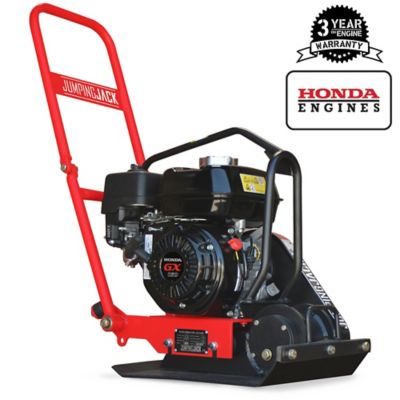
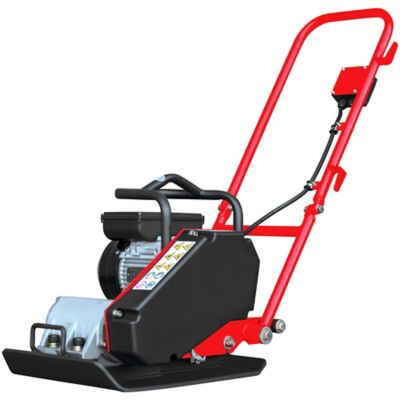
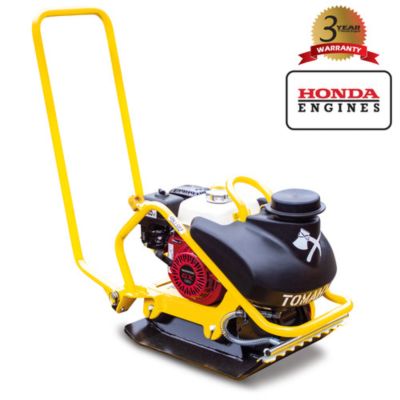
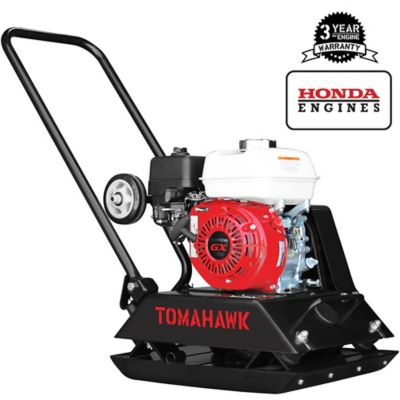
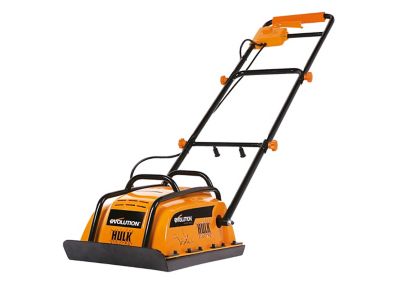
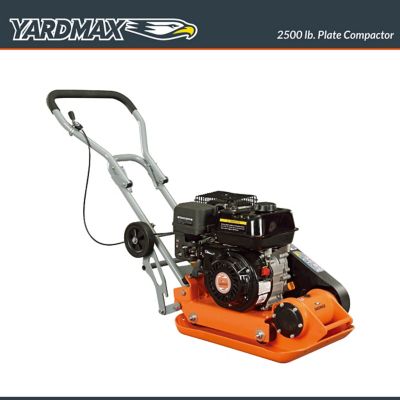
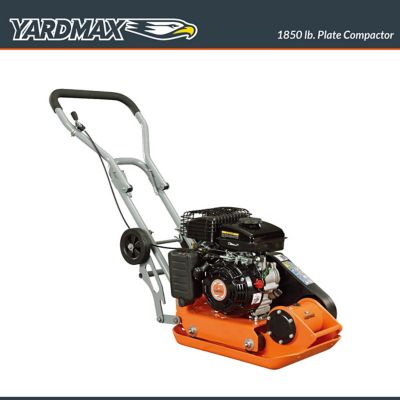
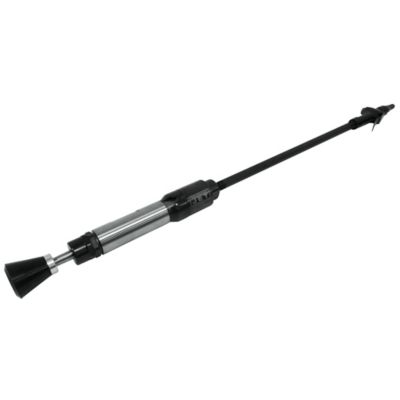
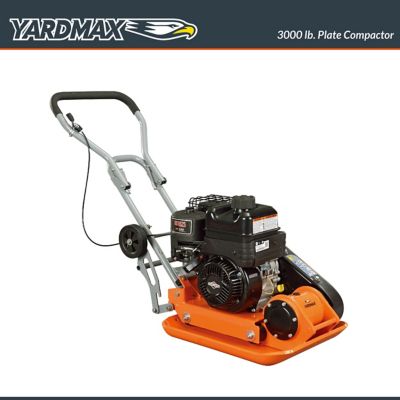
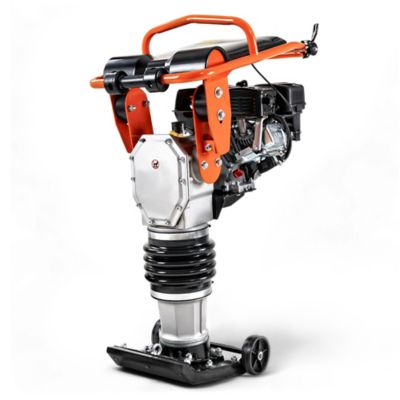
Soil compactors help turn loose, shifting ground into a firm, dependable base for the work ahead. Whether you are setting a paver walkway, preparing a driveway, building a shed pad, repairing a gravel lane or backfilling a narrow trench, the right compaction equipment removes air pockets and brings soil, gravel or other fill materials closer together. That added density helps limit settling, rutting, cracking and uneven surfaces after the project is finished. Compacting by hand with a tamper can work for a small patch, but larger areas call for powered equipment that delivers steady vibration or impact with every pass. Plate compactors, sometimes called vibratory tampers, use a flat steel plate that moves across the surface and are a practical fit for landscaping, paver installation, granular soil, gravel and other relatively open materials. Their walk-behind design makes them useful around homes, gardens, paths and other places where a larger machine cannot easily maneuver. Jumping-jack compactors, also known as rammers, deliver a strong up-and-down impact and are especially useful in narrow trenches or on cohesive soils such as clay, where a vibrating plate may not penetrate as effectively. Larger drum rollers are made for broad work areas such as roads, parking surfaces, foundations and substantial construction projects. When comparing equipment, start with the material and the size of the job, then consider compaction force, plate or drum width, operating weight, travel speed, handle design and the amount of clearance available around buildings, fences and landscaping. A wider machine may cover ground faster, while a narrower unit can reach tight spots and leave less handwork along edges.
Good results depend on more than machine size. Soil moisture plays a major role, and material that is slightly damp generally compacts more evenly than ground that is dusty and dry or saturated enough to smear and stick. If a handful of soil holds together briefly when squeezed but does not release water, conditions are often closer to workable; always account for the specific material and follow the equipment maker’s instructions. Spread fill in manageable lifts rather than trying to compact a deep pile in one pass. Layers around 3 to 4 inches thick are a common starting point for many residential projects, though the correct depth depends on the material, machine and required density. Run the compactor across each lift in overlapping passes, changing direction when the job allows, and pay close attention to edges, corners and transitions where loose material tends to remain. For a paver patio, that may mean compacting the prepared subgrade, then the base material, before adding the bedding layer. For a driveway or equipment pad, several well-compacted layers can provide a much more stable foundation than one thick layer that looks firm on top but stays loose underneath. Remove roots, soft spots, mud and organic debris before adding fill, and correct drainage concerns early so water does not undermine the finished surface. If your project involves crushed rock, decorative stone or similar aggregate, related equipment can be found on the
Stone Compactors page. Keep in mind that compaction is not the same as simply smoothing a surface. The goal is to densify the material throughout the lift, not just press down the top. Take time to check grade and slope as you work, since a well-packed surface still needs to shed water in the right direction.
Choosing a soil compactor also means matching the machine to the person using it and the conditions around the jobsite. Look for controls that are easy to reach, a handle that feels balanced, and a size that can be loaded, transported and stored safely. Heavier equipment may produce greater force, but it can be harder to turn, move across soft ground or guide along a foundation wall. A smaller walk-behind unit may be the better choice for a homeowner tackling a walkway, raised-bed area or small outbuilding pad, while contractors, property managers and farm operators may need equipment built for repeated use across larger areas. Anyone operating a compactor should wear sturdy work boots, eye and hearing protection, gloves suited to the task and clothing that will not catch on moving parts. Inspect the work area for buried utilities, loose debris and unstable slopes, and keep people and animals clear while the machine is running. Before each use, check fuel or power connections, fasteners, belts, guards and the condition of the compaction plate or drum. Follow the manufacturer’s directions for starting, operating and shutting down the equipment, and never reach beneath a raised or running machine. During the cooler months, damp ground may stay soft longer, while freezing conditions can make the surface appear firm even when the underlying material is not properly compacted. Give the ground time to drain when needed, and avoid burying frozen clods or placing fill over standing water. After the work is done, clean packed soil and gravel from the machine, inspect for damage and store it in a dry, protected spot. With the right compaction method, sensible lift thickness, workable moisture and steady overlapping passes, a small crew or careful property owner can create a foundation that holds up to foot traffic, vehicles, weather and the everyday wear that comes with life on a working place.