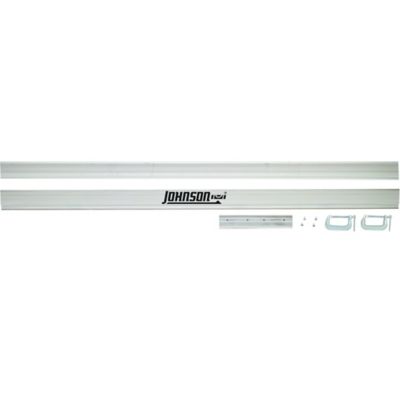
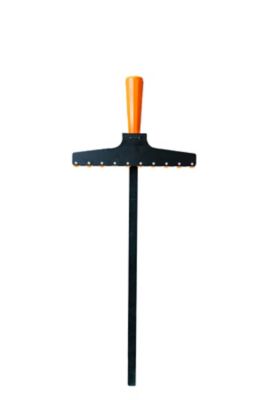
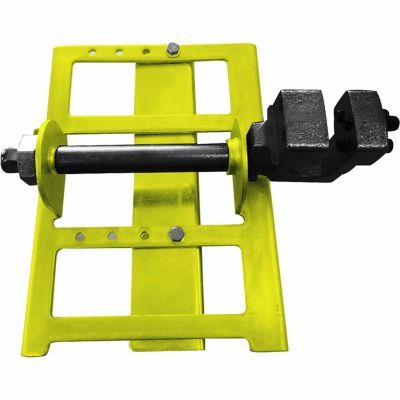
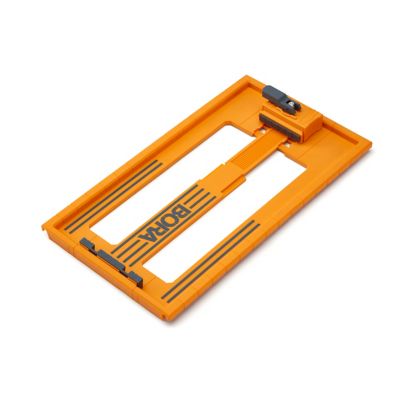
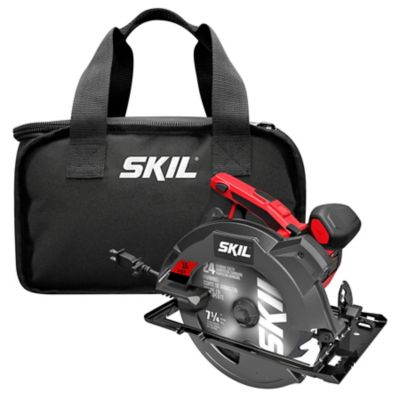
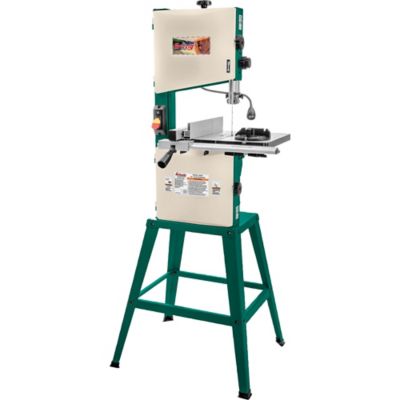
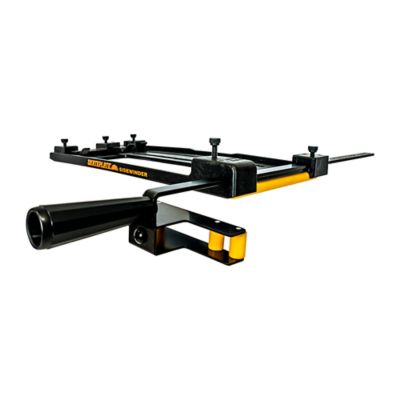
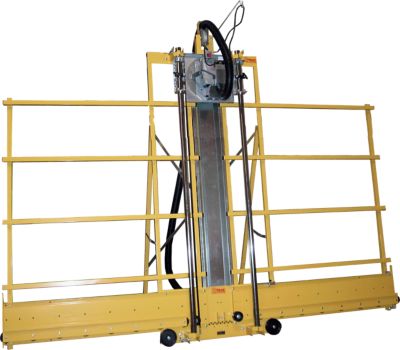
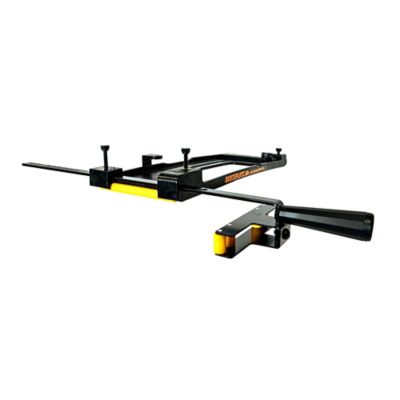
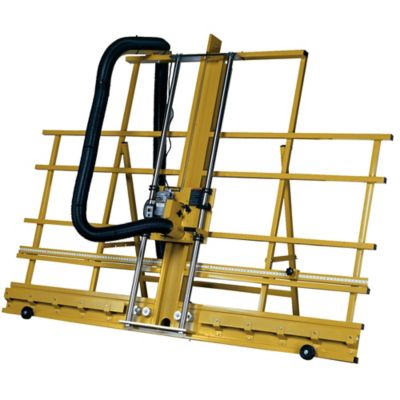
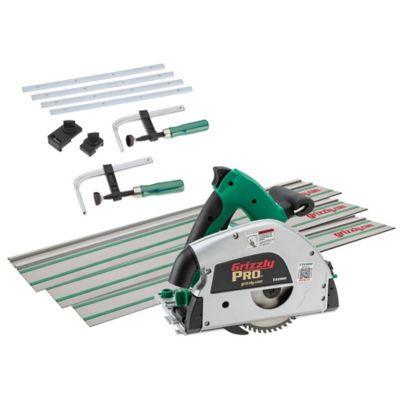
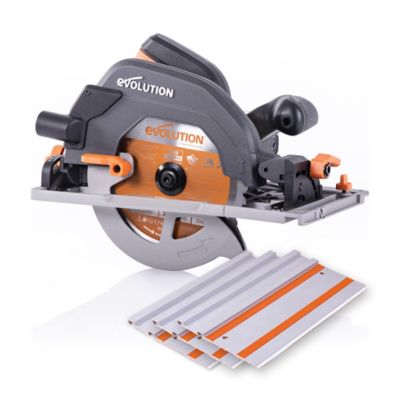
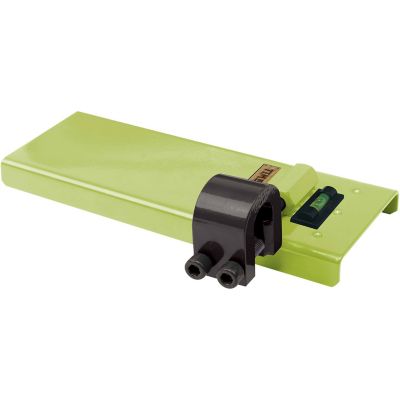
Saw guides are cutting accessories that help a compatible saw follow a set path for straight, consistent cuts. They come in handy when a pencil line alone isn't enough, whether you're trimming plywood for a feed-room shelf, sizing boards for a workbench or making matching panels for a storage cabinet. Different types handle different jobs. An edge guide, also called a rip fence, typically attaches to the saw and follows the edge of the workpiece, keeping the blade a set distance from that edge. It works best when the reference edge is already straight; a rough or bowed edge can carry those same imperfections into the cut. A straightedge guide clamps across the material and gives the saw's base a fence to ride against. A track-style guide provides a rail for a compatible saw or an attached sled, helping control its travel along the cutting path. Compact crosscut guides register against a board's edge to help position short cuts across its width, with some designs also supporting set angles. These differences matter more than appearance. Someone breaking down full plywood sheets needs enough cutting length and support for large panels, while someone trimming narrow shelving may get more benefit from a compact setup that moves easily between boards. An adjustable rip guide can simplify making several strips of equal width, provided its adjustment range suits the job. For angled cuts, look for a guide designed for that purpose rather than assuming a straight-cut accessory will handle every angle. Maximum cutting length, supported board width and attachment style all deserve a look before choosing. A guide's overall length isn't always the same as its usable cutting capacity, especially when the saw needs room to enter and finish the cut. The right match depends on the material, the cut direction and the saw already in the shop—not just how long the rail looks leaning against the wall.
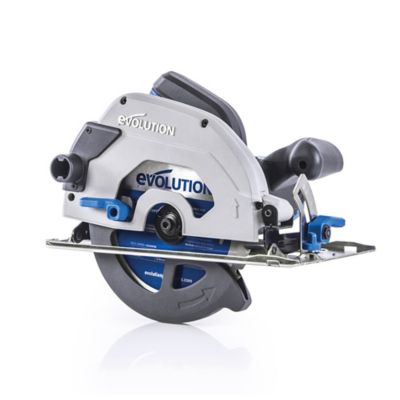
Saw guide fit starts with the tool itself. Circular saws, jigsaws and track saws don't all connect to guides the same way, and even saws in the same category can have different base shapes, mounting points and clearance needs. Check the guide's stated compatibility, including any required adapter or sled, along with restrictions on blade size, cutting depth and bevel settings. Blade-left and blade-right circular saw layouts can also affect how a guide fits and where the cutting line falls. With a straightedge setup, the distance between the blade and the edge of the saw's base determines where the fence belongs; placing the fence directly on the pencil mark won't necessarily put the blade there. A test cut on scrap helps confirm the offset before a good panel goes on the bench. Construction matters, too. Aluminum rails offer a practical balance of stiffness and manageable weight, while steel rods and clamping parts can provide firm support at adjustment points. Molded components can keep a sled or handle lighter, but their fit, reinforcement and adjustment hardware still matter. Look for secure locks, smooth sliding surfaces and connections that don't shift when tightened. On sectional rails, a well-aligned joint helps the saw travel without a bump or change in direction. Clamps should hold the guide firmly without getting in the way of the saw's motor, base or blade guard. Nonslip backing can help a rail stay put, but it doesn't replace any fastening method required by the manufacturer. Plywood, solid lumber and composite panels also behave differently under a blade. Thin panels can sag, long boards can rock and rough lumber may not give a guide a flat place to sit. A steady work surface and proper support for both the workpiece and the offcut help keep those conditions from spoiling the cut. For projects around a barn, garage or small shop, a setup that's straightforward to position and check often earns its keep faster than one with adjustments you'll rarely need.
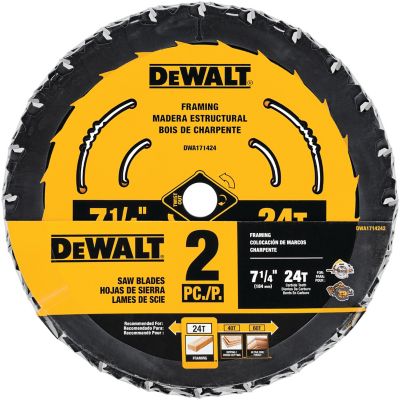
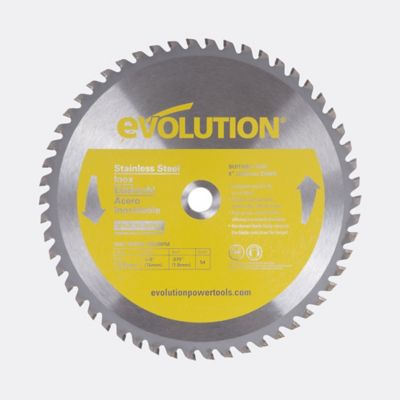
A saw guide controls the cutting path, but the blade still determines much of the finish. Tooth pattern, tooth count, blade condition and suitability for the material all affect how an edge turns out. Pairing the guide with suitable
Power Saw Blades helps match the cutting setup to tasks such as ripping lumber or crosscutting plywood. A guide alone won't prevent tear-out, straighten a wandering jigsaw blade through thick material or make a dull blade cut cleanly. Some rail systems have replaceable splinter strips that support surface fibers near the cut, though results still depend on the blade, material and setup. Consistent measurements matter just as much: allow for the blade's kerf, keep the waste side clear in your layout and check that repeated settings haven't shifted. A guide also doesn't eliminate binding or kickback. Follow the saw and guide manufacturers' directions, keep guards working as intended, wear appropriate eye and hearing protection, and disconnect power before fitting accessories or making adjustments. Long-term care is generally simple but worth keeping up with. Brush away sawdust before it packs into channels or collects beneath a rail, and wipe contact surfaces clean so debris doesn't lift the guide off the workpiece. Check clamps, fasteners, sliders and connectors for wear or looseness. Follow the manufacturer's cleaning and lubrication directions rather than adding oil that might attract grit or transfer to wood. Store long guides where they won't bend under other tools, and protect rail edges and alignment surfaces during transport. Replace worn strips or pads when the design allows it. For woodworkers, property owners and folks outfitting a first workshop, saw guides can make repeat work less fussy without taking up the floor space of another stationary tool. They can also be a thoughtful gift for someone who builds shelves or handles repairs, as long as the recipient's saw model and usual projects are known before making the choice.