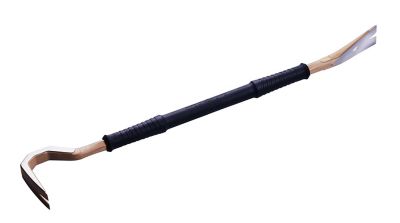
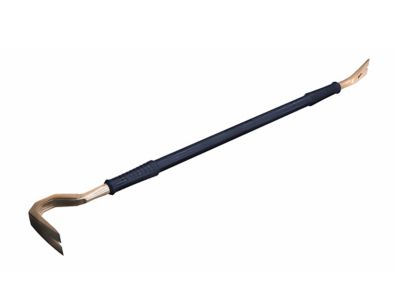
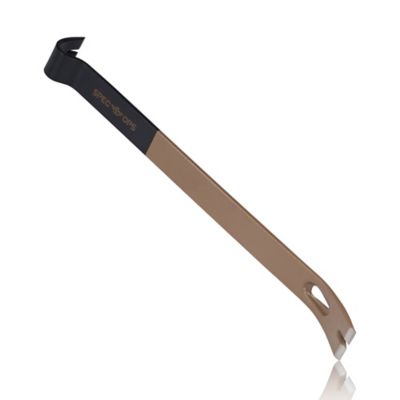
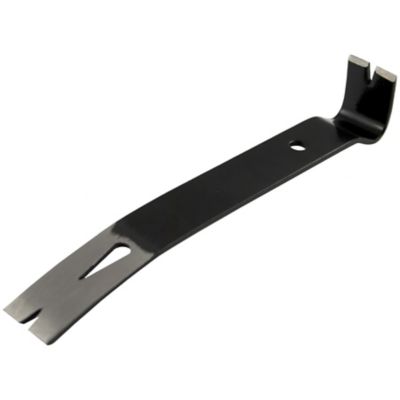
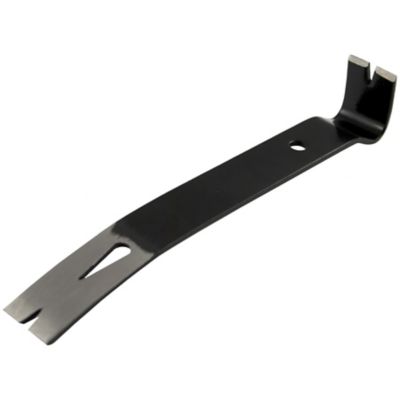
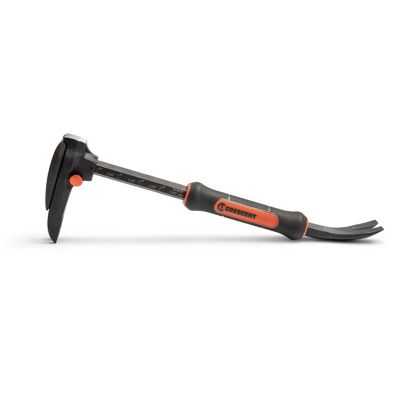
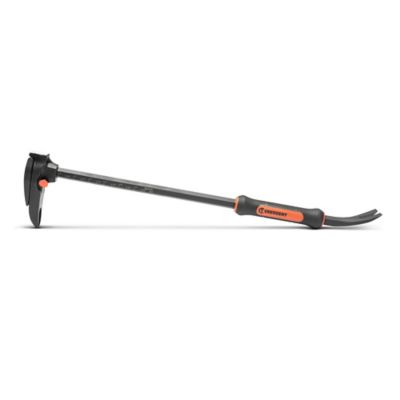
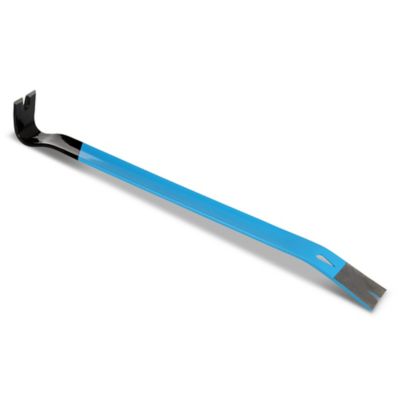
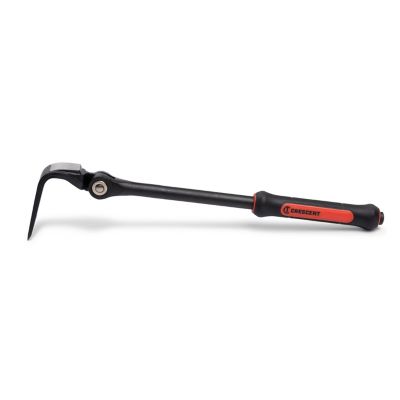
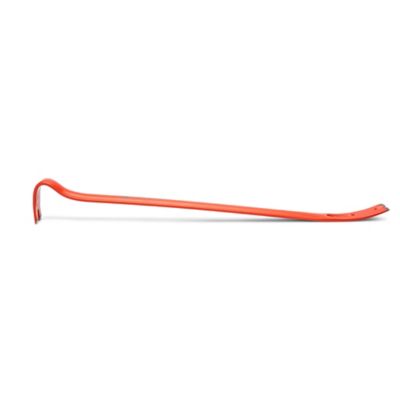
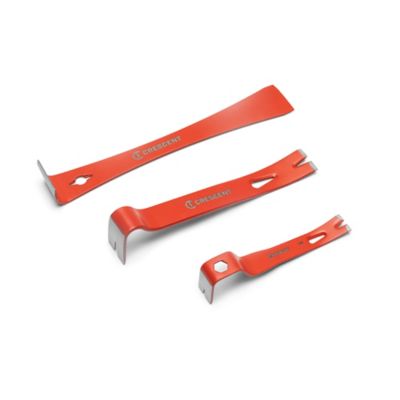
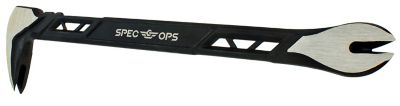
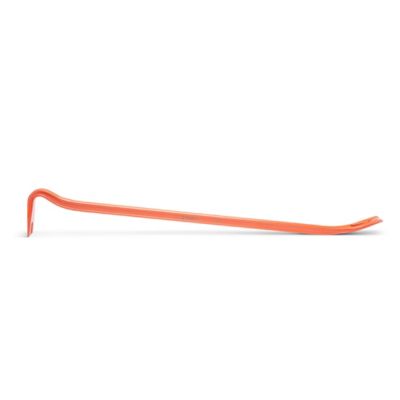
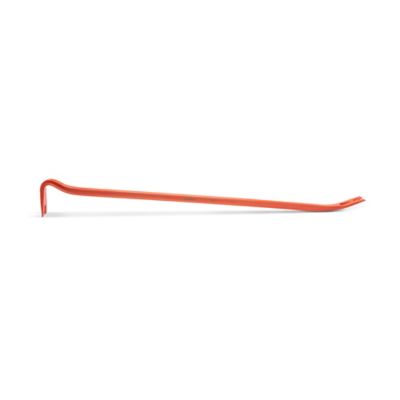
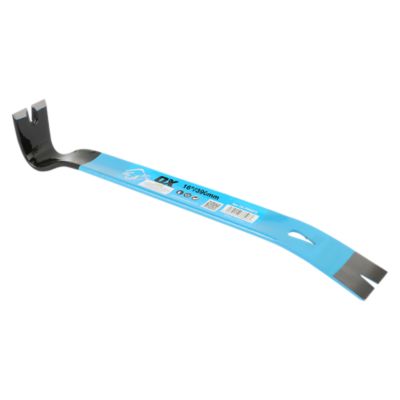
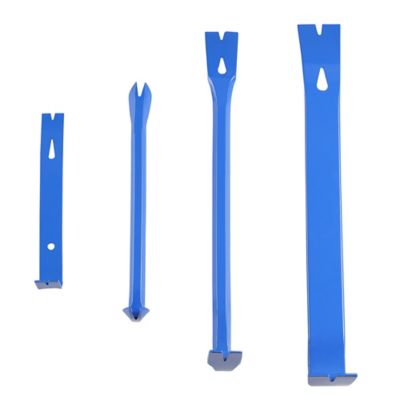
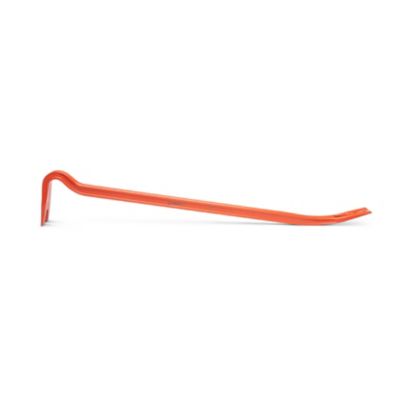
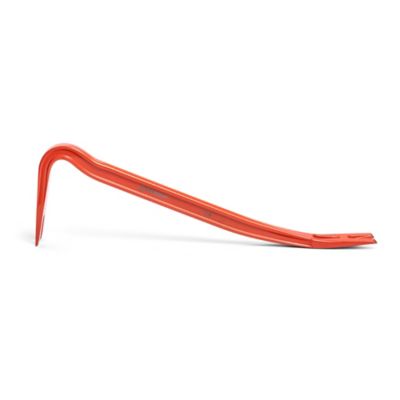
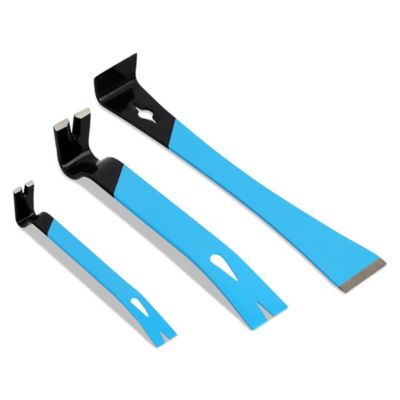
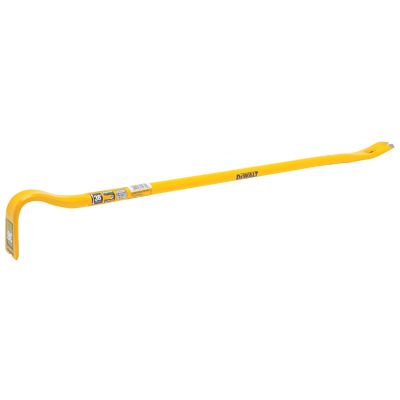
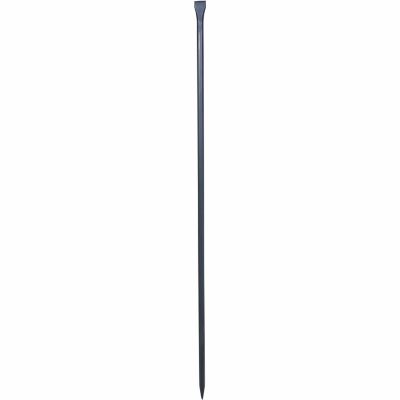
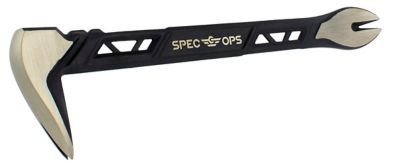
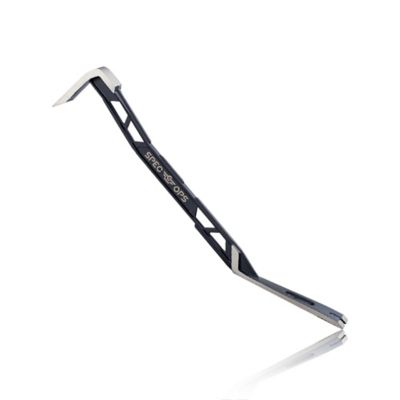
Pry bars for demolition bring leverage to the stubborn parts of a tear-out: nailed-down floorboards, tight trim, deck boards and framing connections that won’t come apart by hand. These tools turn pressure at the handle into lifting or separating force at the working end, helping loosen material around nails and other fasteners. Around a farm, shop or home renovation, that can mean opening up an old partition, stripping boards from a shed or lifting damaged flooring without swinging a hammer at every connection. The main styles handle that work differently. Flat pry bars have thin, broad ends that fit into narrow seams and spread pressure across a wider patch of wood. They’re handy for trim removal and other jobs where keeping the surrounding surface intact matters. Gooseneck wrecking bars have a pronounced bend that provides a pivot point for lifting and pulling nails, along with a straighter end for getting into joints. Indexing pry bars feature an adjustable head that locks at different angles, giving the handle more working room beside walls, between framing members or under low clearances. Demolition forks have spaced tines that reach around framing or support a wider section of decking or subflooring during removal, depending on their design. A fork suited to lifting boards serves a different purpose than a narrow bar meant to slip behind casing, so the material and connection matter as much as the tool’s size. Nail slots add another useful function by catching beneath nail heads or around exposed shanks, with slot shape and fastener size affecting how well they engage. For contractors, maintenance crews and property owners tackling repairs, a demolition pry bar is often the tool that bridges the gap between making an opening and getting a section loose. It also gives more control over separating connected pieces than simply breaking through everything in the way, especially when nearby framing or boards need to stay put.
Length, shape and construction all affect how a demolition bar feels once there’s resistance on the other end. Shorter bars, often around 12 to 18 inches, fit into cramped spaces and offer close control behind molding, beneath cabinets or between closely spaced framing. Longer bars, including lengths around 30 to 42 inches, provide more leverage when there’s room to move the handle through its arc. That extra reach can help with firmly nailed decking or flooring, but it also puts more force into the material and the surface supporting the bar. A longer handle isn’t automatically a better fit beside a wall or in a narrow hallway. Weight matters, too: a heavier wrecking bar may suit rough tear-out work, while a lighter flat bar can be easier to handle through repeated moves along a run of trim. Forged steel and heat-treated steel are common construction choices, with the bar’s cross section, bends and working ends contributing to its resistance to bending under its intended load. Some bars have a one-piece steel body; others include moving heads, locking mechanisms or separate grips that need attention during inspection. A tapered tip helps enter tight joints, while a broad blade offers more contact beneath a board. Handle shape and grip material influence comfort and control, particularly with work gloves on, though no grip replaces steady footing or a clean handle. Rubber or vinyl coverings may soften hand contact, but they shouldn’t be mistaken for electrical insulation. For jobs that call for driving a tip into a seam, only a bar with a manufacturer-designated striking surface belongs in that role. A thin edge, adjustable joint or covered handle isn’t a substitute for a striking face. The right combination comes down to where the tip needs to reach, how much clearance the handle has and whether the job calls for careful separation or straightforward removal.
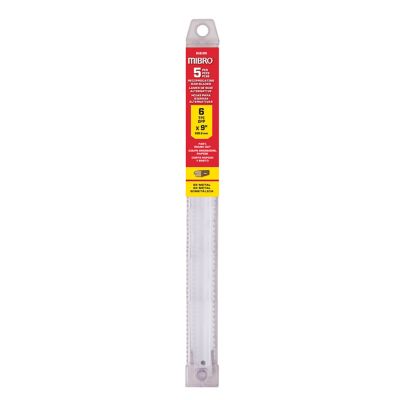
Good fit also means matching the bar to the fasteners and the structure behind the surface. A board held by screws may split rather than release under prying force, and cutting or removing the fasteners can make more sense than leaning harder on the handle. For tear-outs that involve both separating material and cutting through wood with embedded nails,
demolition reciprocating saw blades complement pry bars, with blade selection depending on the material and the saw’s requirements. That pairing can be useful around an old doorway, a damaged section of subfloor or a deck repair where some framing needs to remain untouched. Supporting surfaces deserve attention as well; a solid protective block can help spread pressure beneath a bar when the surrounding material needs to stay intact. Demolition still brings hidden hazards, including sharp fasteners, falling pieces and wiring or plumbing concealed behind walls. Eye protection, work gloves and sturdy footwear belong with the job, and structural connections or suspect lead paint and asbestos call for qualified assessment before disturbance. Pry bars aren’t lifting jacks, climbing supports or tools for working near energized electrical equipment. Their working condition matters from one project to the next. Bent shafts, cracks, chipped tips, loose grips or indexing heads that don’t lock securely are reasons to take a bar out of service. Dirt and splinters can hide wear around nail slots and moving parts, so cleaning after the job makes inspection easier. Dry storage helps limit rust, while a light protective oil on exposed steel may be appropriate when the manufacturer recommends it; gripping surfaces should stay clean and dry. Keeping working ends covered or secured also protects nearby gear during transport. For a toolbox that travels between the barn, workshop and renovation site, a pry bar matched to the work earns its space through leverage, access and control—not simply through being the biggest bar in the truck.