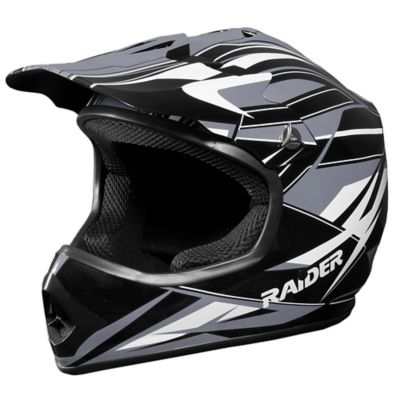
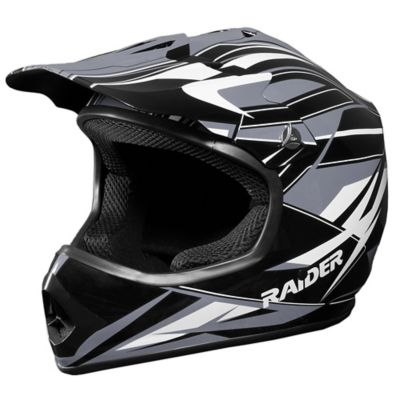
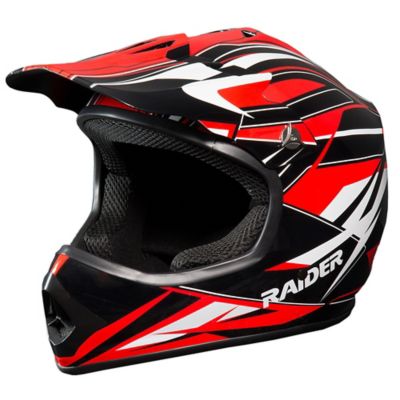
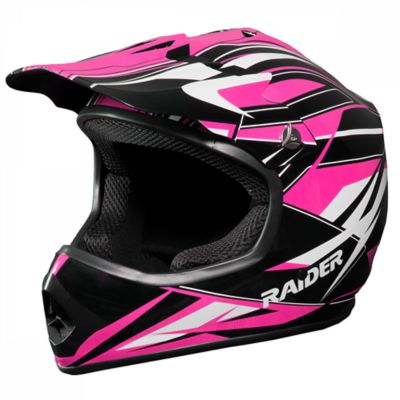
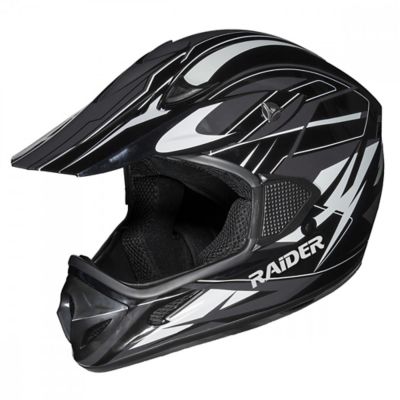
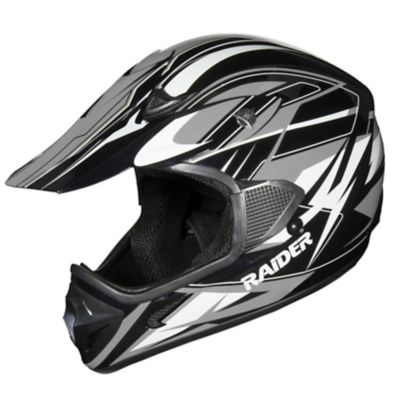
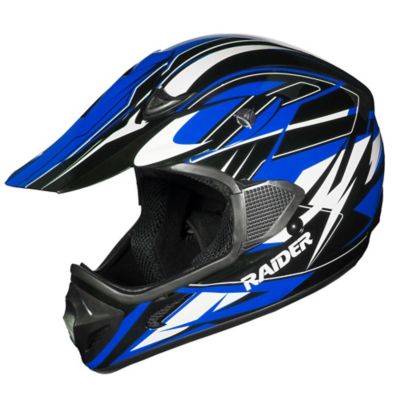
Kids ATV helmets are riding gear for young riders on age-appropriate four-wheelers, whether the day involves a supervised practice area or a designated off-road trail. A youth helmet is built around smaller head sizes, with fit and weight that matter when a child is learning to steer, brake, and keep their eyes on the path ahead. Full-face off-road helmets have a chin bar and an extended peak, with an eye opening that generally accommodates riding goggles. The chin bar adds coverage around the lower face, while the peak can help shade the eyes and deflect some overhead debris; it does not take the place of eye protection. Depending on the design, helmets may have thermoplastic, polycarbonate, fiberglass, or composite outer shells. Beneath the shell, an energy-absorbing liner helps manage impact forces, while interior padding provides the contact points that hold the helmet comfortably against the head. Shell material alone does not tell the whole story: safety certification, proper fit, coverage, and the condition of the helmet all deserve attention. For ATV riding in the United States, look for a motorcycle helmet that meets the Department of Transportation’s Federal Motor Vehicle Safety Standard No. 218, commonly identified by a DOT label. That label represents the manufacturer’s certification of compliance, rather than individual government approval of each helmet. Some helmets also carry an ECE certification; the stated standard and intended riding application should be clear in the manufacturer’s information. A bicycle helmet is not a substitute for a motorcycle helmet when riding an ATV. No helmet can prevent every injury, but the right type, worn correctly with the chin strap fastened, is an important part of a young rider’s protective gear. Across youth ATV helmets, differences in shell construction, ventilation, closures, and interior padding give families practical features to compare beyond the paint scheme.
Fit is where kids ATV helmets earn their place in a riding setup, and age alone is not a dependable way to pick a size. A head measurement taken with a soft tape around the widest part of the head, usually about an inch above the eyebrows and just above the ears, gives a starting point for the manufacturer’s size chart. Sizing can vary between helmet lines, and head shape matters along with circumference. A helmet should sit level and feel snug all the way around, with firm cheek contact on full-face styles, rather than rock from side to side or slide down over the eyes. It should not create sharp pressure points at the forehead or temples. With the strap secured, a gentle movement of the helmet should move the skin with it; a helmet that shifts freely needs another look at sizing or shape. Buying extra room for a growing child can compromise how the helmet stays in position, so a proper fit today matters more than room for next season. A short try-on may miss a troublesome pressure spot, while several minutes of wear can make discomfort easier to notice. Weight also makes a difference to a smaller rider, especially during a practice session with frequent head turns, but a lighter feel should never take priority over fit or certification. Ventilation channels can help move air through the helmet when the ride gets warm, and removable comfort liners can make it easier to manage sweat and trail dust. Goggles should sit evenly in the eye opening without pressing painfully against the nose or leaving the frame perched awkwardly on the padding. During cooler weather, any thin riding layer worn beneath the helmet needs to be compatible with the manufacturer’s directions and must not change the fit. Thick hats are no workaround for a loose helmet. Strap hardware should fasten securely according to the instructions, with excess strap managed so it does not flap against a child’s neck down the trail.
Everyday care helps keep a youth four-wheeler helmet ready for the next outing, especially when riding means fine dust, muddy splash, and gear packed into the truck afterward. A shell that looks tidy can still have hidden impact damage, so appearance alone is not enough to judge whether a helmet belongs back on a rider’s head. After a crash or significant impact, follow the manufacturer’s replacement guidance, even when there is no obvious crack. Regular checks of the chin strap, fasteners, shell, liner, and removable parts can also catch fraying, looseness, or changes in condition before another ride. Cleaning methods vary, but a soft cloth and mild soap are common starting points when the manufacturer allows them; harsh solvents, fuel, and strong cleaners can damage helmet materials. Removable padding should be washed only as directed and given time to dry fully before reassembly. A cool, dry storage spot away from direct sunlight, heaters, gasoline, and heavy gear helps protect the helmet between outings. The back of a truck beneath a pile of tools is no place for it, and hanging it where it can fall onto a concrete barn floor invites unnecessary damage. Follow the maker’s service-life guidance, and check fit again as a child grows. For a gift, a helmet makes the most sense when the recipient can be measured and take part in the fitting process; color preferences can come after the safety and fit checks. Families comparing gear for different off-road activities can also explore
Youth Dirt Bike Helmets, while confirming that any helmet suits the intended activity. Gloves, goggles, over-the-ankle boots, long sleeves, and long pants round out the riding setup. Helmets belong alongside hands-on rider training, close adult supervision, and an ATV suited to the child’s age and abilities. Riders under 16 should not operate adult-size ATVs, and single-rider machines should never carry passengers. Good equipment supports those boundaries, whether practice stays close to home or takes place on a designated trail.