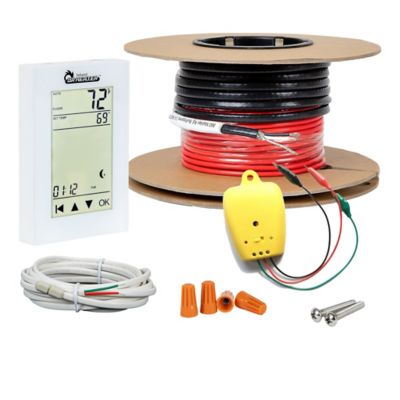
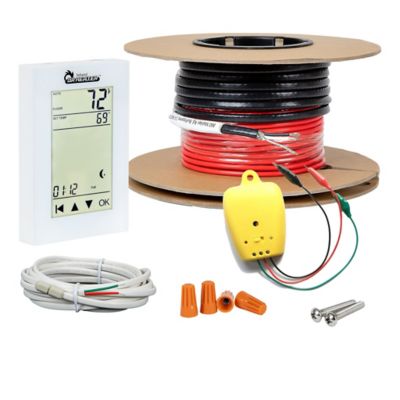
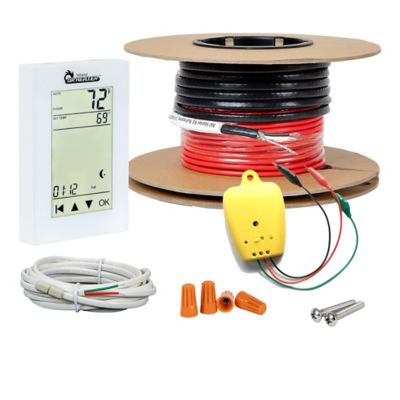
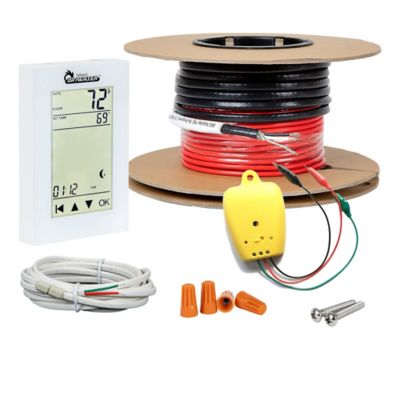
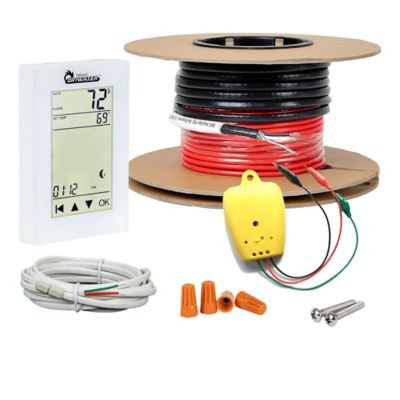
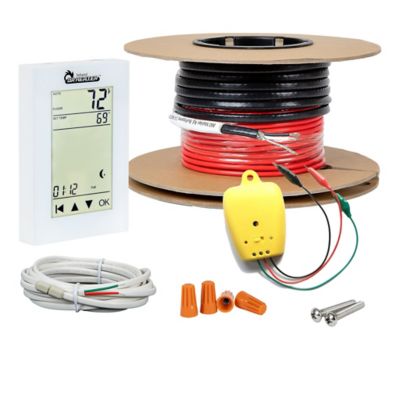
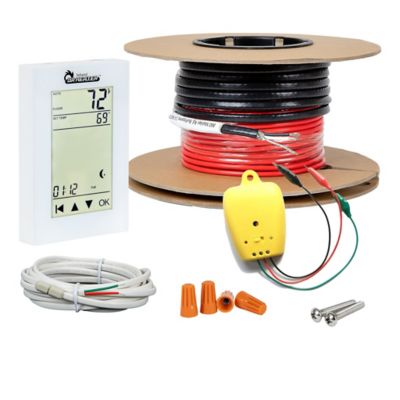
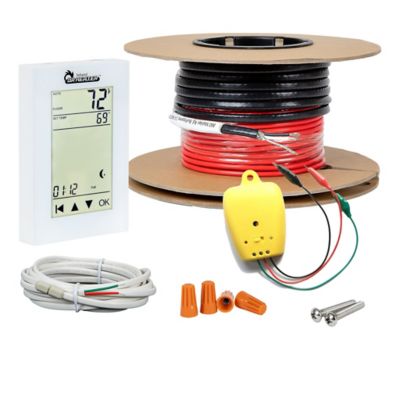
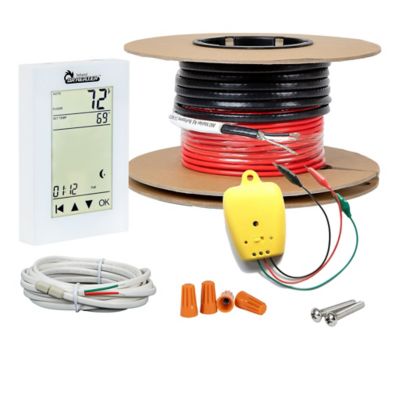
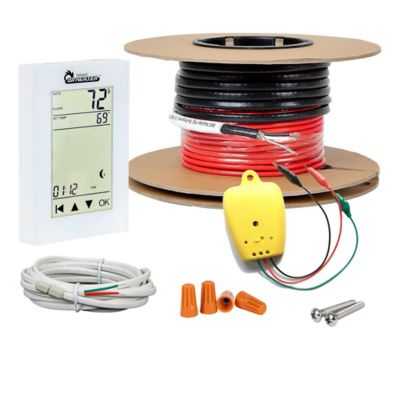
Floor heating cables bring radiant warmth up through the floor, taking the chill off a bathroom, kitchen, or entryway during the cooler months. Instead of blowing warm air through a vent, these electric systems generate heat within a floor assembly and transfer it through the surface above. That makes them a practical consideration for a farmhouse bathroom with cold tile, a laundry room beside an unheated garage, or a mudroom where boots come off after morning chores. The heating cable stays out of sight beneath the finished flooring, leaving wall space clear and keeping heating equipment out of the walking path. Tile and natural stone are common pairings because they transfer heat well, though the complete floor assembly still needs to meet the cable and flooring manufacturers’ requirements. Some systems also work beneath certain laminate, engineered wood, or resilient floors, provided those materials are approved for electric radiant heat and their temperature limits are followed. Electric floor heating cables come in several forms, including loose cable that follows a planned layout, cable kits with selected control components, and cables specifically rated for embedding in concrete slabs. Loose cable can accommodate turns and changes in room shape when installed with the required spacing and fastening method. Kits may bring together heating cable, a thermostat, and a floor sensor, but their contents vary. In-slab heating cable belongs to a different type of installation than cable intended for a thin mortar layer beneath tile; the two are not interchangeable without explicit manufacturer approval. For homeowners planning a remodel, the appeal is straightforward: a warmer surface under bare feet without a heater sitting in the corner. Floor warming can supplement another heating system, while serving as a room’s main heat source requires a heat-loss assessment and a system designed for that purpose. Room insulation, windows, floor construction, and the amount of heated floor area all affect what the system can deliver.
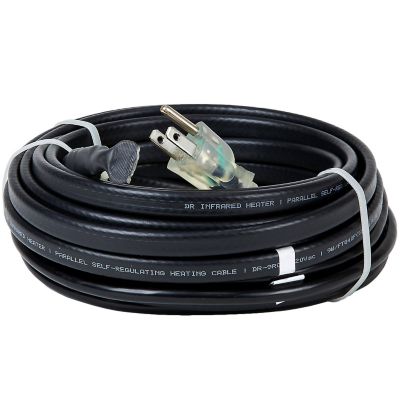
Fit starts with the portion of the floor that can actually receive heating cable, not simply the room’s wall-to-wall dimensions. A bathroom might have plenty of square footage on paper, yet its vanity, tub, and other permanent fixtures leave a much smaller area for warmth underfoot. Cable layouts generally need to avoid fixed cabinets and fixtures unless the system instructions specifically permit placement there, and clearances around walls, drains, and other features matter. Cable length, rated coverage, spacing, and electrical output belong together as a matched set of specifications. Heating wire cannot be shortened to make an oversized cable fit, and it cannot cross or overlap itself. Crowding extra cable into a corner is not a sound substitute for selecting the right coverage. Many electric floor warming systems operate on either 120-volt or 240-volt power, so the cable voltage must match the planned circuit and compatible controls. A higher voltage does not automatically mean a warmer floor; the system’s designed wattage, layout, and floor assembly determine heat output. Electrical capacity, required ground-fault protection, local codes, and permit requirements are also part of the fit, with a qualified electrician handling connections and circuit planning as required. The cable itself typically combines a resistance-heating element with electrical insulation and an outer jacket, and some designs include a grounded shield. Those layers protect the heating element within its intended installation, but they do not make every cable suitable for every setting. A cable rated for indoor floor warming is not automatically appropriate for an outdoor walkway, a wet location, or freeze protection around plumbing. The broader
Electric Heating Cables category can include products with different heating jobs, making the stated application an important distinction. Within a floor system, compatibility may also involve a cable-holding membrane, approved mortar or underlayment, and a thermostat that supports the cable’s electrical load and sensor type. Choosing those parts as a compatible assembly helps prevent trouble that is much harder to reach once the flooring is down.
Long-term performance depends as much on the surrounding floor as on the heating cable. A sound subfloor, appropriate insulation, and the specified embedding material help support consistent heat transfer and protect the wire from movement or damage. In a room over a crawl space, insulation below the assembly can make a meaningful difference in how much heat reaches the living space rather than escaping downward. Concrete and thick mortar beds absorb heat and release it gradually, which can suit steady heating needs but also means the surface may take longer to warm than a thinner assembly. A floor-sensing thermostat helps manage floor temperature, and compatible scheduling controls can coordinate warmth with household routines, such as getting ready before daylight or washing up after evening chores. Floor temperature limits still matter, especially with approved wood or resilient flooring, and thick rugs or furnishings that trap heat may carry restrictions. Because the heating cable becomes concealed, checks before and during installation are worth close attention. Resistance readings should be compared with the manufacturer’s specifications at the required stages, including before embedding and after the floor work, along with any specified insulation-resistance testing. Keeping those readings and a record of the cable layout gives the homeowner useful information for future flooring work. The heating section and its factory connections need protection from trowels, fasteners, and other construction damage, while the nonheating supply lead follows the system’s approved routing to the electrical connection. Mortar, grout, and other setting materials must complete their specified cure before the heat is switched on. Once the system is enclosed and operating, routine care centers on the finished floor and controls rather than direct access to the cable. Cleaning methods should suit the flooring, and later drilling or fastening into the heated area calls for checking the saved layout first. For a busy rural household, that planning supports the everyday benefit that matters most: stepping from a cold hallway onto a comfortably warm floor, with the heating tucked beneath the surface.