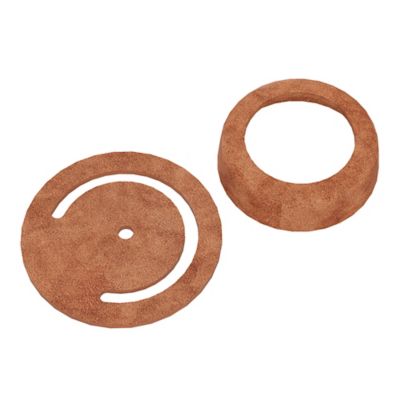
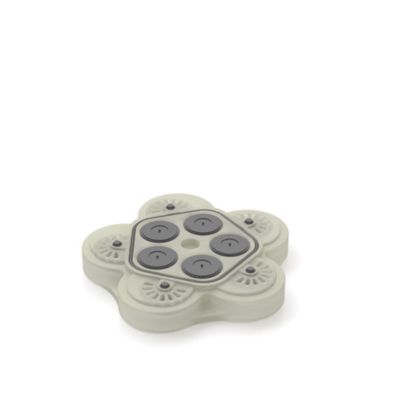
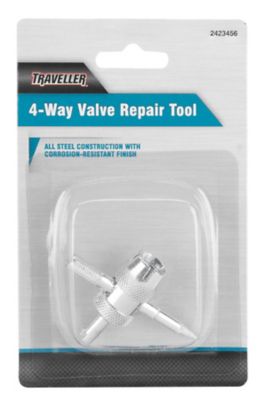
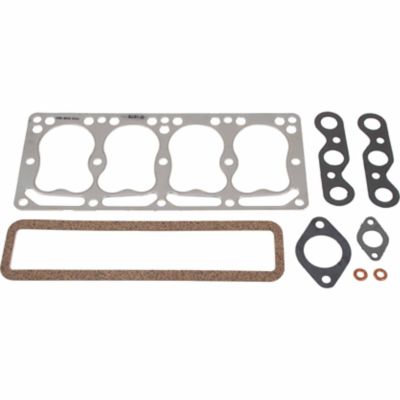
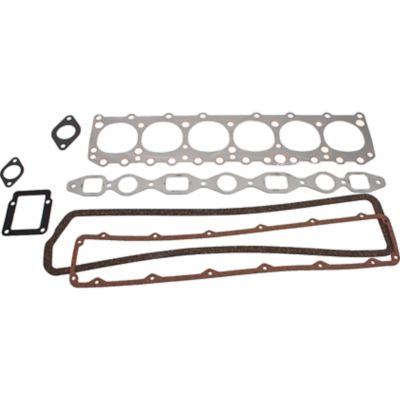
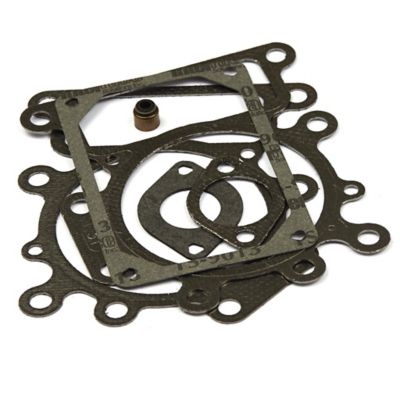
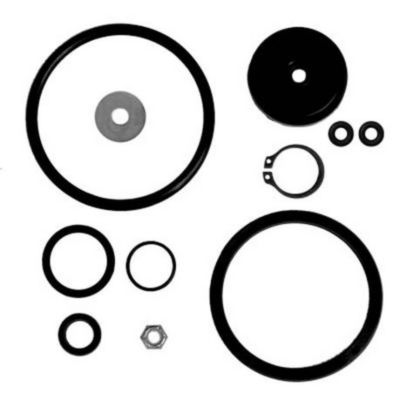
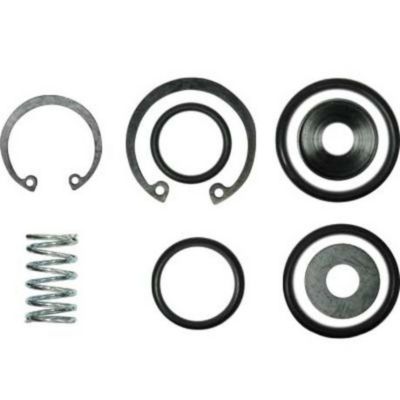
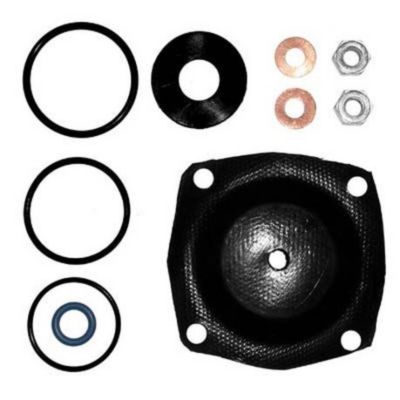
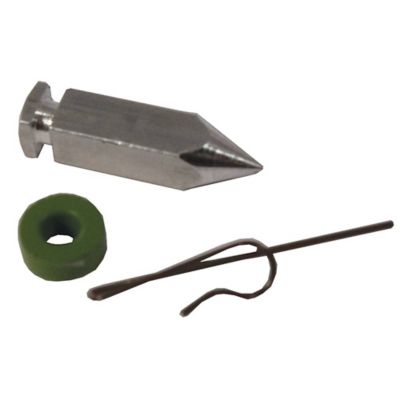
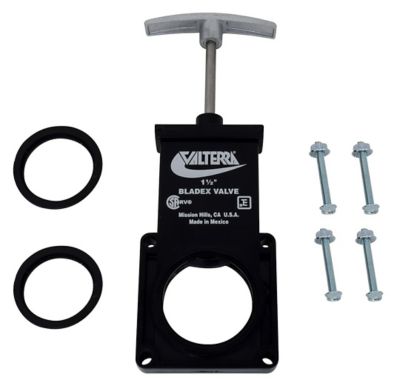
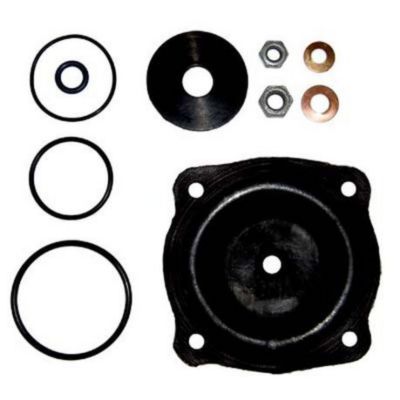
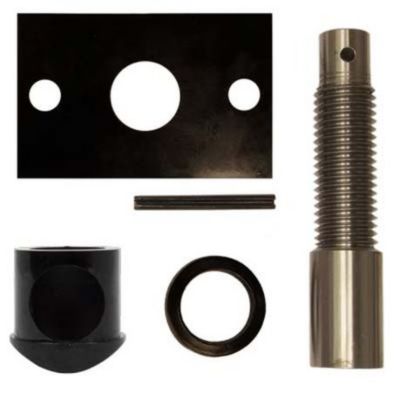
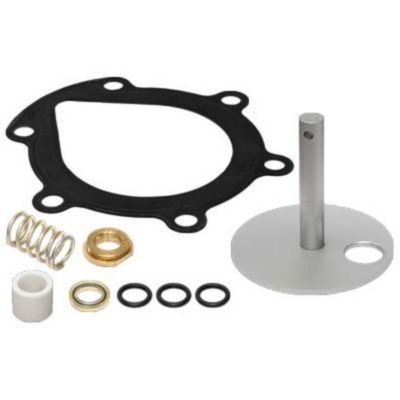
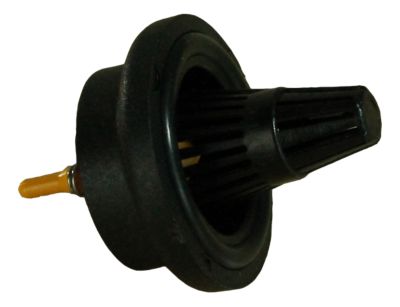
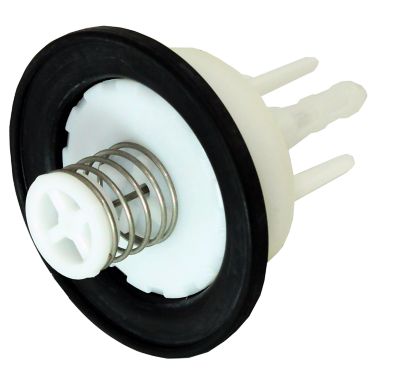
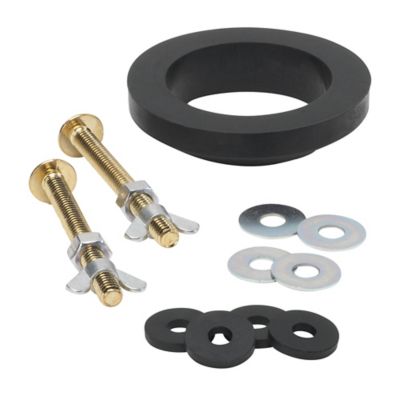
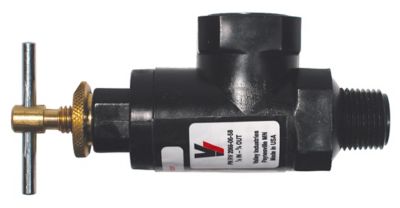
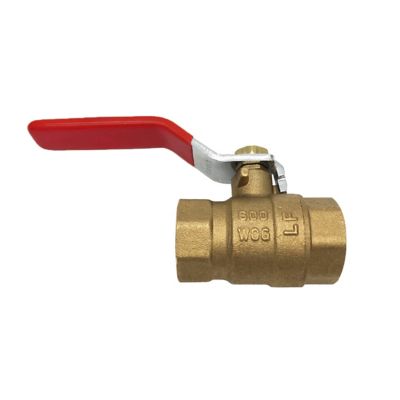
Valve repair kits are a handy way to address common leaks and worn parts without replacing an entire water shut-off valve or cutting into an otherwise sound pipe connection. They’re often used on valves under sinks, behind toilets, near water heaters, at utility tubs, on outdoor faucets and in other spots where a handle controls the flow of water. Depending on the valve style, a repair kit may include a replacement stem, rubber washers, O-rings, packing, gaskets, screws or other small parts that help restore a tight seal. A slow drip around a handle, a faucet that keeps running after it is closed, or a shut-off valve that feels loose or stiff can point to worn internal components rather than a problem with the whole plumbing line. Keeping a kit on hand can save a trip to the hardware store when a small leak shows up at an inconvenient time, especially in a farmhouse, workshop, barn office or older home where plumbing sees plenty of use. Before choosing a kit, identify the valve’s job and design. A multi-turn valve closes gradually as the handle is turned several times, while quarter-turn valves use a short handle movement and typically rely on a different internal cartridge or seal arrangement. Toilet shut-off valves, sink supply stops, hose bibbs, sillcocks and shower valves may also use different repair parts, even when the symptoms look similar. Check the valve size, connection style, handle type and the shape of the existing stem or cartridge. Comparing the old parts with the kit details can help prevent ordering a repair set that almost fits but leaves you with the same drip. For older plumbing, take note of corrosion, mineral buildup and damaged threads, since those conditions may call for a complete valve replacement or professional help instead of a simple internal repair.
A valve repair project usually starts by turning off the water supply at the home’s main shut-off or at the nearest upstream valve, then opening the faucet or fixture to release pressure and drain the line. Place a small bucket, towel or shallow pan beneath the work area to catch the water that remains in the pipe. Remove the handle and bonnet or packing nut with the appropriate screwdriver or wrench, keeping track of the order in which the parts come off. A small tray is useful for holding screws and washers; those pieces have a way of rolling beneath a cabinet or disappearing into the gravel when work is done outside. Once the old stem or worn seal is removed, clean away loose rust, mineral scale and old packing with a soft brush or cloth. Avoid forcing a corroded part, and take care not to damage the valve body or the pipe connection. Install the replacement parts according to the kit’s design, making sure washers and O-rings sit flat in their grooves and receive any recommended plumbing lubricant. Start threaded parts by hand so they do not cross-thread, then snug them with a wrench rather than leaning hard on the handle. Turn the water back on slowly and watch the repaired area for several minutes. A small seep at the stem, nut or connection may mean a seal is out of place or the nut needs a slight adjustment; overtightening can damage soft washers and make the handle difficult to turn. Water damage can spread behind walls, cabinets and flooring, so shut the water back off if the leak continues. Anyone working on a pressurized line, a hard-to-reach valve or plumbing connected to a water heater should use extra caution, and a licensed plumber is the right choice when a valve body is cracked, threads are stripped, the main supply cannot be isolated or the repair involves unfamiliar plumbing.
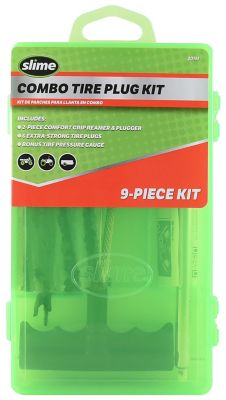
Valve repair kits can be useful for homeowners, landlords, maintenance crews, farmers and do-it-yourselfers who take care of small repairs around a property. They also make a practical addition to a household maintenance bin or a care package for someone moving into an older home, buying a first property or setting up a hunting cabin. A few basic plumbing tools, replacement washers and a flashlight stored nearby can turn a minor drip into a manageable afternoon project instead of a rushed repair during a cold snap or after a long day of chores. During warmer weather, outdoor faucet valves and irrigation connections may get frequent use, while cooler months often bring attention to shut-offs near bathrooms, kitchens, utility rooms and heating equipment. Inspecting exposed valves before freezing conditions arrive can help spot dampness, cracked housings or stiff handles early; outdoor lines should also be drained and protected according to the plumbing setup. Look for kits that match the valve manufacturer’s specifications when available, but also compare measurements and part shapes for older or less common fixtures. Materials matter as well: durable rubber or elastomer seals are important for repeated opening and closing, while corrosion-resistant hardware can be helpful in damp utility rooms, livestock areas and outdoor applications. Valve repair kits are meant for water-control repairs, not every leak on a property. For patching or plugging damaged tires on tractors, trailers, lawn equipment or utility vehicles, keep
Tire Repair Kits in the maintenance supplies as a separate solution. With the right valve type, matching parts and a careful approach, a repair kit can help keep everyday plumbing working smoothly and extend the useful life of a dependable valve.