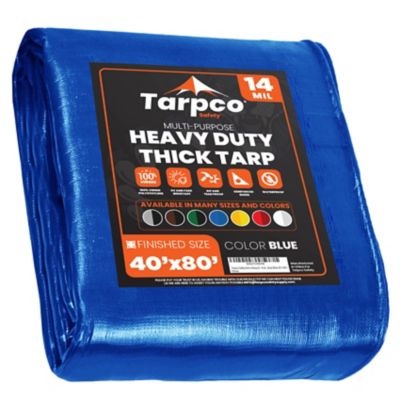
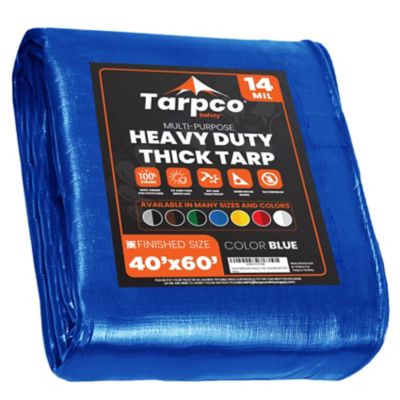
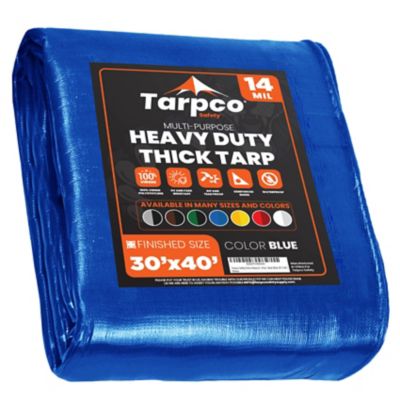
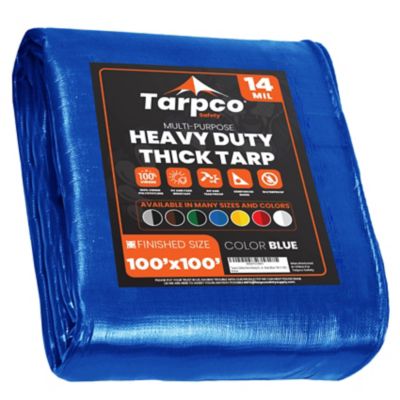
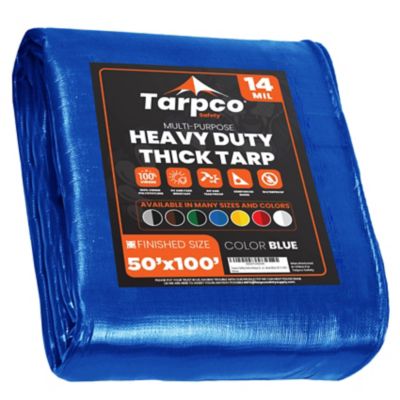
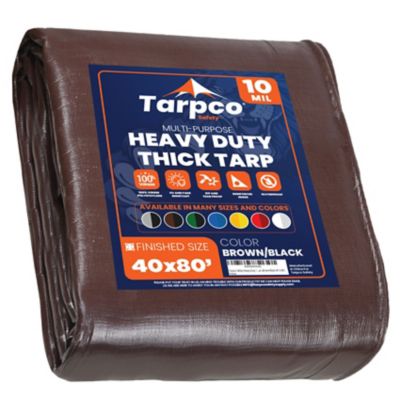
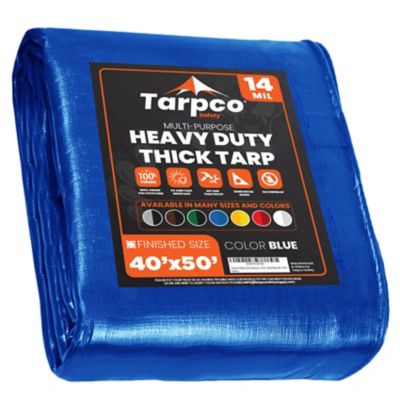
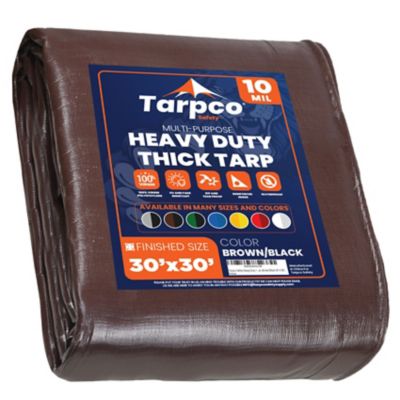
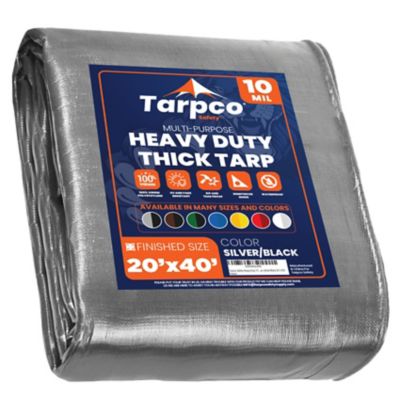
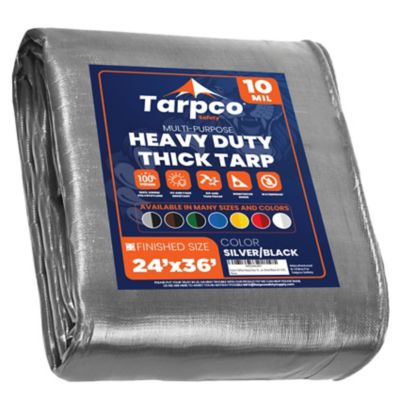
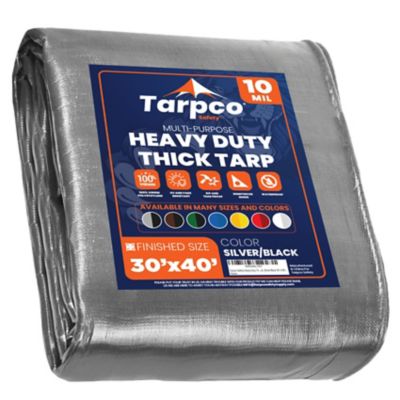
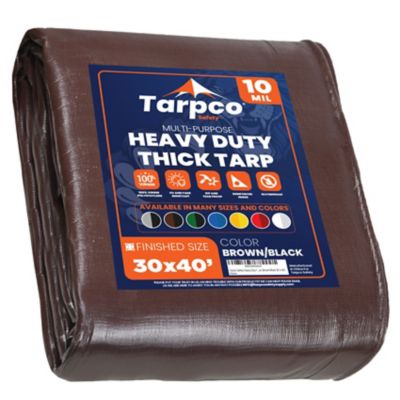
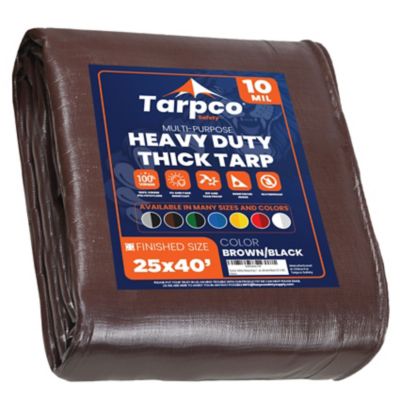
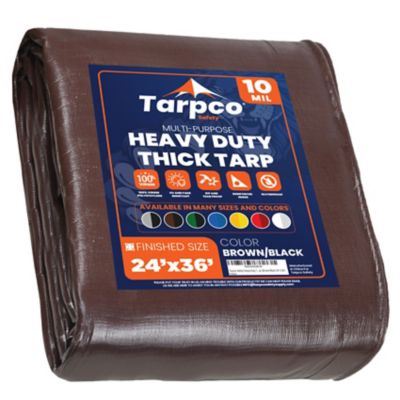
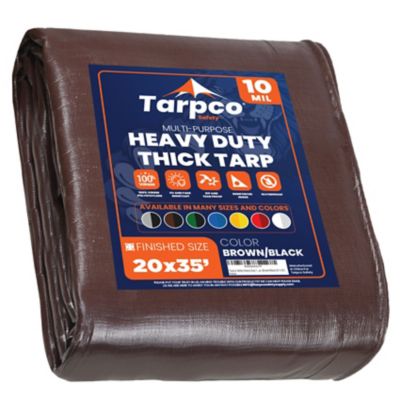
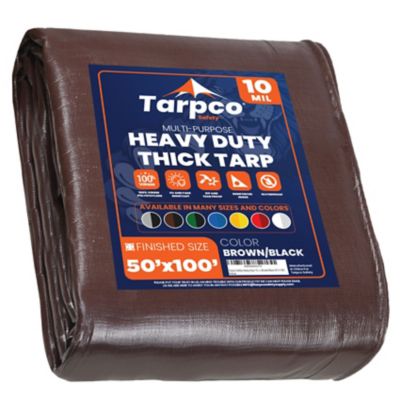
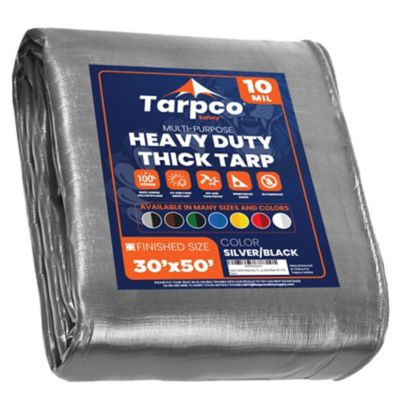
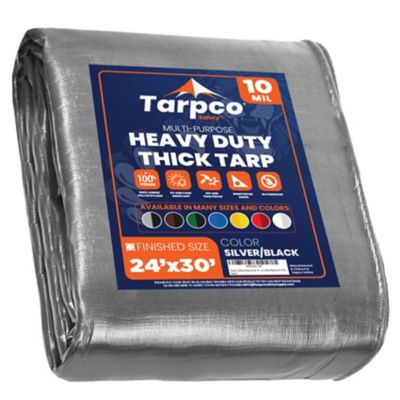
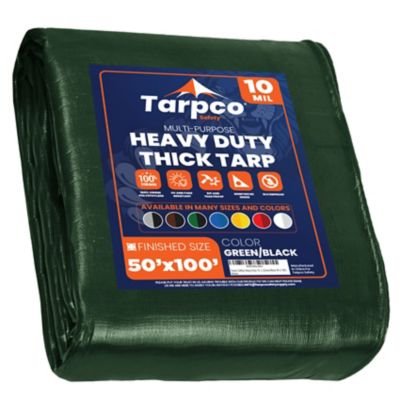
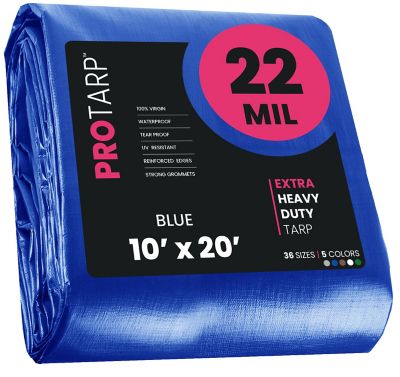
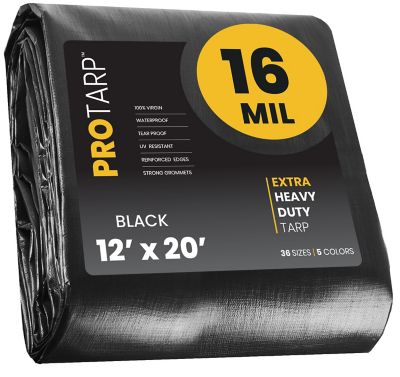
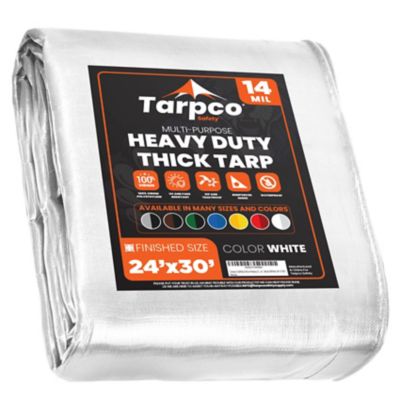
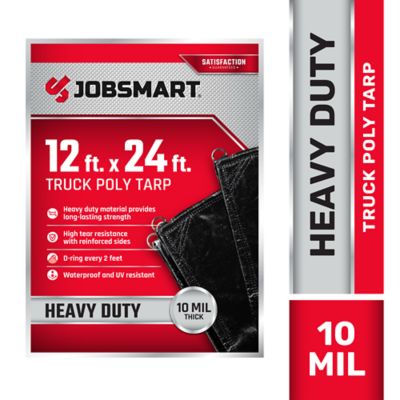
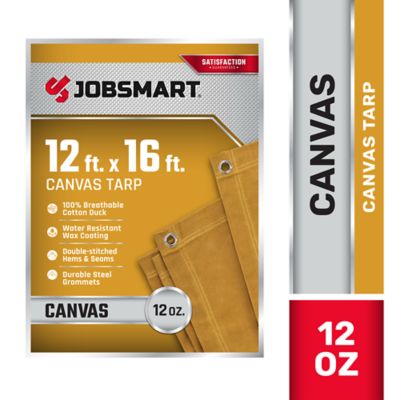
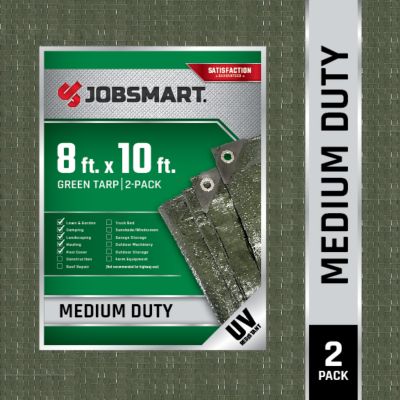
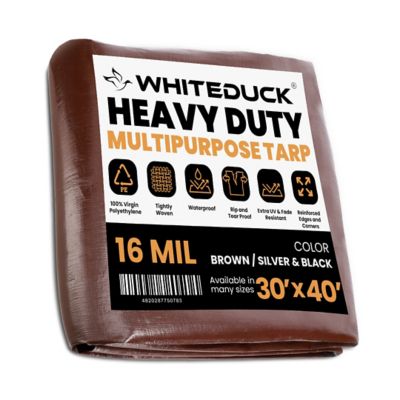
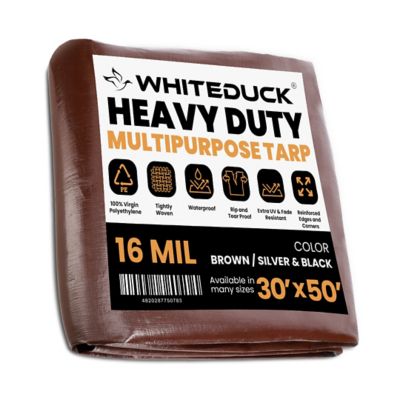
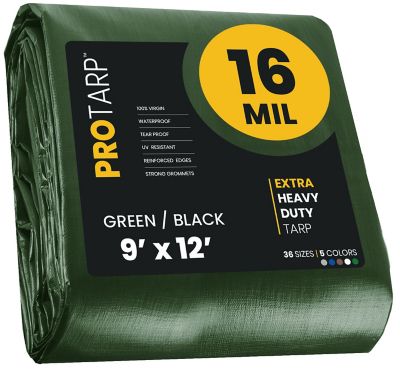
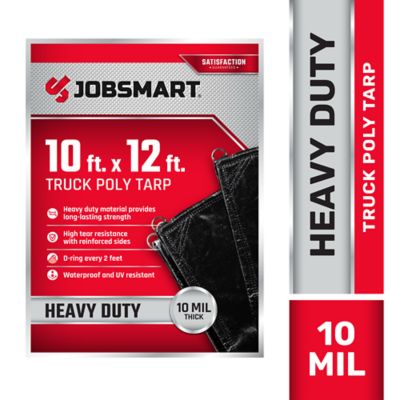
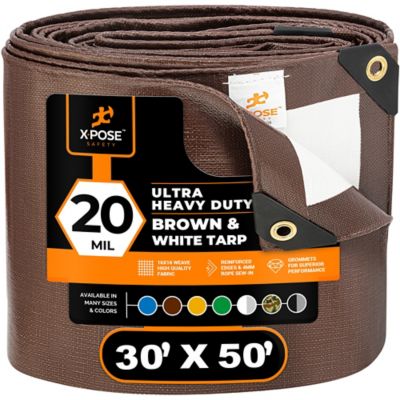
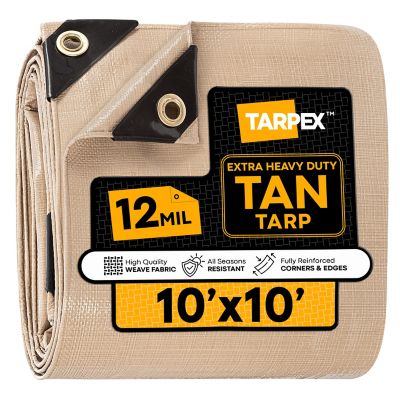
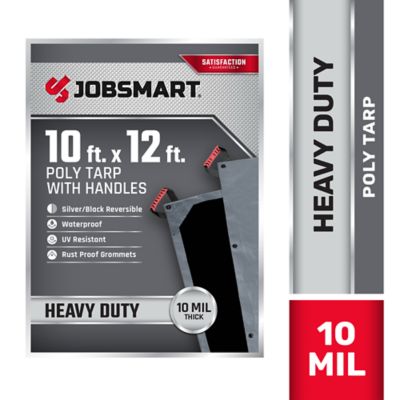
Tarps for roof leaks offer a practical way to limit water intrusion while a permanent repair is being arranged. A properly sized, waterproof tarp can help protect attic insulation, drywall, rafters, stored belongings and other parts of the home from rain or melting snow after storm damage, missing shingles, fallen branches or a small roof failure. These covers are also useful around barns, sheds, workshops, garages, livestock shelters and other outbuildings where a leak can quickly soak feed, tools, bedding or firewood. When shopping, start with the damaged area and then choose a tarp that extends well beyond it on every side. For a sloped roof, the tarp needs to run over the ridge instead of stopping halfway up the roof. Plan for at least 3 to 4 feet of material over the peak whenever the roof layout allows, with enough length to reach below the damaged section and toward the eaves. Water follows the slope, and a tarp that ends above the ridge or beside the leak may let water run underneath it. Measure carefully, and remember that the finished coverage area will be smaller than the advertised dimensions once the tarp is folded, wrapped around boards or pulled tight. Large, heavy-duty waterproof tarps are often the better choice for roof work because thicker material generally holds up better against wind, rough roofing surfaces and repeated wet-dry cycles. For additional size options, browse
Large Waterproof Tarps. Look for reinforced corners, sturdy grommets and a weave or coating intended for outdoor use. A tarp with plenty of attachment points gives you more flexibility when working around roof edges, chimneys, vents and other obstacles. Dark or neutral colors may blend into a roof or outbuilding, while a brighter color can be easier to spot during inspection or cleanup.
Safety matters just as much as coverage. Never climb onto a wet, icy, snow-covered or windy roof, and do not try to spread a tarp during a storm. Roof surfaces can be slick even when they look dry, and loose tarp material can act like a sail when a gust catches it. If the damage is above a single-story section, a trained roofing professional may be the safest choice. From the ground, inspect the roof with binoculars when possible, and keep clear of sagging areas, downed power lines, broken branches and unstable debris. If conditions are safe enough for limited work, clear loose leaves and small debris with a broom before laying the tarp, but avoid walking across damaged shingles or weakened decking. A common temporary setup uses wooden 2x4 boards to distribute pressure and keep the tarp from flapping. The upper end can be wrapped tightly around a board, positioned over the ridge and secured on the far side of the roof deck. Pull the tarp smooth over the damaged section, then wrap the lower end around another board and fasten it near the eave or a sound portion of the roof. Additional boards along the sides can help hold the tarp close to the roof and reduce wind getting underneath. Use fasteners that bite into solid roof decking, not just brittle shingles, and avoid putting holes through the middle of the tarp where they can become new paths for water. Cap nails, screws with washers or other suitable roofing fasteners may help spread the load, but the right method depends on the roof material and structure. Do not rely on bungee cords or thin rope alone for a roof covering, since they can loosen, stretch or rub through the tarp during rough weather. Keep the tarp taut without pulling so hard that the grommets tear. After installation, check from the ground for low spots where water could collect, loose edges and exposed damaged areas. Strong winds, heavy rain and freezing conditions can shift even a well-secured temporary cover.
The best tarp for a roof leak depends on the roof style, damaged area, expected weather and how long the temporary cover may need to stay in place. Asphalt-shingle roofs often need a broad cover that can lie flat without bunching, while metal roofs may require extra attention to sharp edges and fastener placement. Tile, slate and other brittle roofing materials can crack under foot traffic or pressure, so those repairs are best handled by someone familiar with the material. Flat or low-slope roofs may need a different anchoring approach because water can pool rather than run directly to the eaves. Before buying, compare the tarp’s actual dimensions, material thickness, waterproof rating, grommet spacing and corner reinforcement. Consider picking up extra wood strips, fasteners, gloves, a broom and a ground-level way to inspect the cover so the job does not stall halfway through. A spare tarp can be a thoughtful, practical gift for a homeowner, farmer, landlord, campground host or anyone caring for an older barn or outbuilding, especially when stored with emergency supplies before the cooler months bring rain, sleet and snow. Even so, a tarp is temporary protection, not a substitute for finding and repairing the source of the leak. Place buckets or tubs beneath active drips, move furniture and stored items away from the wet area, and watch for water near electrical fixtures or wiring. Contact a qualified roofer as soon as conditions permit, particularly when the leak is spreading, the ceiling is bulging, insulation is soaked or structural damage is visible. With the right size, strong attachment points and careful installation in safe weather, a waterproof tarp can buy valuable time and help keep a small roof problem from turning into a much bigger mess.