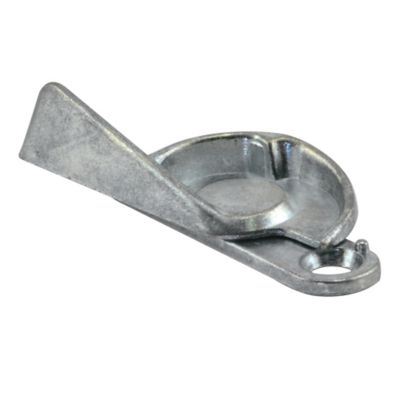
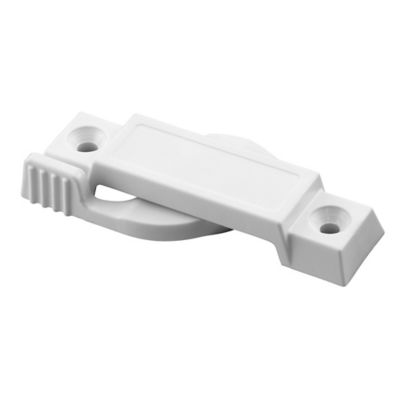
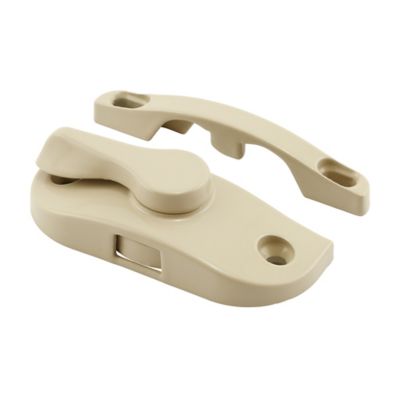
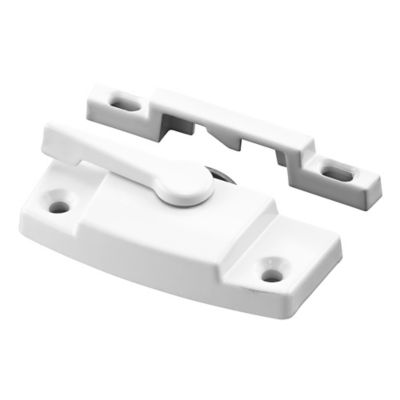
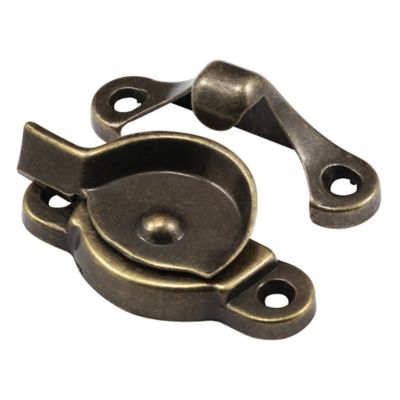
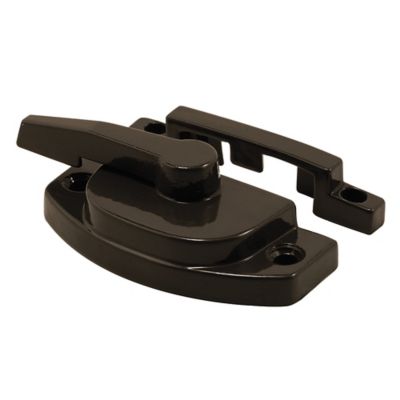
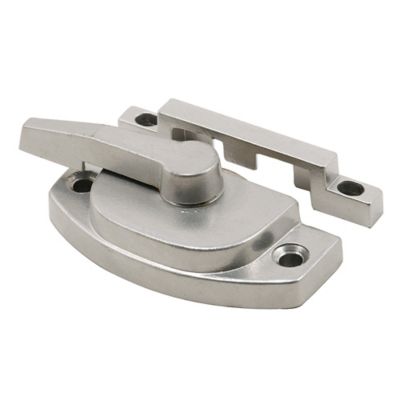
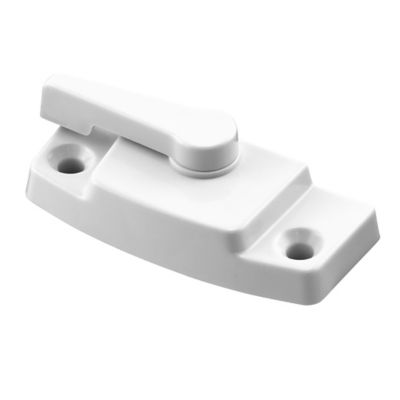
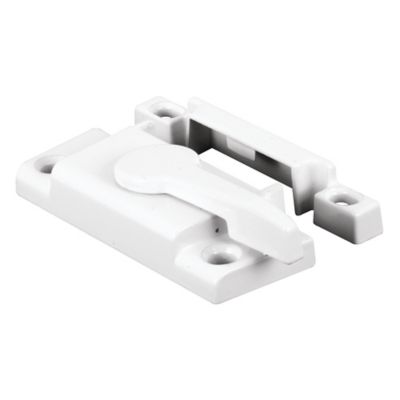
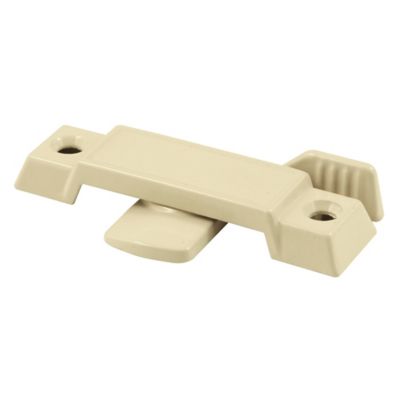
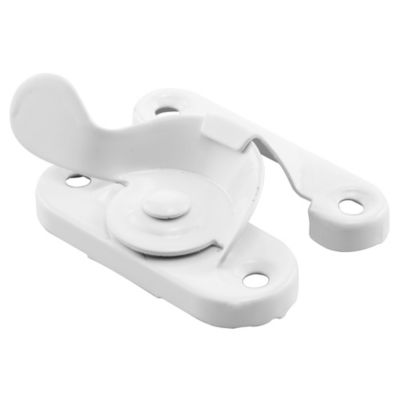
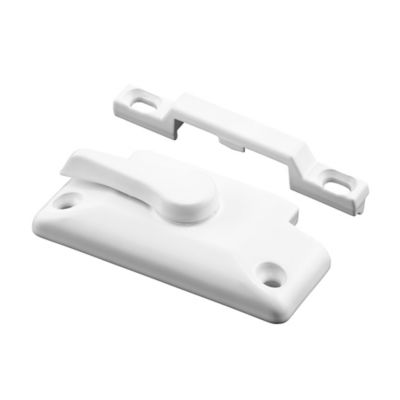
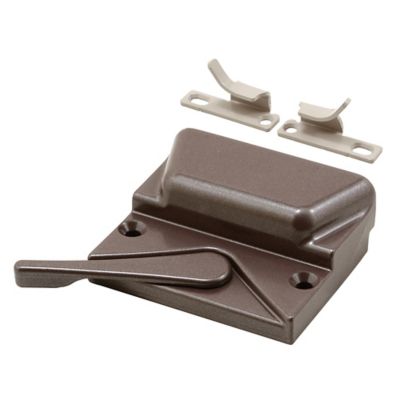
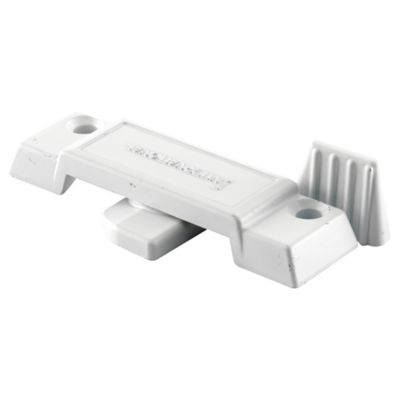
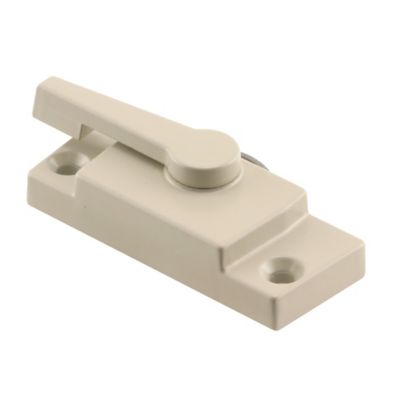
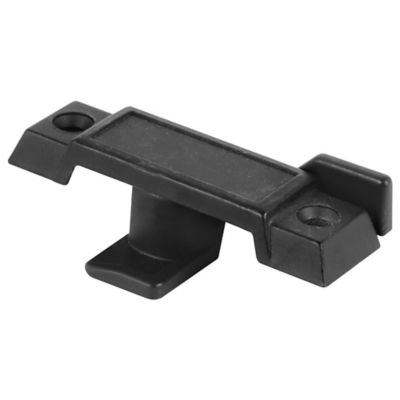
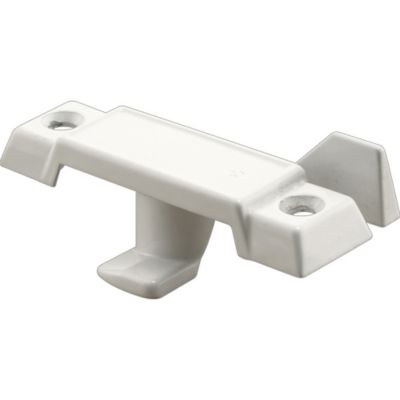
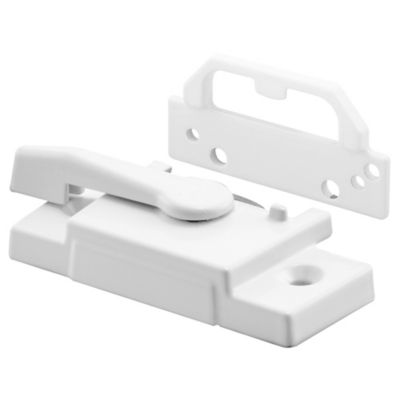
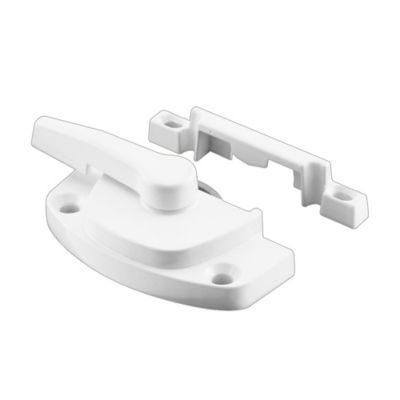
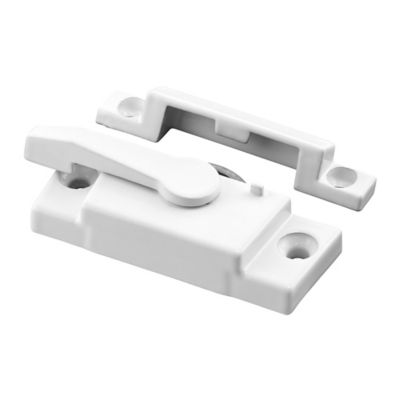
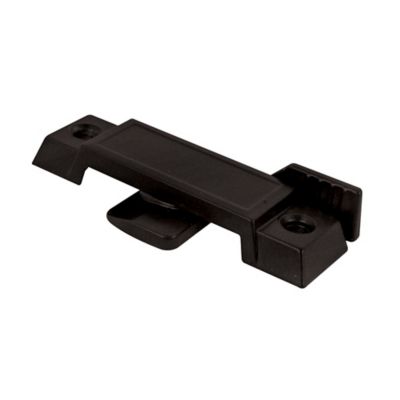
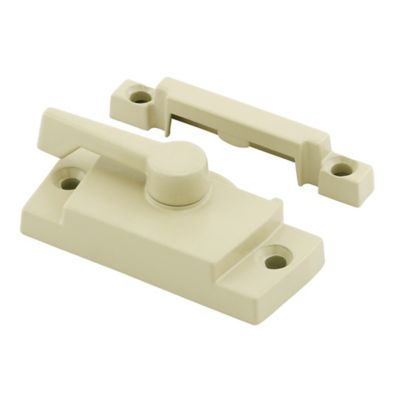
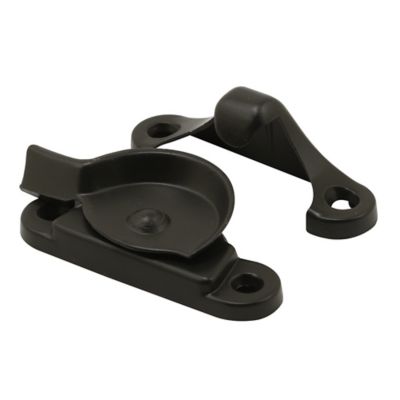
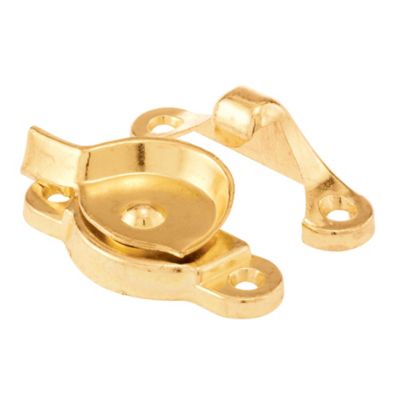
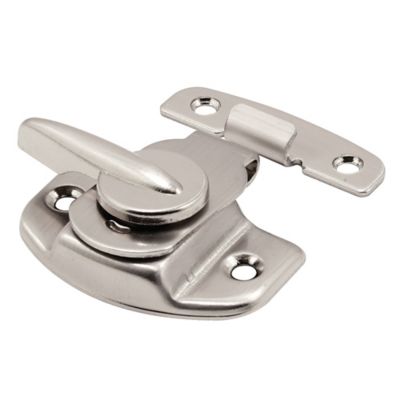
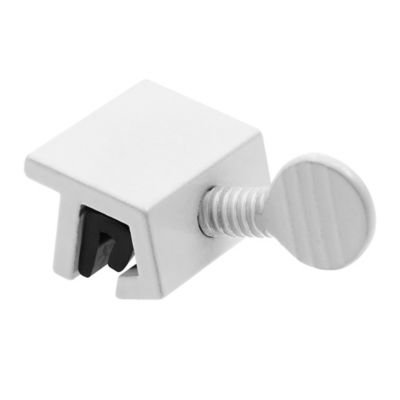
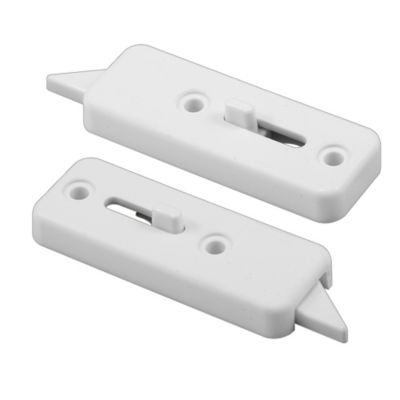
Replacement window sash locks are a practical choice for homeowners, landlords, property managers and do-it-yourselfers repairing older single-hung or double-hung windows. These small pieces of hardware sit where the upper and lower sashes meet, helping pull the window sections together and hold them closed. A worn, bent or missing lock can leave a window rattling in the frame, make it harder to seal out drafts and reduce the sense of security in a room. In a farmhouse, workshop, rental house or older home, replacing the lock is often a simpler fix than replacing the whole window. The right sash lock can also help a window operate more smoothly during the cooler months, when a snug closure matters for keeping indoor heat where it belongs. Before ordering, look closely at the existing hardware and the window itself. Sash locks are made in several shapes and sizes, and a close visual match is helpful but not enough by itself. Measure the distance from the center of one mounting screw hole to the center of the other. Common replacement spacing includes about 2-1/4 inches and 2-1/16 inches, but older windows may use other measurements. Also note the thickness and depth of the lock’s back piece, the location of the mounting holes, the shape of the catch, and how far the locking cam extends over the meeting rail. A lock that looks right on a shelf may not engage properly if the screw spacing or cam position is different. Check whether your window has a lock on one sash or matching hardware on both sides, and compare the replacement to the old part before removing anything. For more ideas about hardware used on aging frames and vintage-style windows, visit
Window Locks for Old Windows. When measuring, write the numbers down and take a quick photo of the old hardware with the window open and closed. That little bit of preparation can save a return trip to the store and helps when several windows in the house use slightly different parts.
Replacing a sash lock is a manageable repair for many handy homeowners, though working around glass calls for a steady hand and some patience. Start by opening the window enough to reach the screws and support the sash so it does not shift while you work. Use a properly sized Phillips screwdriver to remove the old mounting screws, pressing firmly into the screw head to avoid stripping it. If old paint has sealed the hardware in place, score around the edges with a utility knife and work carefully rather than prying against the glass. Some older locks may be attached with rivets instead of screws. Removing rivets can require drilling, so use eye protection, choose a bit suited to the rivet and keep the drill controlled; avoid drilling into the sash or anywhere near the glass. Once the old lock is off, brush or wipe dust, flaking paint and packed debris from the meeting rail. A clean, reasonably flat surface gives the new hardware a better fit. Set the replacement lock in the unlocked position and place it over the existing holes without tightening it all the way. Test the fit with the window closed, checking that the two sashes meet evenly and that the cam turns freely into the keeper. If the original holes line up, install the screws and snug them down evenly. Do not overtighten, especially in soft wood, because a stripped hole will not hold the lock securely. If the holes do not match, mark the new locations with the lock removed and drill small pilot holes. Keep new holes far enough from old ones to prevent the wood from breaking out, and use fasteners suited to the sash material and hardware. After installation, open and close the window several times. The lock should pull the meeting rails together without forcing the sash, twisting the frame or scraping across the glass. If the window still moves loosely, inspect the keeper, weatherstripping, balance hardware and frame for a separate issue rather than trying to compensate by cranking down on the lock.
Replacement window sash locks are useful for routine maintenance, restoring an older home or finishing a larger window repair project. They can be kept with basic hardware supplies on a farm or in a shop, where a loose window latch is easy to overlook until wind, dust or cold air starts finding its way indoors. They are also handy for landlords and maintenance crews caring for rental properties, guest cabins, barns with finished living areas and outbuildings that have traditional wood windows. When choosing among replacement options, consider the window’s material, the finish of nearby hardware, the direction and amount of cam movement, and whether the lock is intended for the upper or lower sash. A durable metal body is a sensible choice for windows that are used often, while a matching finish can help preserve the look of a restored room. Make sure the sash itself is in sound condition; soft, cracked or badly swollen wood may need repair before new screws can hold. Clean the meeting rails and lightly lubricate moving metal parts only if recommended for the hardware, keeping oil away from painted surfaces and glass. Once fitted, a sash lock should be closed firmly but not forced. Check it as part of seasonal home upkeep, especially before periods of strong wind or cooler weather, and inspect nearby windows for the same signs of wear. In many homes, the repair takes only a screwdriver, careful measurements and a few minutes of test fitting, yet it can make a noticeable difference in comfort and confidence. With the correct mounting-hole spacing and a cam that reaches the keeper cleanly, a replacement lock helps an older window close securely and continue serving the room for years.