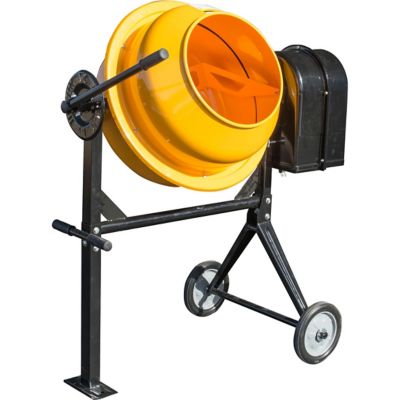
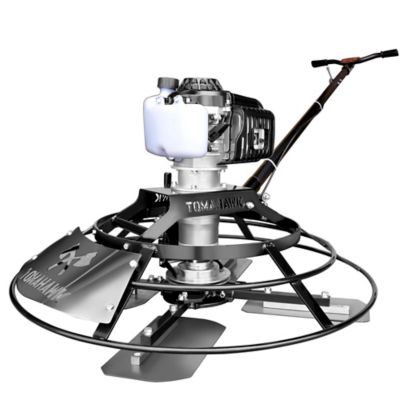
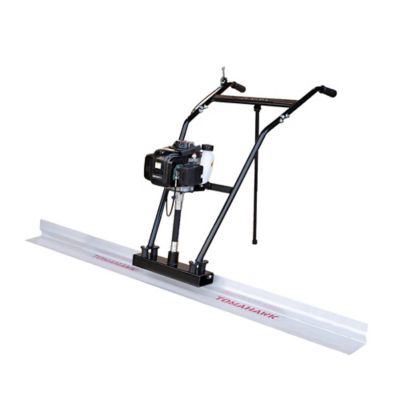
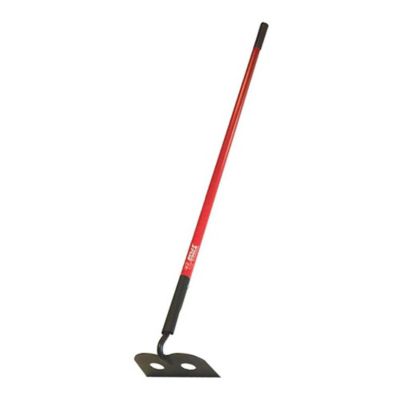
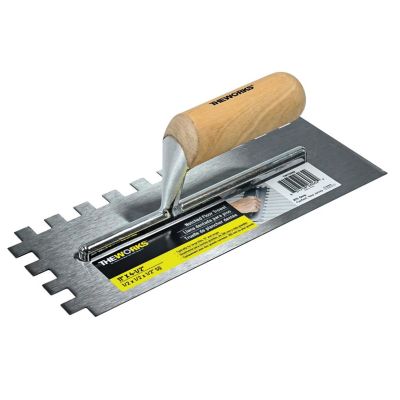
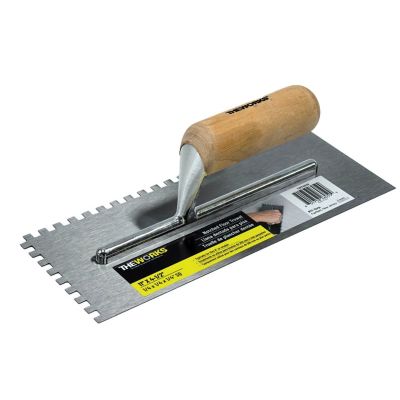
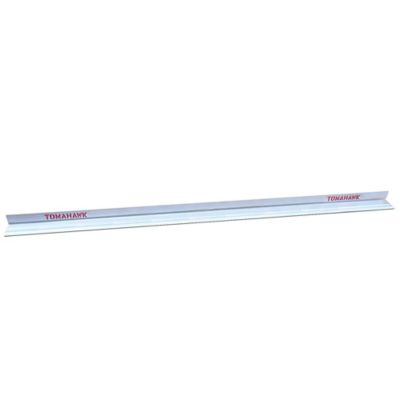
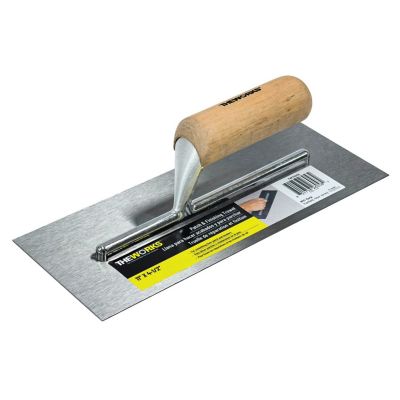
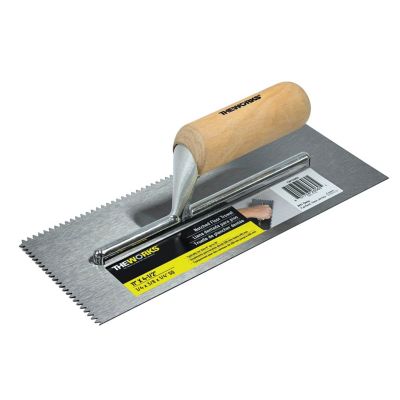
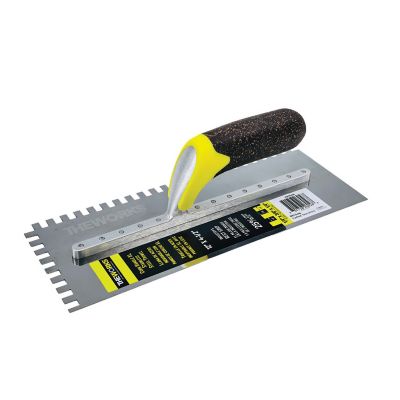
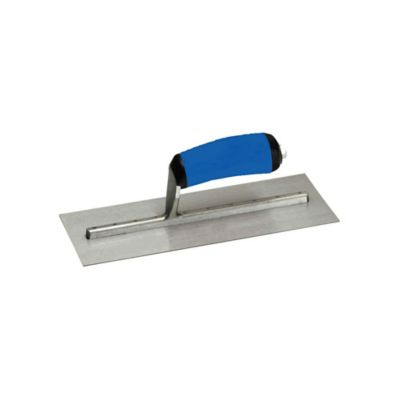
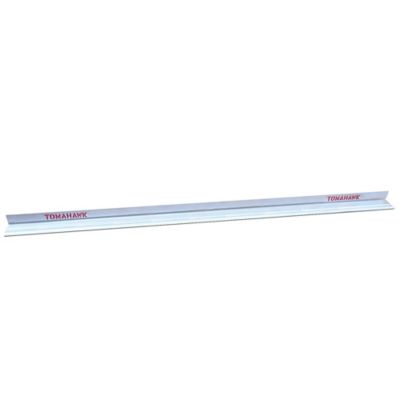
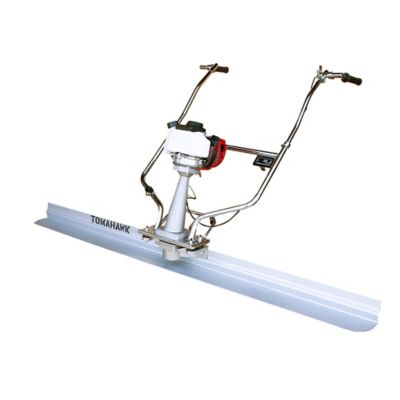
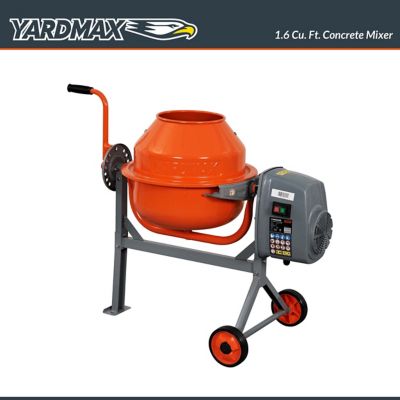
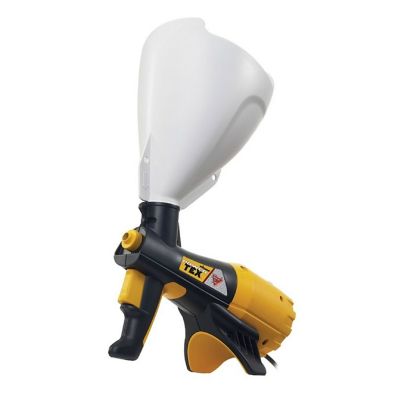
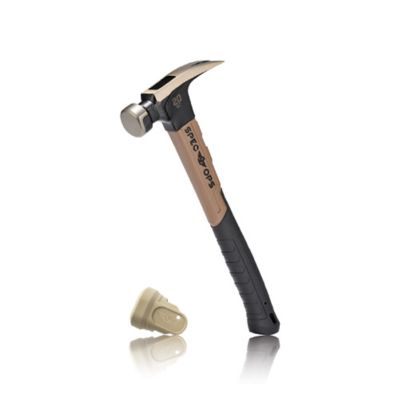
Plastering tools help turn a rough wall, uneven repair, or bare masonry surface into a smooth, finished area ready for paint, tile, or another covering. Whether you are touching up a damaged room, skimming over drywall, repairing an outbuilding, or working across a larger renovation, the right tools make the material easier to control and help you leave behind a cleaner surface. A finishing trowel is one of the main tools for spreading and smoothing the final coat. Its flat blade helps feather edges, flatten small ridges, and polish the surface as the plaster begins to firm up. A hawk gives you a steady place to hold a workable portion of plaster close to the wall, while a bucket trowel is shaped for scooping material from a mixing tub and loading it onto the hawk. For broad walls and ceilings, a plastering rule or darby helps level larger areas more evenly than a hand trowel alone. These long, straight tools are useful during the early stages of flattening, when the goal is to bring high spots down and fill low areas before detailed finishing begins. Corner trowels also have a place in a well-rounded setup. An inside corner trowel helps form a clean line where two walls meet, while an outside corner trowel helps define and protect exposed edges. A plasterer’s float may be used to work the surface, reduce ripples, and bring the material into a more uniform texture before the final pass. For mixing, a sturdy drill fitted with a suitable paddle can help produce a smooth, lump-free consistency, especially when preparing more than a small batch by hand. If your project also involves mortar, concrete, or other dry mixes, related
Cement Mixing Tools can help round out the work area.
The best plastering tools depend on the surface, the type of material being applied, and the size of the job. Skimming over drywall usually calls for a lighter touch and tools that make it easy to spread thin, even coats without gouging the paper face beneath. Rendering bare brick, block, or masonry may require heavier tools and a longer straight edge for working across a rougher surface. Consider blade size and shape carefully. A smaller trowel can be easier to manage around outlets, windows, door trim, and patch repairs, while a wider finishing trowel covers more ground on open walls. Stainless steel blades are valued for their smooth finish and resistance to rust, while other durable materials may suit mixing, scraping, or rougher first coats. Comfortable handles matter more than they may seem. Plastering often means repeating the same movement for hours, and a grip that sits naturally in the hand can help reduce strain during long projects. Look for balanced tools that do not feel nose-heavy, with handles that remain secure when your hands are damp or covered in material. Straight edges should stay true from end to end, since even a slight bow can leave a visible hollow or ridge across a broad surface. Corner tools should match the angle you need, and floats should be selected according to the texture and stage of the work. It is also worth keeping a clean water source, stiff brush, sponge, mixing container, and scraper nearby. Dried plaster can quickly build along a blade, making smooth work much harder, so rinsing and wiping tools as you go helps preserve their working edge. Good preparation counts, too. Protect floors and nearby surfaces, measure water and dry material carefully, and mix only an amount you can apply before it starts to set. During warmer, drier weather, plaster may tighten up faster, while cooler, damp conditions can extend working time but slow drying. Ventilation, protective eyewear, gloves, and a dust mask are sensible additions when handling powdered mixes or cleaning up dry residue.
Plastering tools are useful for more than professional wall work. Homeowners may keep a small selection on hand for repairing nail holes, smoothing patches after plumbing or electrical work, refreshing a utility room, or maintaining an older home with plaster walls. Farm and ranch owners can use them around workshops, barns, storage rooms, and other structures where a durable wall finish helps protect masonry and keeps an area easier to clean. Contractors and experienced tradespeople may build a larger collection with several blade sizes, long leveling tools, corner trowels, floats, mixing equipment, and spare handles so the right tool is always within reach. For someone learning the trade, a practical assortment of basic plastering tools can make a thoughtful gift, particularly when paired with work gloves, a sturdy bucket, cleaning supplies, or other jobsite essentials. A beginner may appreciate straightforward tools that are easy to hold and maintain, while a seasoned plasterer may look for precise edges, dependable balance, and materials built to stand up to repeated use. Before choosing, think about whether the recipient works mostly on small repairs, full-room renovations, ceilings, masonry, or outdoor surfaces. Tool storage is another useful consideration; clean, dry storage helps protect metal edges from corrosion and keeps handles from splitting or loosening. As the weather warms, repair and renovation projects often move into garages, workshops, porches, and other spaces that have been waiting for attention. During the cooler months, indoor wall repairs and finishing work can keep a renovation moving, provided the area has suitable temperature and airflow for the material being used. With the right combination of spreading, leveling, cornering, floating, and mixing tools, plaster can be applied with better control from the first coat through the final smoothing pass, helping create the clean, even finish that makes a repaired space look like part of the original build.