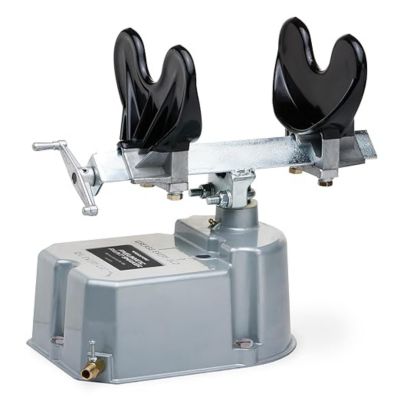
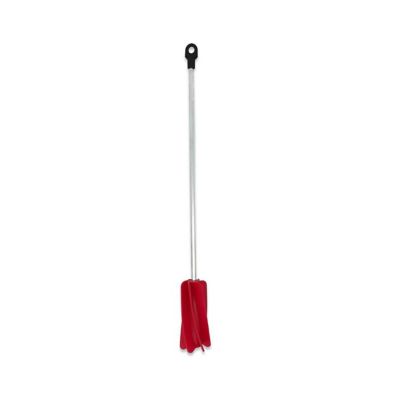
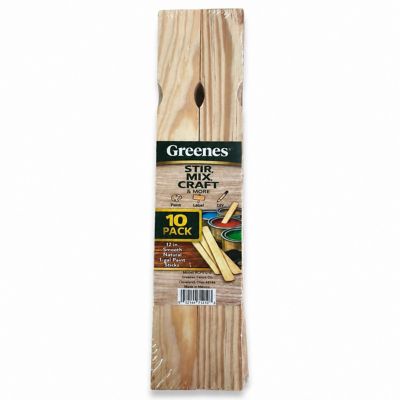
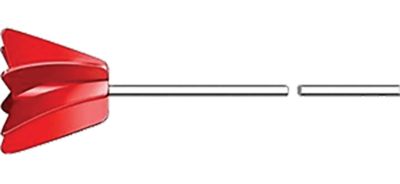
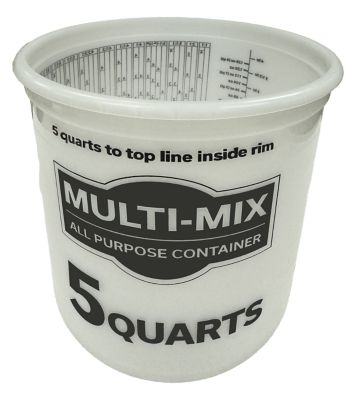
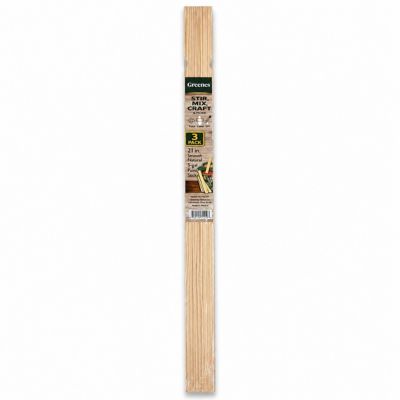
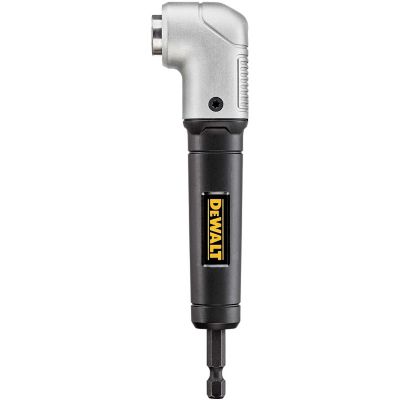
Paint mixing tools help turn a settled can, bucket, or pail of coating into a smooth, consistent blend before it reaches the wall, fence, shed, barn, or workbench. Paint can separate while it sits, with heavier pigments and solids sinking toward the bottom and a thinner layer rising to the top. Stirring by hand with a traditional wood or plastic stick works well for small cans, touch-up jobs, and light coatings, but larger batches often call for a drill-powered mixer. A spiral or helix-style attachment moves through paint in a steady circular pattern, pulling material from the bottom and folding it through the rest of the bucket. This action helps blend color and texture evenly without whipping in as much air as a fast, aggressive motion. Flat-bladed paddle mixers are useful when working with thicker coatings, primers, textured compounds, or other materials that need more force to move. When choosing a paint mixing tool, match the mixer to the size of the container, the thickness of the material, and the power of the drill or other equipment you plan to use. A small handheld stirrer is handy for a quart of trim paint, while a longer shaft gives better reach in a five-gallon bucket and helps keep your hands and sleeves farther from the material. Shaft length, blade shape, construction, and ease of cleanup all matter when a tool will be used around the shop, garage, farm, or jobsite. Metal mixers are often chosen for repeated heavy-duty work, while plastic options can be convenient for lighter tasks and quick cleanup. A tool that fits a standard drill chuck can be stored with common shop accessories and brought out whenever paint, stain, sealant, or another liquid coating needs a thorough blend. For materials with special instructions, always follow the label directions, including recommended mixing speed and whether a power mixer is suitable.
Good mixing starts before the drill turns on. Set the container on a level surface where a little splatter will not cause trouble, and make sure the lid, rim, and outside of the bucket are free from dried material that could fall into the fresh coating. If the paint has been sitting for a while, loosen settled material from the bottom with a hand stir stick before using a powered attachment. Place the mixer into the paint before starting the drill, then begin at a low speed and increase gradually as the material begins to move. Keeping the blades below the surface helps reduce splashing and limits the amount of air worked into the mixture. Move the attachment slowly around the sides and across the bottom, taking care not to scrape so hard that old, dried flakes break loose. A few extra minutes of patient mixing can make a noticeable difference in how evenly paint rolls, brushes, or sprays onto a surface. Watch for streaks, lumps, color variations, or a heavy layer clinging to the bottom; these are signs the material needs more attention. Avoid running a mixer in a nearly empty container, since exposed blades can sling paint and may damage the tool or the bucket. Wear eye protection, gloves, and work clothes that can handle a little mess, and keep cords, drill vents, and electrical connections away from spills. Once the paint is blended, lift the mixer slowly over the container and let excess material drain back in before setting it down. Clean the attachment promptly according to the coating label. A rinse may be enough for some water-based paints, while oil-based or specialty materials may require an approved cleaning solution and extra ventilation. If your project also involves mortar, grout, or concrete, the related selection of
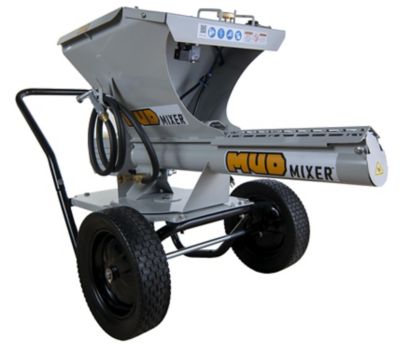
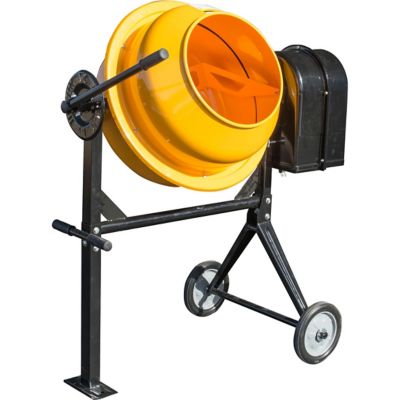
Cement Mixing Tools can help you choose equipment suited to those heavier materials rather than using a paint mixer outside its intended job.
Paint mixing tools are useful for homeowners, renters, working farmers, maintenance crews, contractors, artists, and anyone who takes on regular repair or improvement work. They can help prepare paint for a bedroom refresh, bring an old outbuilding back to life, blend stain for a porch project, or keep a larger property-maintenance job moving when several buckets need attention. During the warmer part of the year, a dependable mixer can make outdoor projects such as fences, gates, animal shelters, and garden structures easier to manage; during cooler months, it can be just as useful for indoor rooms, workshops, storage areas, and planned touch-ups. A small manual stirrer makes a practical addition to a first toolbox, while a drill attachment may be a welcome gift for someone setting up a workshop, maintaining rental properties, or spending weekends on do-it-yourself projects. Artists and crafters may also use paint mixing accessories when preparing larger amounts of acrylic, craft, or decorative paint, though digital color-mixing calculators and virtual palette tools serve a different purpose. Those online tools can help estimate color ratios, preview combinations, and plan adjustments before physical paint is mixed, but they cannot replace thorough blending in the actual container. For the most dependable results, use a digital color reference only as a planning aid and test the finished mixture on a scrap surface, since lighting, sheen, surface color, and the base material can all change how a shade appears. Keep separate mixing tools for incompatible coatings when possible, especially if a leftover color or cleaning chemical could affect the next batch. Store clean attachments where blades will not bend and where dried paint will not build up around the shaft. With the right tool and a little care, paint mixing becomes a simple part of the job instead of a last-minute chore, helping each batch go on more evenly and leaving the finished work looking neat, consistent, and ready to stand up to everyday use.