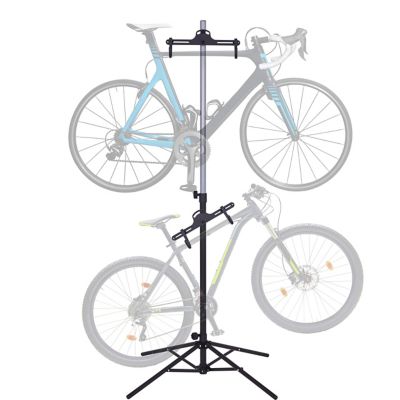
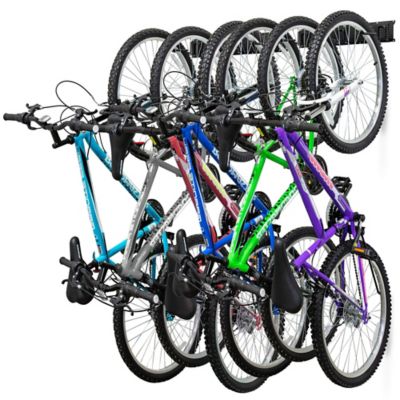
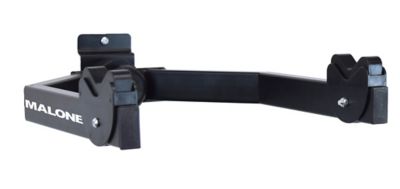
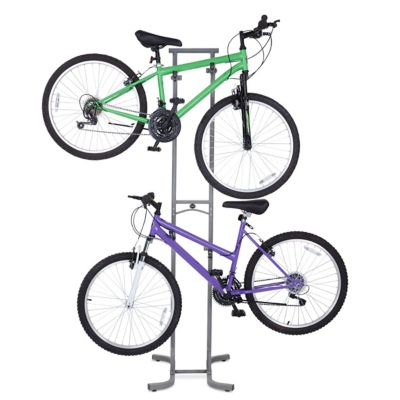
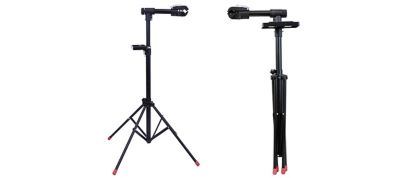
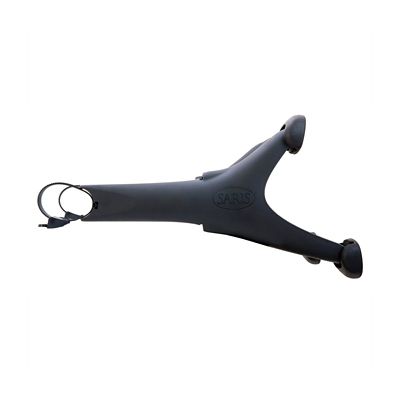
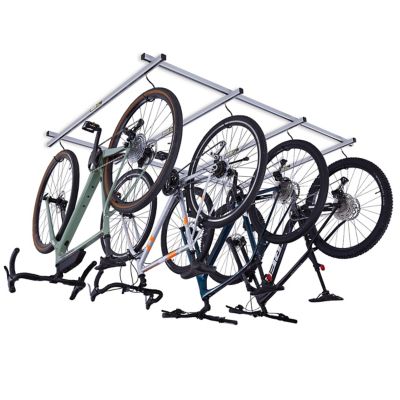
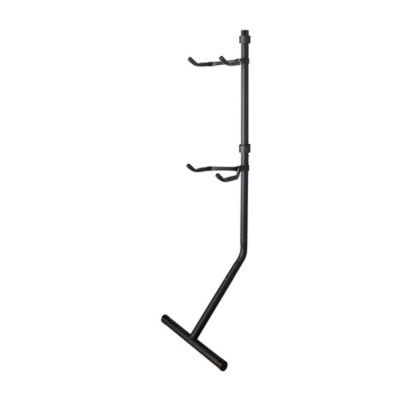
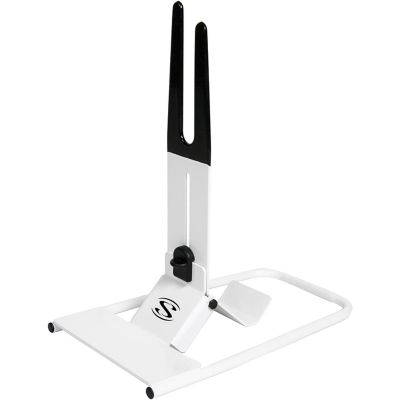
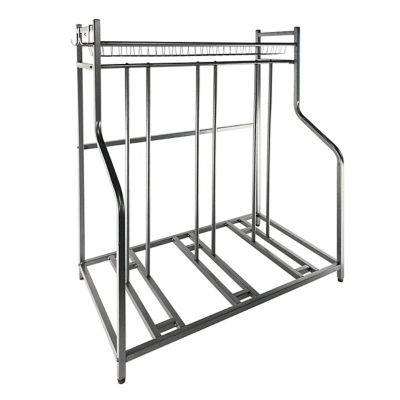
Indoor bike stands serve two main purposes: parking a bicycle securely inside and supporting a bicycle for stationary exercise. Storage stands hold a bike in place between rides, while indoor trainer stands support a compatible bike and provide resistance for pedaling without traveling. The two types are not interchangeable; a parking rack is not built to support a rider during a workout. For everyday storage, a stand gives a bicycle a home instead of leaving it leaning against the freezer, resting on a painted wall, or crowding the doorway. That matters in a busy garage, a small apartment, or a mudroom where boots, bags, and riding gear already share the floor. Floor parking racks generally cradle the front or rear tire, allowing the bicycle to remain upright without relying on its kickstand. Many accept a wheel with a simple roll-in motion, though the amount of lifting depends on the design. Vertical storage stands support a bicycle with its front wheel raised, reducing how far it extends across the floor while requiring more overhead clearance. Some let the rider roll the bike back onto its rear wheel before securing it; others require more lifting and handling. Freestanding designs can suit spaces where drilling into a wall is not practical, provided the stand does not require an anchor or safety strap. For straightforward parking at ground level,
bike floor stands offer a useful way to organize bicycles near the spot where rides begin and end. A single-bike stand can keep a commuter bicycle close to the door, while a rack with several spaces can help separate family bicycles. Spacing still matters: wide handlebars, baskets, and pedals can overlap even when every tire fits its slot. A well-planned parking spot leaves room to walk past, open cabinets, and roll a bicycle out without moving everything beside it.
A good fit starts with the bicycle’s wheel diameter, tire width, weight, and frame layout, not just the amount of open floor space. A narrow road tire and a broad mountain bike tire need different support, and a wheel cradle that holds one firmly may leave the other loose or unable to enter. Compatibility information may list measurements such as 26-inch, 29-inch, or 700c wheels, but wheel diameter alone does not confirm that the tire will fit. Children’s bicycles can need smaller cradles or different contact points, while heavier electric bicycles call for particular attention to the stand’s stated weight limit. Baskets, fenders, disc brake rotors, and rear derailleurs also need clearance wherever the stand meets the wheel or frame. Tire-contact supports can help keep pressure away from spokes and painted tubing, although the exact contact points vary by construction. Steel frames often bring useful weight and stiffness to a parking setup; aluminum can make a stand easier to move when the space serves several purposes. Protective finishes help shield metal surfaces from everyday scuffs, while padded contact areas and nonmarking feet can reduce rubbing against the bicycle and floor. No foot pad suits every surface, so flooring compatibility is worth checking, especially on finished wood or vinyl. A broad base, sound joints, and properly tightened hardware all contribute to steady support. Folding designs are handy in a garage that also serves as a work area, but their hinges and locking parts need to remain fully engaged during parking. Routine care is generally simple: wipe away grit, clear debris from wheel channels, and check for loose fasteners, worn padding, or damaged feet. A bicycle brought in with dirt on its tires can leave grit under a stand, where it may scratch the floor as the rack shifts. Keeping the parking area clean helps protect both the setup and the room around it.
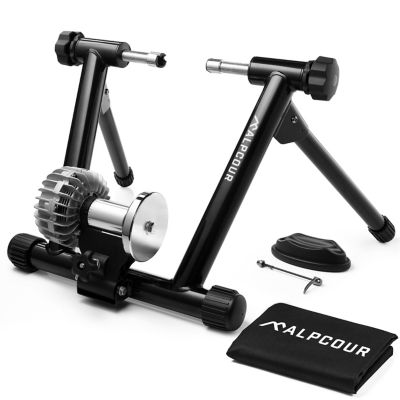
Indoor exercise trainer stands have a different job: keeping a compatible bicycle supported while the rider pedals against resistance. They can suit someone fitting a short workout between chores, a rider building a regular exercise routine, or a cyclist who wants a familiar saddle and handlebar position for indoor sessions. With a wheel-on trainer, the rear tire presses against a resistance roller, and the stand secures the bicycle at the rear axle. Magnetic resistance systems may offer selectable settings, while fluid resistance generally increases as the rider pedals faster. Noise and ride feel vary with the resistance unit, tire tread, floor surface, and setup, so no single resistance type guarantees a silent workout. A knobby tire can create noticeable vibration on a roller, and some trainers call for a smooth or trainer-specific tire to manage noise and wear. Direct-drive trainers work differently: the rear wheel comes off, and the bicycle connects to the trainer’s drivetrain. That arrangement requires matching axle standards and compatible drivetrain components, including the cassette where applicable. Quick-release and thru-axle bicycles may need different fittings, and an adapter is appropriate only when the trainer manufacturer approves that pairing. Weight ratings may account for the rider and bicycle together, making them just as important as wheel and axle measurements. A stable, level surface and enough room around the pedals, handlebars, and rear of the bike help create a practical exercise space. Some setups need a front-wheel support to bring the bicycle into the intended position. A suitable mat can catch sweat and help limit vibration transfer, but it cannot correct an unstable base or an incompatible connection. Moving wheels, rollers, and drivetrains also need clearance from children, pets, loose clothing, and nearby belongings. After a session, wiping sweat from the bicycle and trainer helps protect exposed metal and fasteners. Folding frames can make storage easier after exercise, with attention to pinch points and secure latches. For a rider receiving a stand as a gift, knowing whether the goal is tidy parking or indoor pedaling—and confirming the bicycle’s measurements—helps make the choice useful from the first setup.