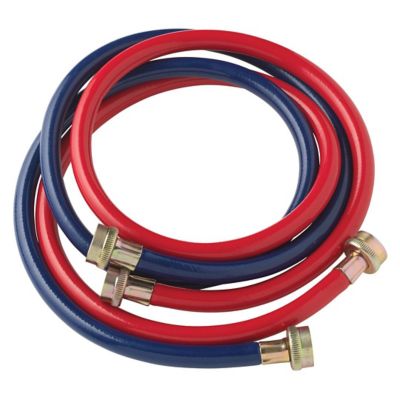
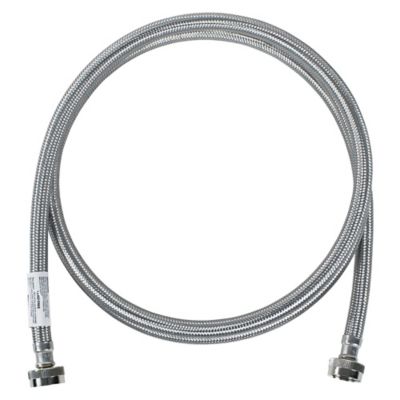
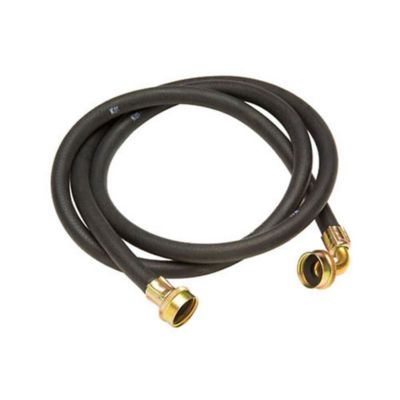
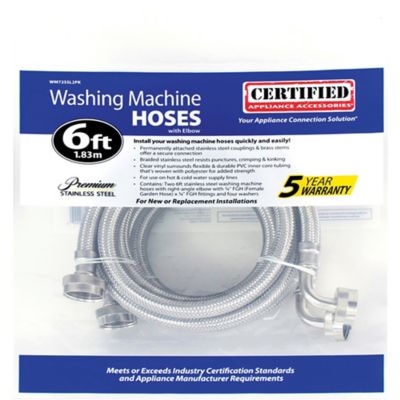
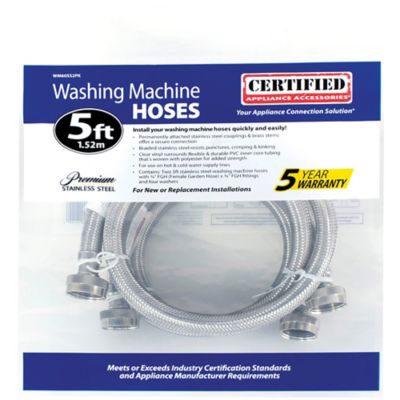
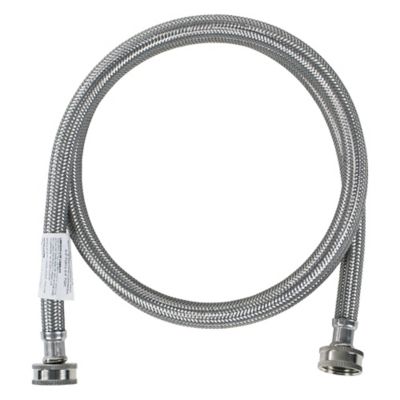
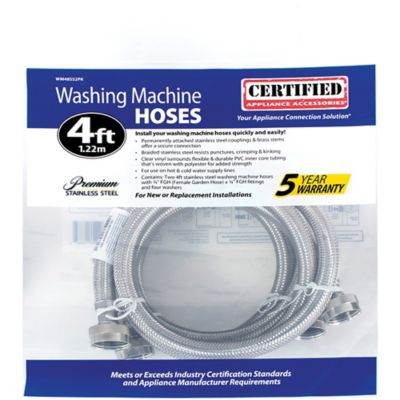
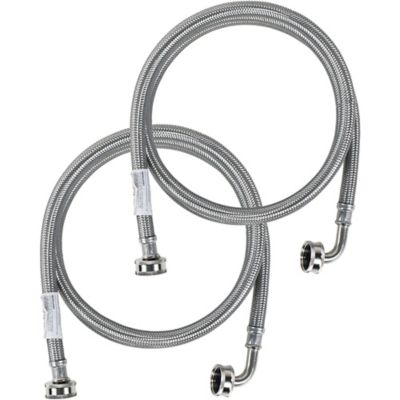
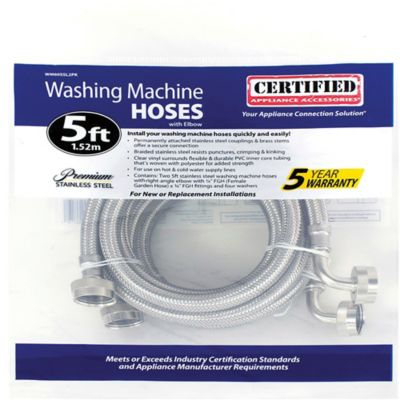
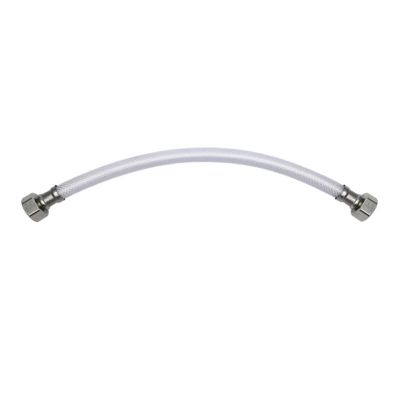
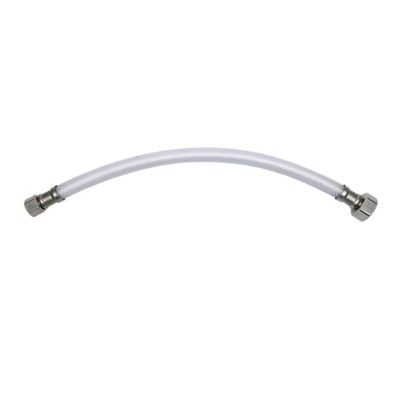
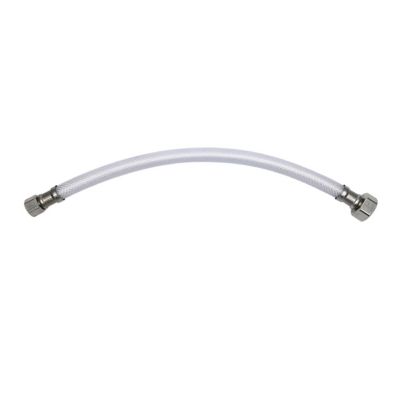
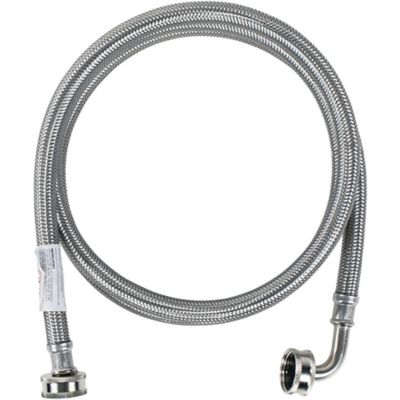
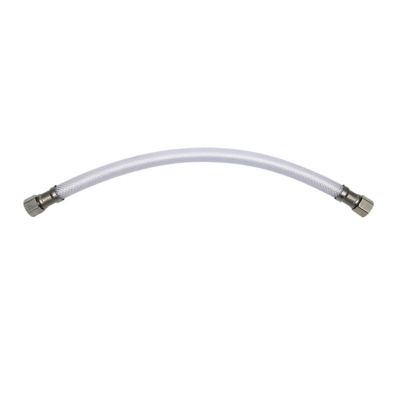
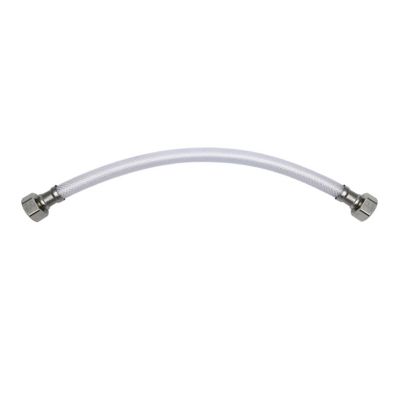
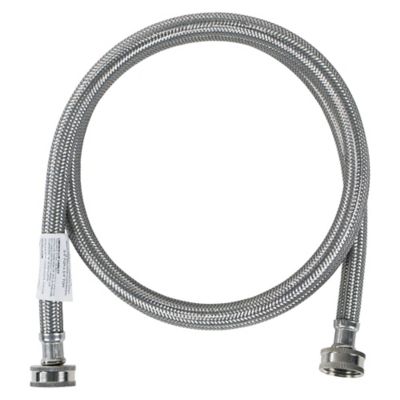
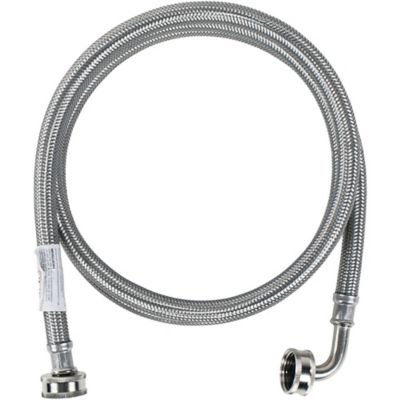
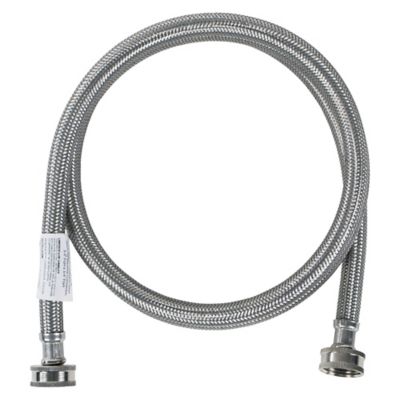
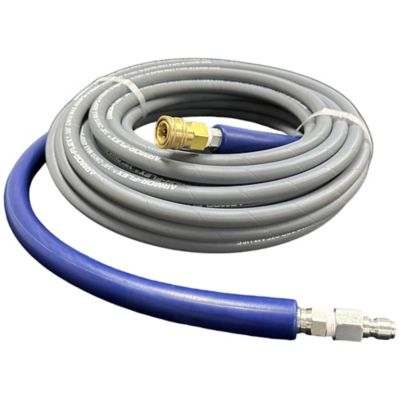
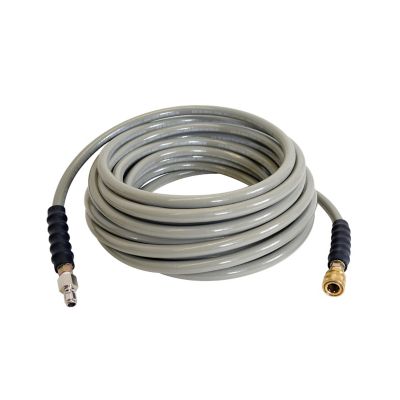
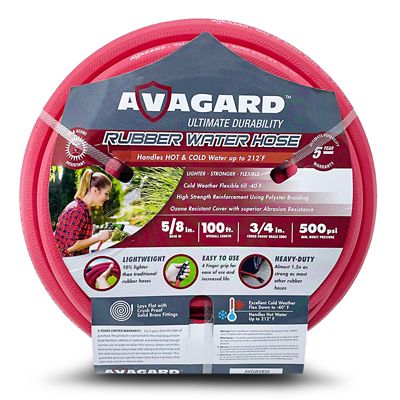
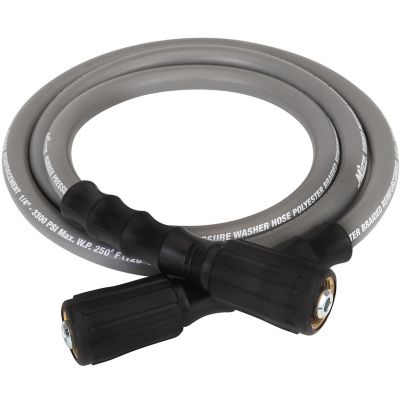
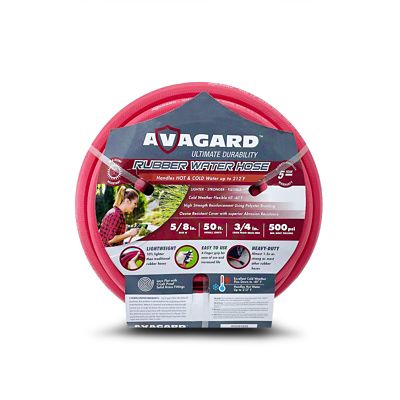
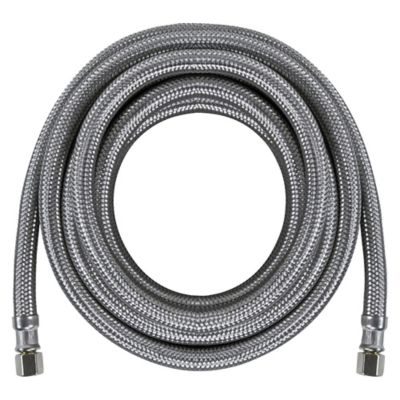
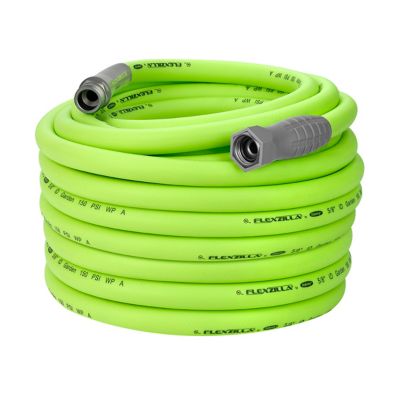
Hot and cold washing machine hoses carry water from the supply valves on the wall to the inlet ports on the back of your washer. A complete setup typically includes one hot-water hose and one cold-water hose, with connections sized to fit standard washing machine valves and appliance ports. When shopping, check the length carefully so the lines can reach without stretching, sharp bends, or a tight loop behind the machine. A hose that is too short can pull on the fittings, while one that is much longer than needed may bunch up and kink. Look for clearly marked hot and cold connections, sturdy threaded ends, and washers seated inside each connector. The hot line is often marked red or labeled “H,” while the cold line may be marked blue or labeled “C.” Some homes have the hot valve on the left and the cold valve on the right, but plumbing layouts can vary, so follow the markings on the wall and the washer rather than relying on position alone. Rubber supply lines are a familiar choice for many laundry rooms, while braided stainless-steel lines can offer added protection against kinks and outside wear. Before choosing, consider the space behind the appliance, the condition of the existing valves, and the temperature rating listed by the maker. These hoses are a practical addition for a new washer installation, a laundry-room refresh, or a move into a new home. They can also make a thoughtful housewarming gift for someone settling into a first house, cabin, apartment, or farm property, especially when paired with other basic home-maintenance supplies.
Replacing washing machine hoses is a straightforward task, but water and electricity call for care. Start by turning off both the hot and cold water supply valves at the wall. If the washer is plugged in, disconnect power before moving the appliance, and leave enough room to work without straining the cord or drain line. Place a shallow pan or folded towel beneath the connections to catch water left in the hoses. Remove the old lines from the wall valves and the washer inlet ports, then check that each new connector has its rubber or flat O-ring washer in place. These washers help create the seal; a missing, pinched, or damaged washer can lead to a slow drip. Connect the hot hose to the washer port marked “H” and the hot supply valve, then connect the cold hose to the port marked “C” and the cold valve. Thread each fitting by hand first so the threads line up properly. Once snug, add only a small turn with pliers or channel-lock pliers if needed. Excessive force can damage the threads, especially on plastic appliance inlets. Keep the lines in a gentle curve, away from the cabinet edge, sharp corners, and areas where the washer may press against them during a spin cycle. Manufacturer instructions should always take priority if the appliance has special connection requirements. For additional options, browse
Supply Hoses to find lines for laundry rooms and other water-supply needs around the home, barn, or shop.
After the connections are complete, turn the water valves back on slowly and watch every fitting for several minutes. A dry paper towel placed around the connectors can help reveal a small seep that may not be easy to spot. If water appears, close the valve, relieve the pressure, and check the washer, the threads, and the connection alignment before tightening slightly. Do not push the machine fully back against the wall until the lines have passed this leak check. It is wise to look over washing machine hoses from time to time, especially before the cooler months when laundry rooms may see heavier loads from muddy boots, work clothes, bedding, and extra blankets. Check for bulges, cracks, worn spots, rust at the fittings, kinks, or dampness around the connections. A hose that shows signs of wear should be replaced rather than patched. Homes with well water, hard water, older plumbing, or a washer located in an outbuilding may call for more frequent inspections, since mineral buildup, shifting pipes, and temperature changes can affect fittings and seals. Keep the washer area clear enough to spot a drip early, and consider closing the supply valves when the laundry room will be unattended for an extended stretch. With the right length, proper hot-and-cold matching, intact washers, and a careful leak check, new washing machine hoses help keep laundry water flowing where it belongs while giving homeowners, renters, and caretakers one less small plumbing concern to keep on their list.