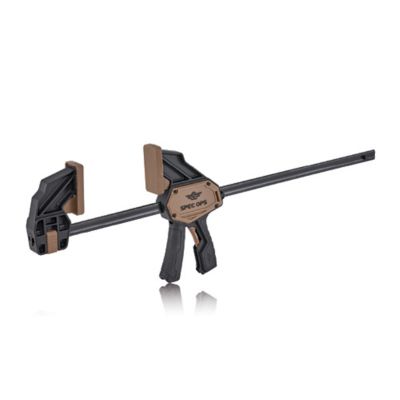
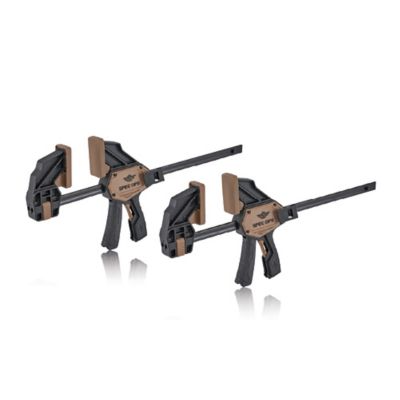
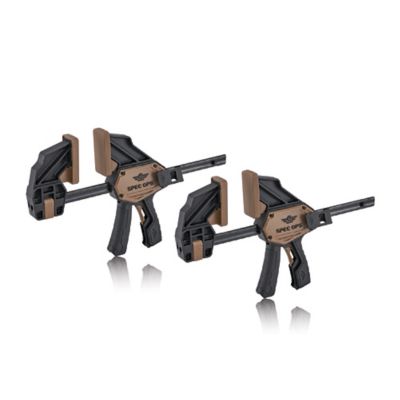
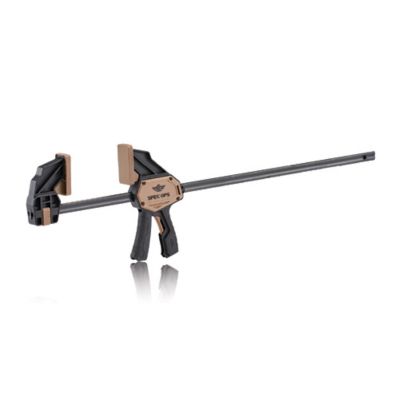
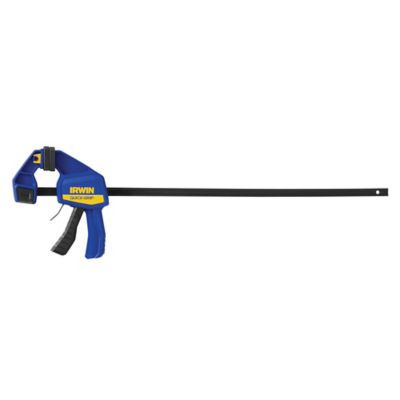
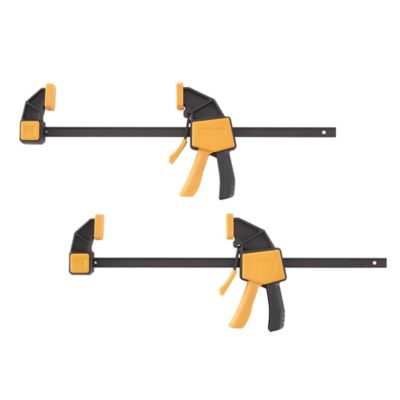
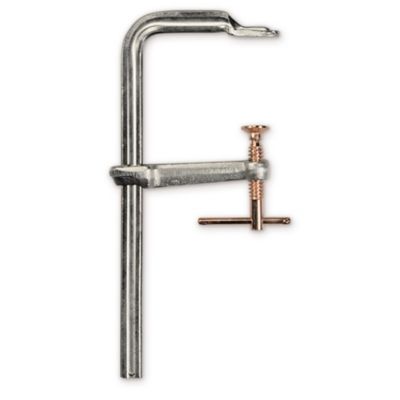
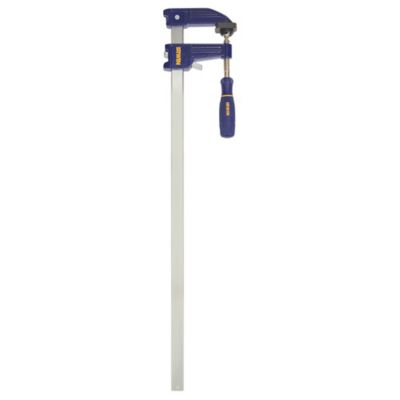
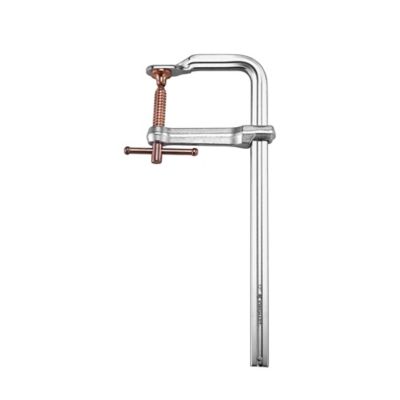
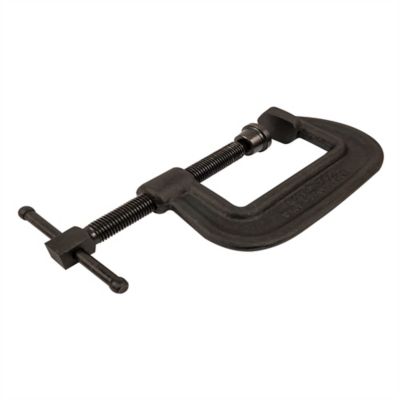
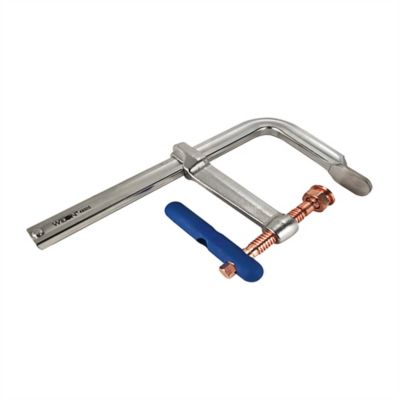
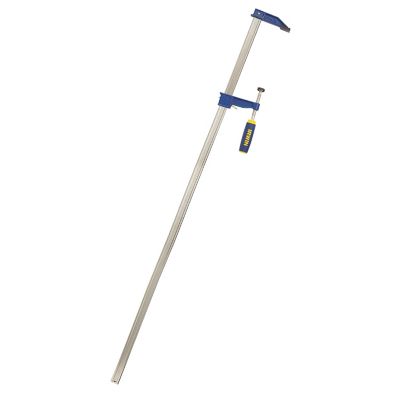
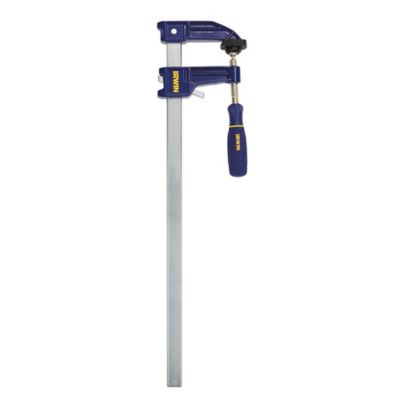
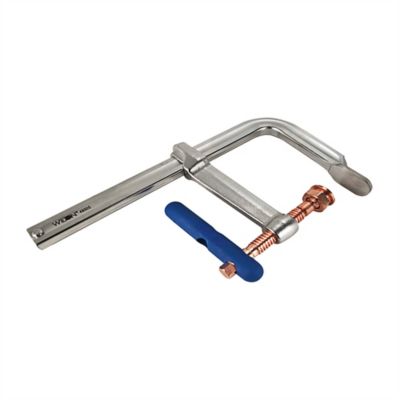
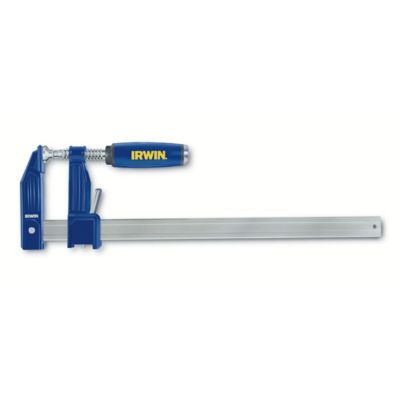
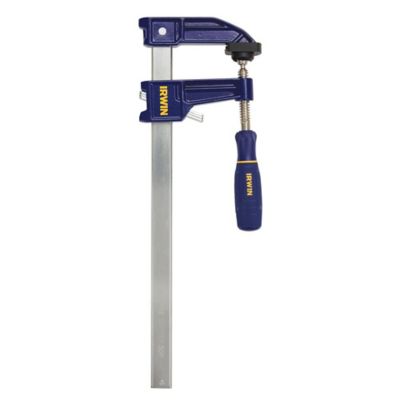
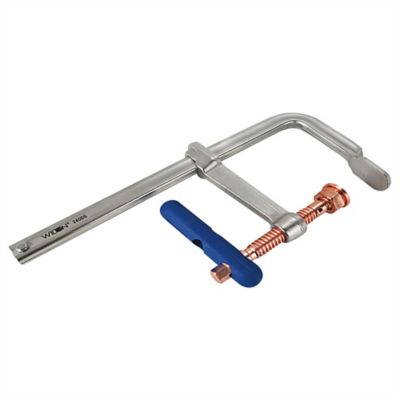
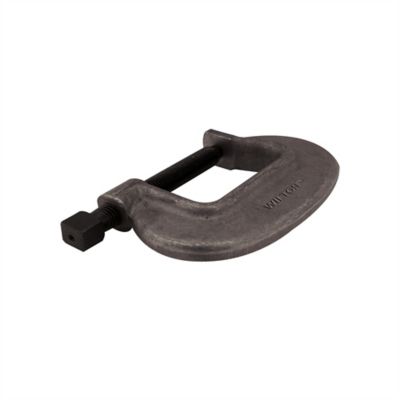
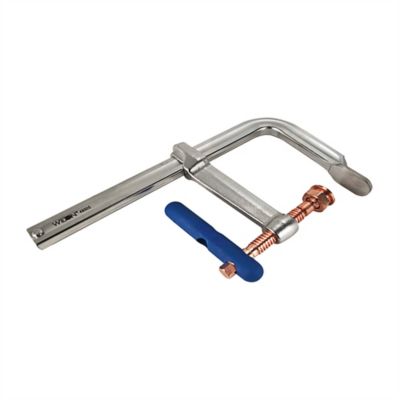
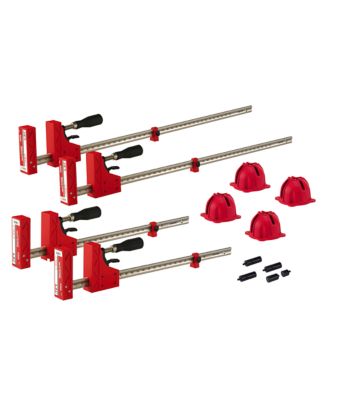
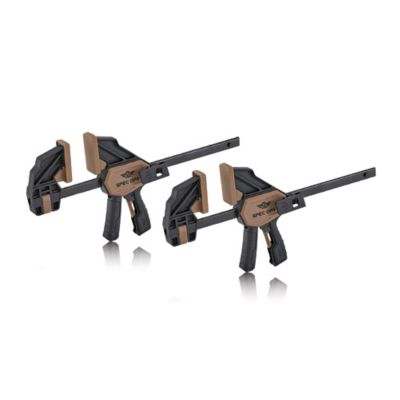
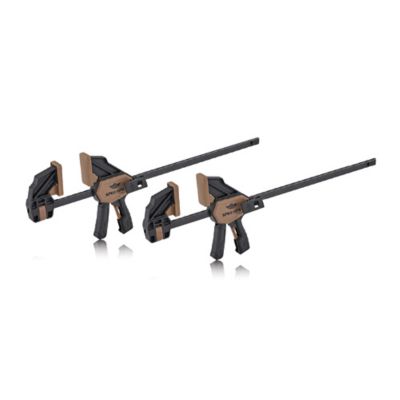
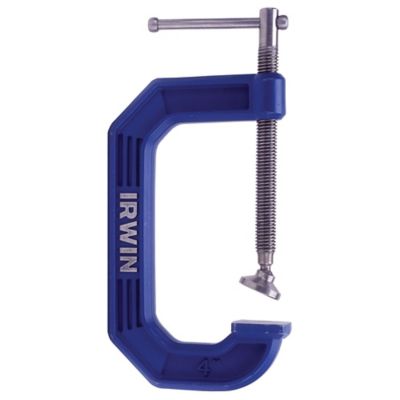
Heavy-duty bar clamps hold boards, panels, frames, and other workpieces together while glue sets or parts are fitted and fastened. Their long bars and adjustable jaws make room for work that reaches beyond the opening of a small hand clamp, from a broad tabletop to a replacement cabinet door in the farm shop. A fixed jaw anchors one end, while a sliding jaw moves along the bar to match the width of the assembly. A screw or other tightening mechanism then brings the jaws against the material. For woodworkers, carpenters, maintenance crews, and folks tackling repairs around the property, that steady hold leaves both hands free for the next step. The main styles include I-beam clamps, F-style sliding-arm clamps, and parallel-jaw clamps, each with a different balance of reach, weight, and jaw contact. I-beam designs have a bar profile that helps resist bending across longer spans, making them a practical match for wide glue-ups and larger assemblies. F-style clamps combine a fixed arm with a sliding arm and screw, giving them flexibility for bench work and holding parts in place. Parallel-jaw designs have broad faces intended to remain parallel under load, helping distribute pressure across cabinet parts, panels, and frames. Even with broad jaws, keeping surfaces clean and adding protective pads when needed helps prevent marks. Clamping force varies widely by design: some clamps provide hundreds of pounds of force, while larger industrial designs can deliver several thousand pounds. The manufacturer’s rating matters more than the heavy-duty label alone, and maximum force is not the right setting for every task. A pine shelf assembly needs enough pressure to close its joints, not so much that its edges crush or its boards bow. A heavier fixture may call for greater holding force, but the clamp still needs the right jaw shape and capacity for the job. The goal is a firm, controlled hold that keeps parts where they belong without forcing a poor fit.
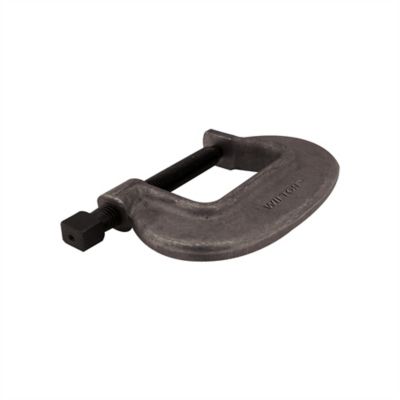
Opening capacity, throat depth, and bar construction tell more about how a heavy-duty bar clamp will fit a project than overall size alone. Opening capacity is the greatest distance between the jaw faces; throat depth is the distance from the bar to the clamping contact point, which determines how far inward from an edge the clamp can reach. Overall bar length and usable opening are not always the same, so checking the stated capacity helps prevent a short reach at the bench. A clamp that fits across a narrow drawer may not span a gate frame, and a long bar with a shallow throat may not reach a recessed joint. Leave room for protective blocks, corner fixtures, and any other pieces that sit between the jaws and the work. Steel bars provide the backbone of many heavy-duty designs, with bar thickness and cross-sectional shape affecting stiffness under load. Forged steel or cast iron components may appear in the arms and jaws, depending on the design, while screw threads and pressure pads handle the final tightening. A swiveling pressure pad can help seat the screw against a surface, though it cannot make every angled setup secure. Handle shape matters during repeated work, too. A T-handle offers leverage, while a shaped grip may feel more comfortable through several rounds of tightening and release. More leverage also makes it easier to apply too much force, so tightening should stay within the clamp’s instructions. Weight deserves a look when an assembly calls for several clamps at once or when parts sit upright instead of flat on a bench. Longer, heavier clamps can be awkward to balance without support. Woodworking generally benefits from clean, nonmarring jaw pads or scrap-wood blocks, while metal fabrication calls for clamps specifically suited to that work. Plastic pads and grips may not tolerate welding heat or spatter. A welding setup also needs its proper work connection; a bar clamp is not a substitute for that connection.
On a wide panel glue-up, several well-placed bar clamps usually do more good than one clamp tightened as hard as possible. Spacing them along the joint helps spread the load, and alternating clamps above and below the panel can help balance pressure that might otherwise pull the boards out of flat. Straight support blocks or cauls can help keep adjoining faces lined up, provided they are arranged so they do not become bonded to the project. For a cabinet frame, a dry fit before applying glue gives time to check jaw clearance, position corner blocks, and compare diagonal measurements for square. Once tightening begins, small adjustments from clamp to clamp help bring joints together without dragging the assembly out of line. Glue squeeze-out alone does not establish that a joint has enough pressure; joint fit and the adhesive maker’s directions still matter. Keeping handles within easy reach also makes a difference when several joints need attention before the glue starts to set. Smaller holding tasks call for a different approach:
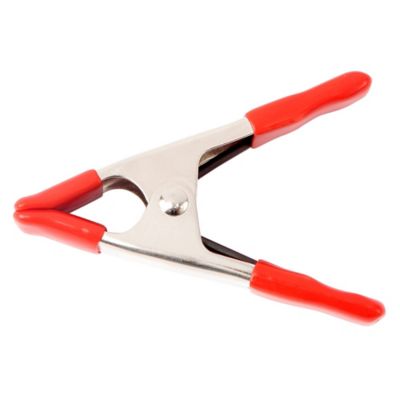
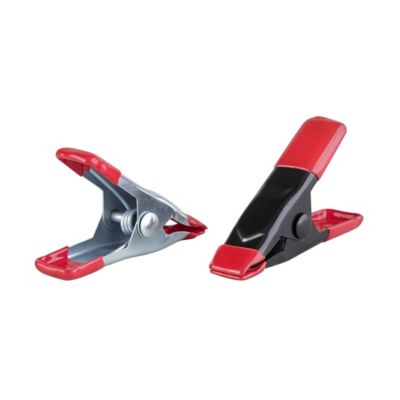
Heavy Duty Spring Clamps can provide a quick hold for light trim, templates, or protective sheets, while bar clamps offer the opening and adjustable pressure needed for larger assemblies. For anyone outfitting a workbench, a mix of opening capacities can be more practical than several clamps that all fit the same narrow range of work. That also makes bar clamps a useful gift for a woodworker or someone setting up a shop, especially when their typical project sizes are known. Routine care helps preserve smooth adjustment and holding performance. Remove glue residue before it builds up on the bar, wipe away sawdust and metal chips, and inspect screws, pads, arms, and sliding mechanisms for damage. Follow the manufacturer’s lubrication directions, keeping oil away from surfaces that will receive glue or a finish. Store clamps on a rack that supports their weight and keeps long bars out of walkways. Bent bars, cracked jaws, or slipping mechanisms are reasons to take a clamp out of service. These tools belong at the workbench holding properly supported material, not lifting loads or supporting people.