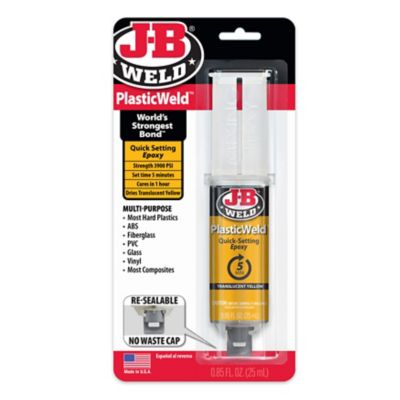
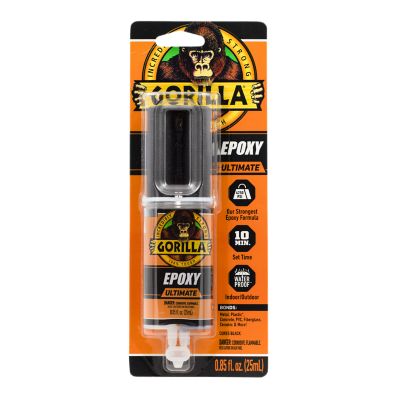
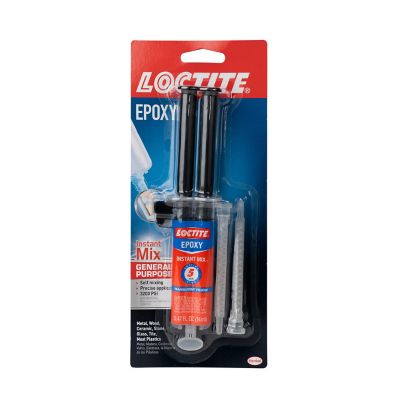
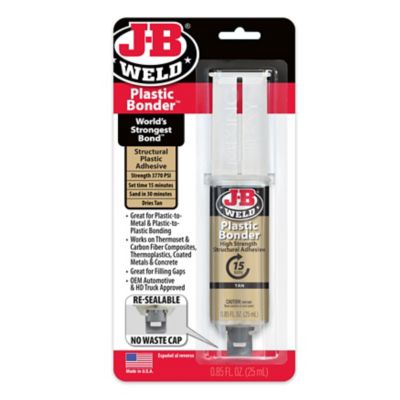
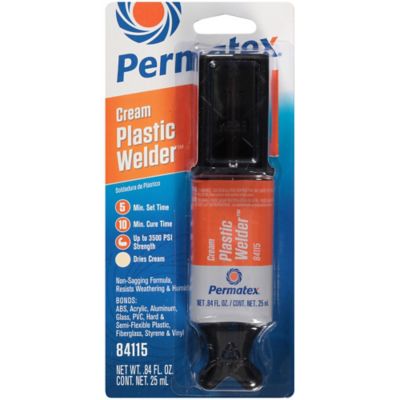
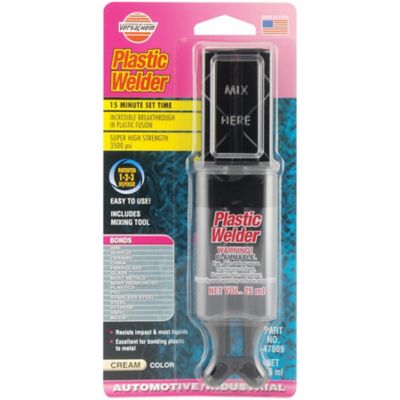
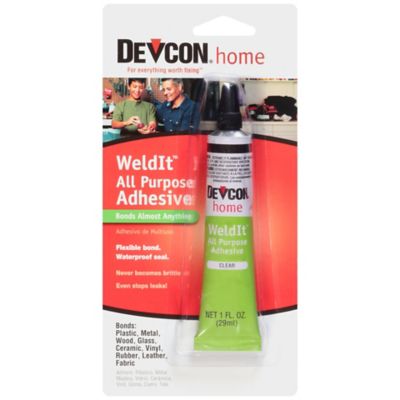
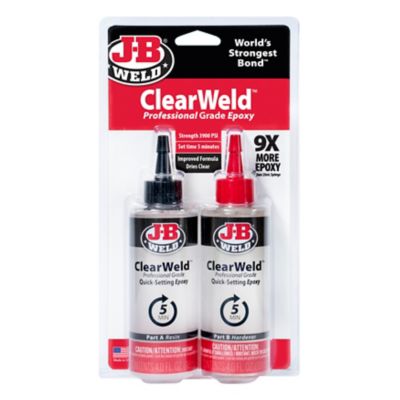
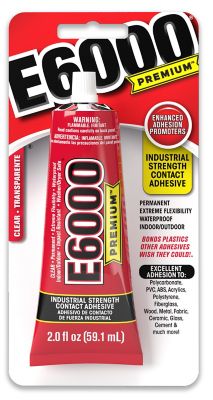
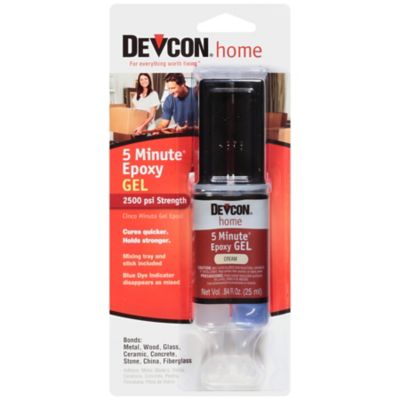
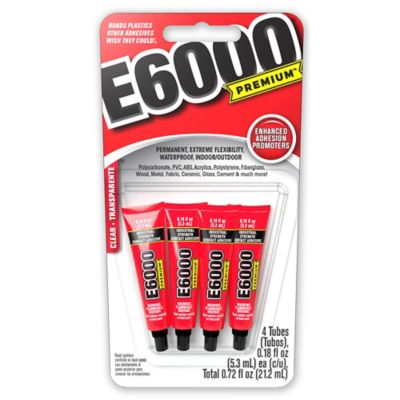
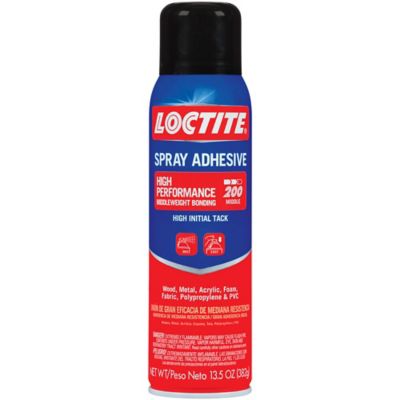
Epoxy adhesives for plastics are handy to keep in the shop, garage, barn, or household repair drawer when a cracked, loose, or broken plastic part needs more than a quick patch. These two-part adhesives use a resin and hardener that are mixed together to form a strong bond as they cure. They can be useful for repairing rigid plastic totes, tool handles, trim pieces, equipment housings, storage bins, automotive parts, outdoor fixtures, and many other items that see regular handling. Standard epoxy generally bonds best to rigid, higher-energy plastics such as ABS, PVC, acrylic, and some molded composite materials. Flexible or chemically resistant plastics, including polyethylene and polypropylene, can be harder to bond because adhesive may not grip the surface well. Plastic type can sometimes be identified by a molded recycling symbol or marking on the underside of a part. If the material is marked PE or PP, look for an epoxy specifically formulated for those plastics, or one that calls for a compatible primer. A flexible epoxy may be a better fit where a repair will experience vibration, impact, movement, or temperature changes, while a rigid formula is often suited to stationary parts that need a firm, durable connection. Clear formulas can help keep a repair less noticeable on translucent or finished plastic, while thicker formulas can help fill small gaps and uneven edges. As you compare options, check the listed plastic compatibility, working time, set time, cure time, water resistance, temperature range, and whether the adhesive is intended for indoor or outdoor use. A fast-setting adhesive can be convenient for a quick repair, but a longer working time may make it easier to align larger parts or more complicated assemblies. For tile and other masonry surfaces, a dedicated option such as
Ceramic Tile Adhesive is usually a better match than a plastic epoxy.
Getting a clean, well-prepared surface makes a noticeable difference in how epoxy adhesives for plastics perform. Remove dirt, grease, wax, dust, and old adhesive before starting, using a cleaner that will not damage the plastic, and allow both surfaces to dry completely. Lightly roughen smooth plastic with fine-grit sandpaper so the adhesive has some texture to hold onto, then brush or wipe away the sanding dust. Avoid sanding deeply into thin plastic, and take extra care with polished, painted, or visible surfaces where scratches may show. Dry-fit the pieces before mixing so you know how they will line up, and gather clamps, tape, a small mixing surface, disposable gloves, and a tool for spreading the adhesive. Most two-part epoxies require equal amounts of resin and hardener, although the exact ratio can vary, so follow the package directions rather than estimating. Mix thoroughly for the stated amount of time, scraping the sides and bottom of the mixing area so the two parts are fully combined. Apply an even layer to one or both surfaces, paying attention to corners and edges without spreading so much that excess squeezes out onto the finished side. Bring the pieces together while the epoxy is still workable, then hold them in position with a clamp, tape, or another gentle support. Too much pressure can force the adhesive out of the joint, while too little can leave gaps or allow the pieces to shift. Wipe away squeeze-out only as directed, since some formulas are easier to clean before they begin to set and more difficult to remove once cured. Keep the repair still during the initial set, and avoid putting weight, pulling, twisting, or exposing it to water until the full cure time has passed. Many formulas may feel firm after a few minutes but need several hours, often up to 24 hours, to reach their maximum strength.
These adhesives can be useful for homeowners, farmers, maintenance workers, hobbyists, mechanics, and anyone who prefers to repair a serviceable plastic item instead of replacing it. They may help restore a cracked bucket lid, secure a loose plastic fitting, rebuild a worn handle, mend a broken enclosure, or hold a decorative and functional piece in place around the house. In a farm or workshop setting, epoxy can be useful for noncritical repairs on plastic guards, bins, organizers, and equipment accessories, provided the bonded part is not exposed to loads or conditions beyond the adhesive’s rating. It is not a substitute for replacing a safety component, pressure-bearing part, fuel container, electrical insulation, or any piece where failure could cause injury or property damage. Outdoor repairs deserve close attention to water exposure, sunlight, freezing and thawing, and the movement caused by changing temperatures. During the cooler months, allow extra time for the adhesive to set and cure if the work area is unheated, since low temperatures can slow the chemical reaction. Good ventilation, eye protection, and disposable gloves are sensible whenever epoxy is mixed or applied, and leftover resin and hardener should be stored tightly closed and kept away from children, pets, feed, and heat sources. Read the label for surface limitations, cleanup instructions, and full cure information before beginning. With the right plastic, careful surface preparation, accurate mixing, steady clamping, and enough time to cure, epoxy adhesives for plastics can provide a dependable repair for everyday projects at home, on the property, or in the shop.