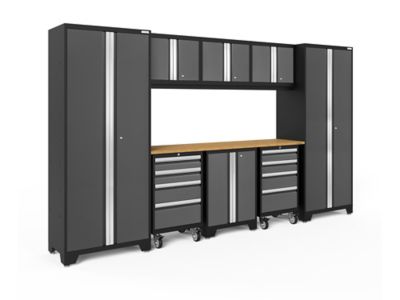
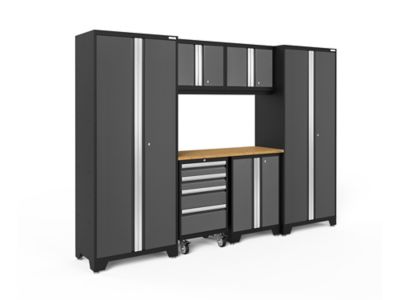
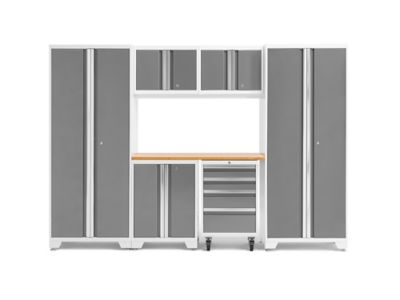
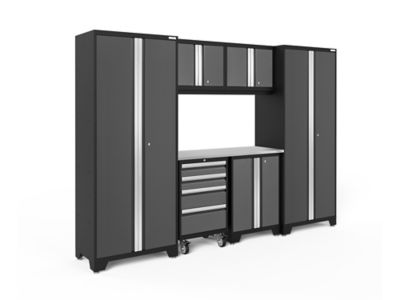
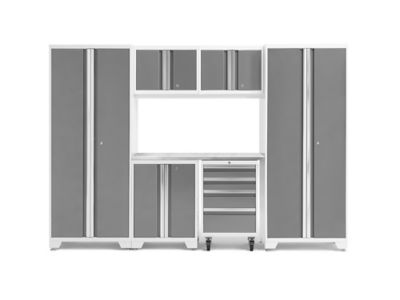
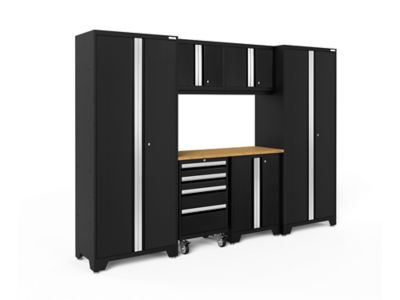
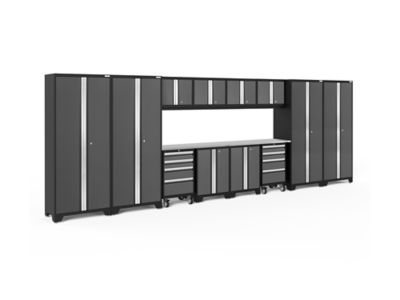
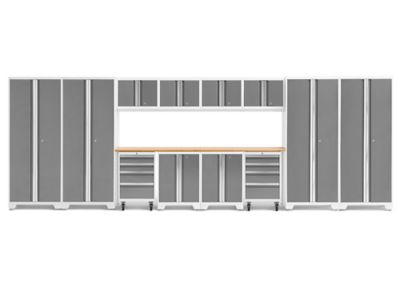
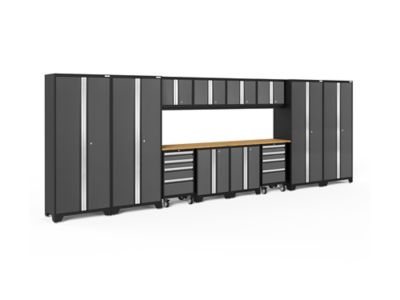
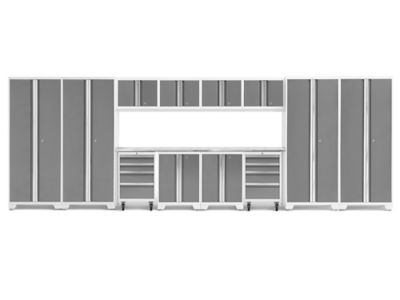
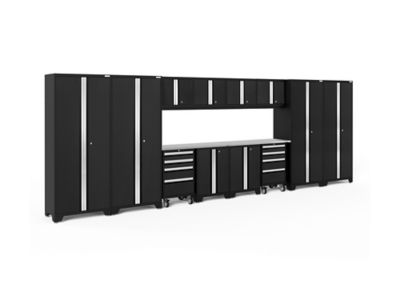
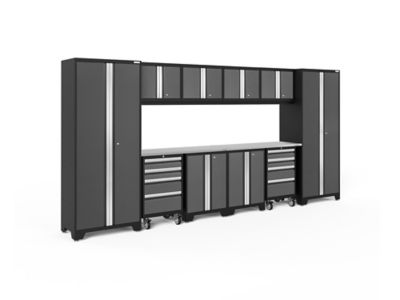
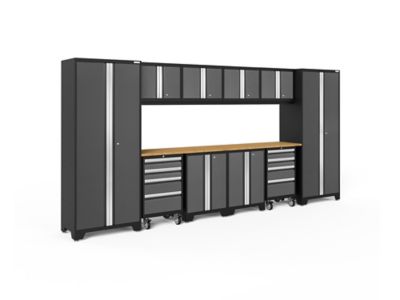
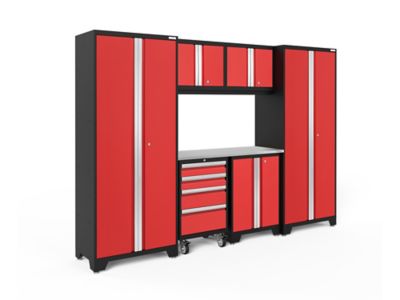
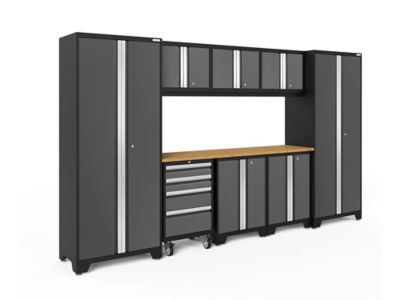
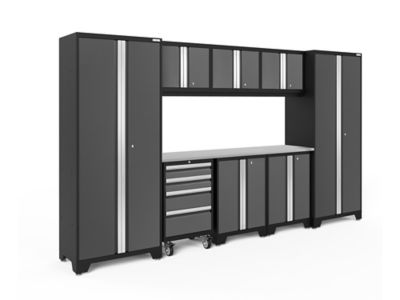
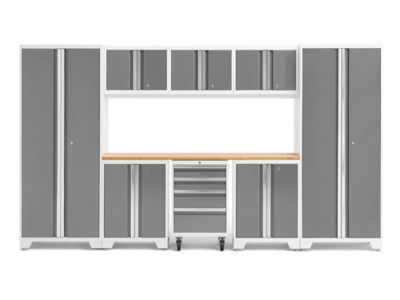
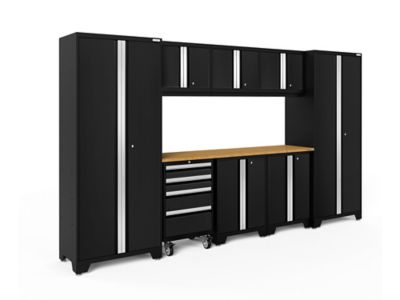
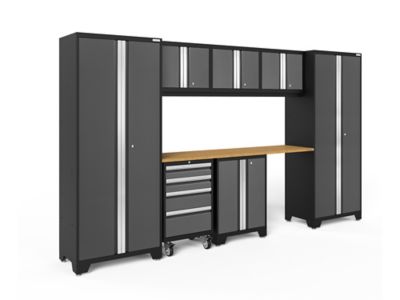
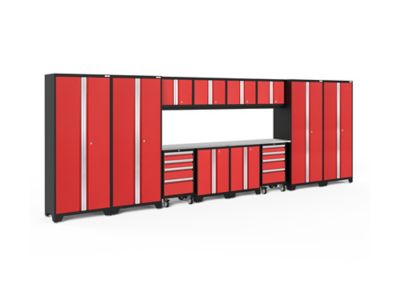
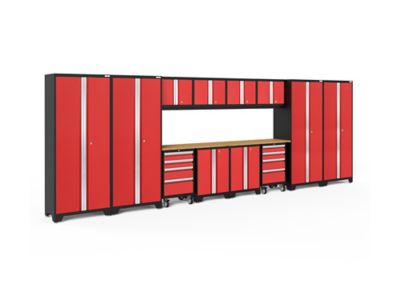
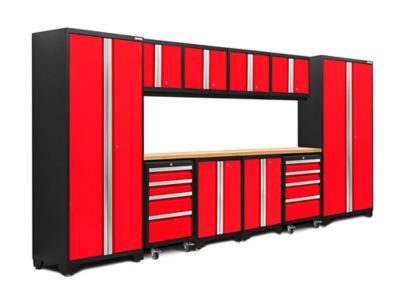
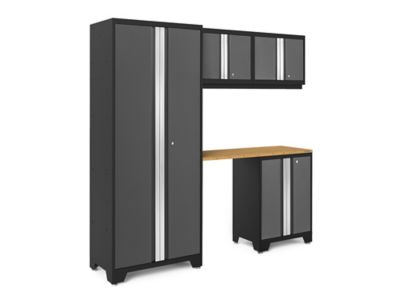
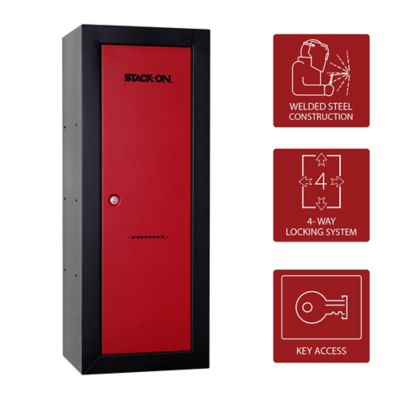
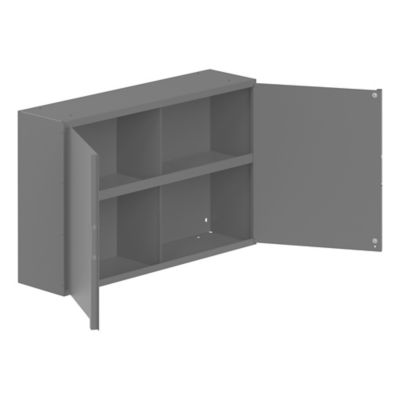
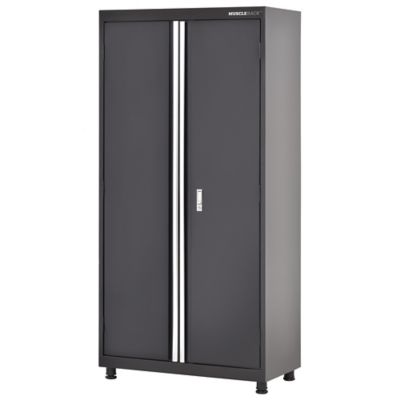
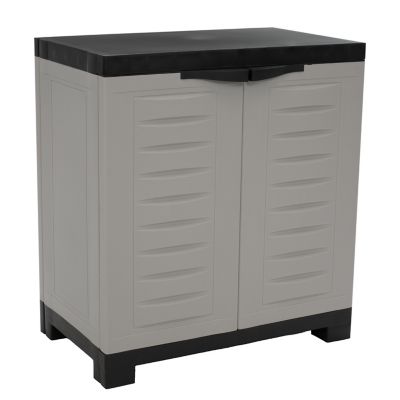
Assembly cabinets are a practical way to add organized storage without hauling fully built units through a narrow doorway, up a set of stairs, or across a muddy yard. Often called ready-to-assemble, or RTA, cabinets arrive as separate parts that come together at home, including the cabinet box, side panels, top and bottom pieces, back panel, shelves, doors, drawers, hinges, and mounting hardware. They can be a handy fit for homeowners updating a kitchen, laundry room, mudroom, pantry, garage, workshop, tack room, or utility space. A cabinet that starts out flat-packed can be carried into places where a finished unit would be difficult to maneuver, then assembled close to where it will be used. For a farmhouse, cabin, or country home, assembly cabinets can help turn an open wall into useful storage for canned goods, cleaning supplies, tools, pet food, small-animal supplies, or everyday household odds and ends. They may also suit someone settling into a new home, outfitting a shed, or improving a work area before the cooler months send more projects indoors. If you are comparing assembly cabinets with
Fully Assembled Storage Cabinets, think about the space available for delivery and setup, the amount of time you want to spend putting furniture together, and whether a flat-packed design will make the job easier from the start.
Before choosing a cabinet, measure the intended area carefully, including the full height, width, and depth available. Check for baseboards, trim, outlets, pipes, windows, doors, and uneven flooring that could affect how the cabinet sits or opens. Base cabinets are designed to rest on the floor and can provide a sturdy work surface, while wall cabinets make use of vertical space and tall pantry-style cabinets offer room for brooms, bulk goods, linens, feed, or larger household items. Pay attention to the cabinet’s finished dimensions rather than relying on a general size label, and leave enough clearance for doors and drawers to open without bumping into a nearby wall or appliance. Material and construction matter as well. Look for panels that feel solid, hardware that matches the intended use, adjustable shelving when storage needs may change, and a finish suited to the room’s moisture, dust, and daily traffic. In a garage or workshop, shelves may need to handle heavier supplies than they would in a bedroom or hallway. In a mudroom or laundry area, easy-clean surfaces and durable hinges can make a noticeable difference. Consider how the cabinet will be secured, especially in homes with children, pets, or uneven floors. Wall-mounted units should be fastened to appropriate studs or structural supports, and tall cabinets may need anchoring to help prevent tipping. Assembly cabinets can also be a thoughtful housewarming or new-workshop gift when the recipient enjoys hands-on projects and needs a better way to keep tools, hardware, boots, or seasonal gear in order.
A clean, protected work surface makes cabinet assembly much smoother. A sheet of cardboard, a moving blanket, or a sturdy worktable can keep finished panels from picking up scratches while also giving you room to sort hardware. Unpack the parts with care, compare them with the instructions, and group matching sides, shelves, drawer components, and fasteners before tightening anything. A Phillips screwdriver or drill with the correct bit, a rubber mallet or dead-blow hammer, a tape measure, a level, and a pencil are commonly useful; wood glue, a staple gun, or a brad nailer may be appropriate only when the manufacturer’s instructions call for them. Start with the face frame or main cabinet sides, then fit the top, bottom, and back panel into their grooves or connectors. Apply even pressure, tap joints gently when needed, and make sure each corner sits flush before securing cam locks, screws, clips, or other hardware. For drawers, bring the box joints together carefully, fit the drawer bottom into its groove, attach the glides in the proper position, and then install the drawer face. Doors generally use pre-drilled hinge holes and mounting plates, so take time to align them before making final adjustments. Small rubber bumpers can help soften closing sounds and protect the finish. Avoid forcing a panel that does not line up; a reversed side, misplaced shelf pin, or loose connector is easier to correct before the cabinet is fully tightened. Once assembled, check that the unit is level, confirm that doors and drawers move freely, wipe away dust, and anchor the cabinet as recommended. Taking a steady approach pays off, whether you are organizing feed and fence supplies in an outbuilding, setting up a clean pantry for busy cooler-weather cooking, or giving a hardworking shop a more orderly place for tools and parts.