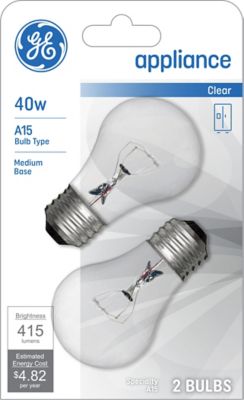
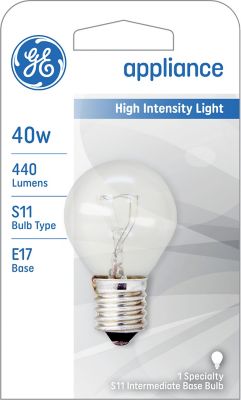
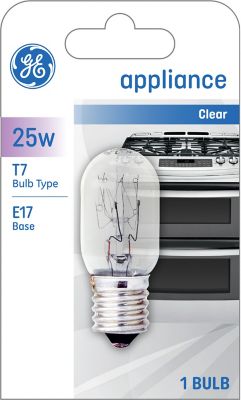
Replacement bulbs for ovens keep the cooking space easy to see, whether there’s a pan of cornbread on the middle rack or a roast tucked toward the back. The right replacement is an oven-rated appliance bulb that matches the appliance manufacturer’s requirements for wattage, voltage, base, shape, and heat resistance. Many ovens take a 40-watt incandescent appliance bulb, while others call for a halogen bulb or a different wattage and connection. There’s no single bulb that fits every oven, so the owner’s manual and model information matter more than a similar-looking shape. For appliances that specify this wattage,
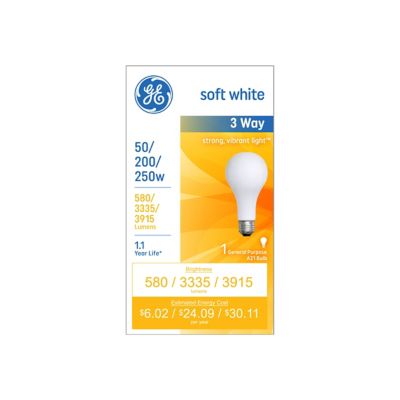
40 Watt Appliance Light Bulbs are a relevant category to consider, with oven suitability and the remaining specifications checked before making a selection. A bulb labeled for appliance use is not automatically suitable for an oven; refrigerator lights, range hood lights, and microwave lights can have different requirements. The light inside the cooking cavity has to handle sustained heat, not just illuminate a small space. Ordinary household LEDs and compact fluorescent bulbs generally are not intended for that environment, and a lower energy draw does not make them suitable substitutes. Oven lighting also serves a different purpose from the light above the stovetop. Its job is to help show the surface of food through the oven window, making it easier to spot a bubbling casserole, a rising loaf, or biscuits beginning to brown without opening the door just for a look. That view is handy during everyday meals and bigger baking jobs alike, though color alone does not establish that food has reached a safe internal temperature. For home cooks, busy households, and anyone maintaining a kitchen appliance, a properly matched bulb restores a small feature that makes a noticeable difference at mealtime. Clear oven lighting is especially helpful when pans fill more than one rack and the back corners are otherwise hard to see.
Fit involves more than whether a bulb screws into the socket. Oven light assemblies often leave little extra room between the socket, the bulb, and a protective glass cover. Overall length, bulb diameter, and base dimensions all affect whether the replacement sits correctly and allows that cover to close as intended. A bulb that looks close in size can still be too wide or too long, and a threaded base is not interchangeable with a pin-style connection. Even among screw-in designs, base sizes differ. The appliance manual, parts diagram, or manufacturer’s replacement specifications provide a better reference than a glance at the old bulb alone, especially if a previous replacement may not have been the right match. Markings on the old bulb can help confirm details when they remain readable, but the oven’s stated requirements take priority. Wattage should match the specified replacement rating without exceeding the fixture’s limit, and voltage needs to match as well. A higher wattage is not a sound shortcut to a brighter oven window. Materials and construction matter because an oven lamp works close to hot metal, cookware, and food splatter. Oven-rated incandescent designs typically combine a glass envelope, a filament, and a metal base, while halogen designs may have a compact capsule and a different socket arrangement. Those differences affect handling and fit, not just appearance. Some halogen bulbs also require special care to keep skin oils off the glass, as directed by the bulb and appliance manufacturers. Clear glass can help provide an unobstructed light source, but the specified bulb type matters more than a preferred finish or shape. The protective cover is part of the assembly, too: its condition and proper seating deserve attention alongside the bulb itself. A replacement should fit the fixture as designed, without an improvised adapter, an altered cover, or pressure against the surrounding glass. Getting those details right helps the light assembly work as intended through repeated cooking cycles.
Care for an oven light starts with the appliance’s safety directions rather than treating it like a table lamp. Bulb replacement calls for a fully cooled oven and disconnected electrical power; turning off the light switch alone does not necessarily disconnect the appliance. The manual explains access to the lamp, whether the glass cover twists or releases another way, and any model-specific precautions. A cover that resists removal should not be forced, and cracked glass, a damaged socket, or a broken bulb base can call for professional attention. Cleaning around the light also needs a light touch. Grease and baked-on splatter on the lens or nearby oven window can make a working bulb seem dim, but cleaning methods must suit those surfaces and stay out of the electrical socket. Oven cleaners, water, and scrubbing tools are not interchangeable solutions for every part of the light assembly. Self-cleaning instructions deserve a separate check because lamp and cover precautions vary by appliance. Once the correct bulb is in place, a light that stays dark does not automatically mean another bulb is needed. The door switch, light control, socket, or electrical circuit may be responsible, and repeated bulb failures can point to a problem beyond the lamp itself. That distinction matters for homeowners handling routine upkeep, landlords preparing a kitchen for the next resident, and repair professionals checking an appliance that otherwise cooks normally. Keeping the oven model number and required bulb specifications with household maintenance records can make the next replacement simpler, particularly when tiny markings become hard to read. Replacement bulbs for ovens are small maintenance parts, but their usefulness comes down to a straightforward match: the right heat rating, electrical specifications, base, and dimensions for the appliance. With those details settled, the oven window can do its job again, offering a clear look at supper without an unnecessary door opening or a flashlight balanced against the glass.