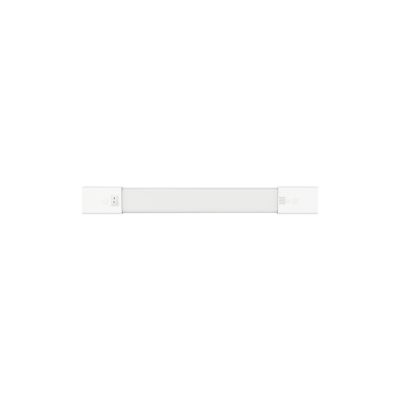
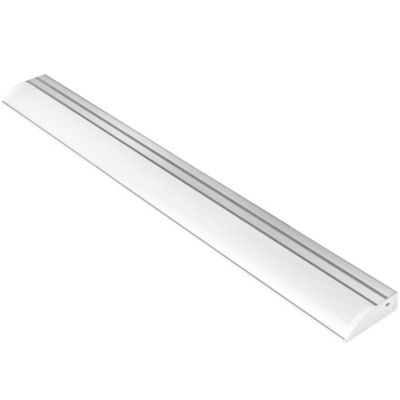
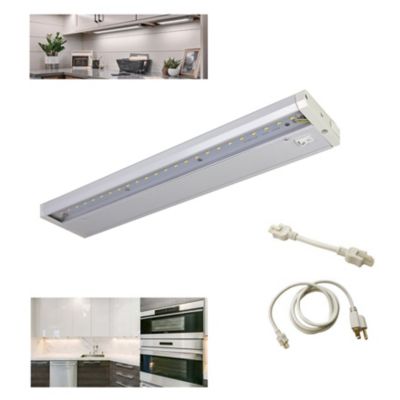
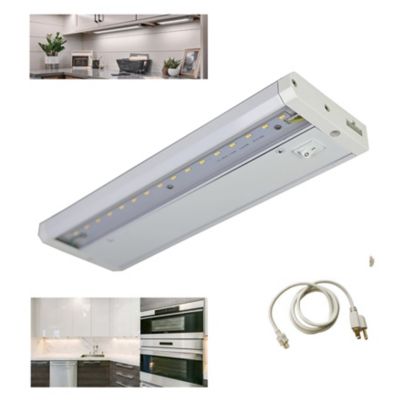
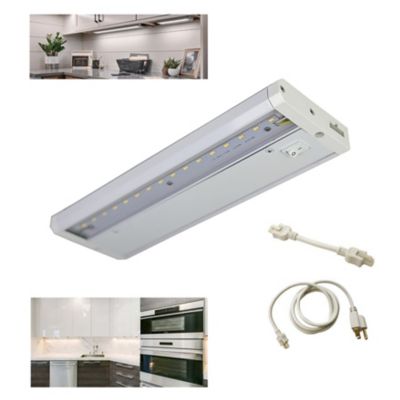
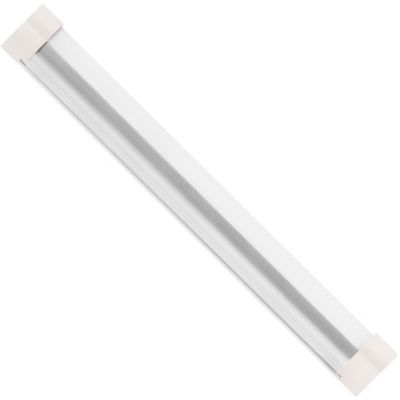
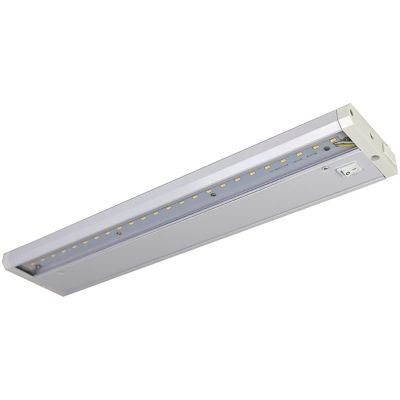
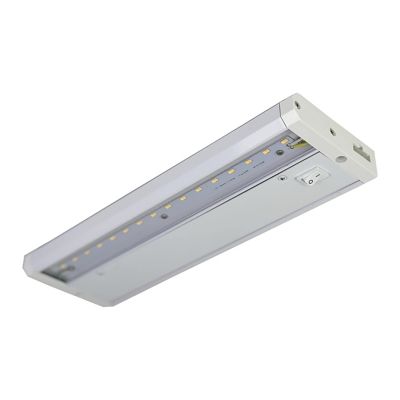
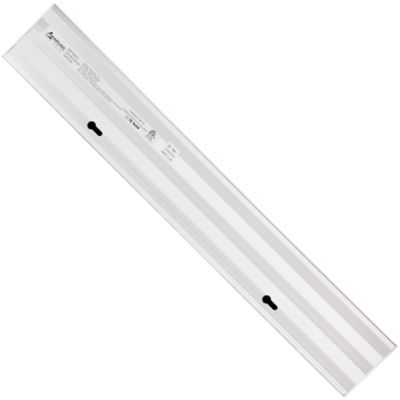
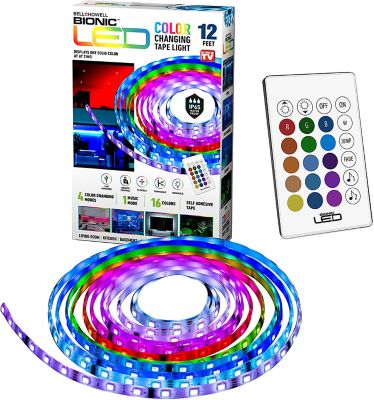
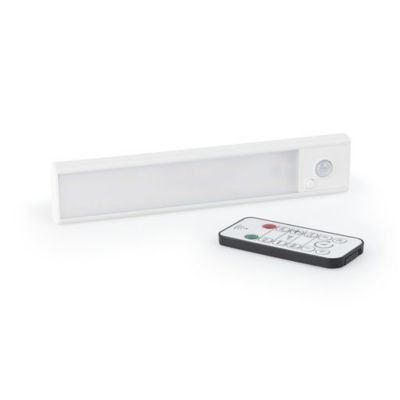
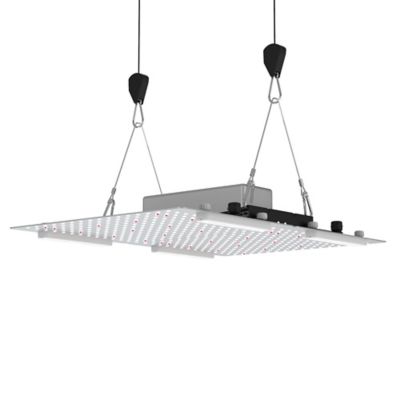
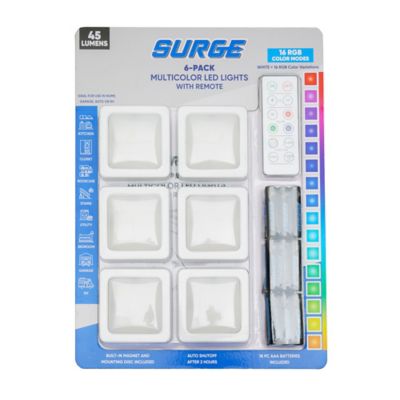
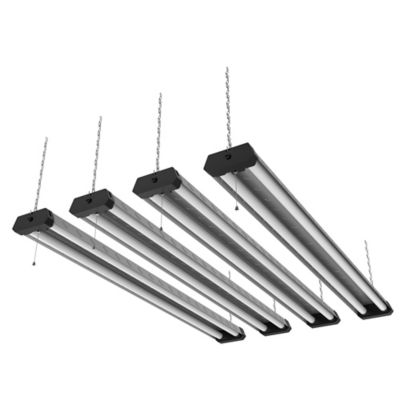
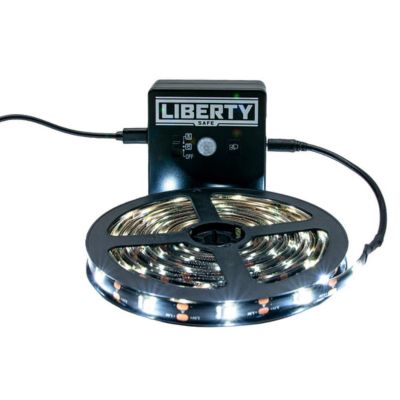
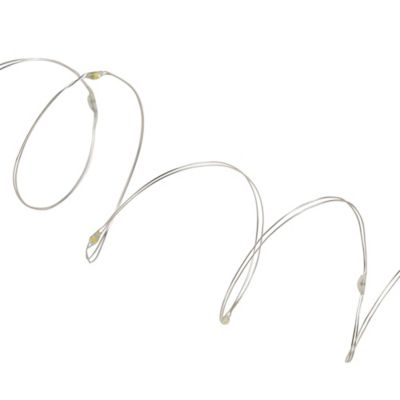
Plug-in under-cabinet lights are corded fixtures that mount beneath cabinets or shelves and connect to a compatible electrical outlet. They bring light closer to the work surface without requiring the fixtures themselves to be hardwired into the building. That makes them a practical choice for kitchen counters, pantry work areas, laundry folding stations, and dry indoor workbenches where an overhead light leaves your hands working in shadow. The main styles are rigid light bars, round puck lights, and flexible light strips. Light bars spread illumination along a straight run and often have a diffuser that softens the appearance of individual LEDs. Puck lights create smaller pools of light, making them a good fit for separate cabinet sections or a particular spot where labels, measuring marks, or small parts need to stand out. Flexible strips follow longer runs and can fit narrow spaces, though their mounting, cutting, and connection options depend on the design. For a counter where bread gets sliced, lunch boxes get packed, and the coffee pot gets filled, an even wash of light can make the whole surface easier to work across. At a utility counter, a shorter fixture may be enough to brighten the space where hardware gets sorted or a torn work shirt gets mended. Low-profile housings help keep the fixtures tucked behind the cabinet’s lower edge, while aluminum or molded plastic bodies offer different shapes and finishes. Acrylic or polycarbonate lenses can help spread the light and shield the LEDs from everyday contact. Some strip designs have exposed components, while others have a protective covering, so the construction matters as much as the shape. The best fit depends on the cabinet layout, the tasks below it, and whether you want broad coverage or light directed at one small area. A fixture that disappears beneath a deep cabinet may remain clearly visible beneath a shallow shelf, making its profile worth a close look.
Brightness, light color, and placement all affect how plug-in under-cabinet lighting feels once it is over the counter. Lumens describe light output; watts describe power consumption, so wattage alone is not a sound way to compare brightness across different lighting technologies. A broad food-prep area generally needs more coverage than a small coffee station, and a dark countertop may reflect less light than a pale one. Look at the output for the complete fixture or kit, along with its length, rather than assuming two lights of the same size will perform alike. Color temperature describes the appearance of the light, not its brightness. Warm white light around 2700K to 3000K has a softer, yellow-toned appearance, while neutral white around 3500K to 4000K offers a less golden look. Daylight tones around 5000K appear cooler and may suit detailed work, depending on personal preference and the surrounding room lighting. A higher color rendering index, often listed as CRI, can help colors appear more natural when sorting fabric, reading colored markings, or checking ingredients. Comparing
Led Under Cabinet Lighting Fixtures by output, color temperature, and dimensions helps narrow the choices beyond appearance alone. Cabinet length, underside depth, trim, and outlet location all matter. A light positioned toward the front of the cabinet can illuminate more of the counter, but an exposed fixture may create glare when someone sits nearby. A recessed mounting position can keep the source out of sight, although the cabinet edge should not block its light. Glossy counters and tile backsplashes can also reflect bright points, making a diffused lens worth considering. Linkable bars can carry light across adjoining sections with compatible connectors, while separate pucks allow more spacing between illuminated spots. Where cabinets turn a corner or stop at a range hood, connector length and cord routing deserve just as much attention as fixture length.
Everyday convenience often comes down to the controls and the way the light mounts. A simple on-and-off switch keeps operation straightforward, while a dimmable fixture can move from bright task lighting to a softer glow once the work is done. Touch controls, motion sensors, and hand-wave controls offer different ways to operate the light, but their placement matters; a sensor should not be hidden behind cabinet trim or positioned where ordinary movement causes unwanted switching. Dimming also requires compatible components. A fixture with built-in dimming does not necessarily work with a separate wall dimmer, and a plug-in power adapter should match the fixture’s stated requirements. For connected systems, the manufacturer’s limits on the number of fixtures, total wattage, and connection length help keep the setup within its intended operating range. Mounting options may include screws, brackets, adhesive pads, or magnetic attachments, depending on the fixture. Screw-mounted brackets provide a mechanical attachment, while adhesive mounting depends on the surface, preparation, and load limits. Magnets need a suitable metal surface or a compatible mounting plate. Finished wood, painted panels, and textured cabinet bottoms can respond differently to mounting methods, which matters in a rental kitchen or a room where the cabinetry needs to stay untouched. Cord length should reach the outlet without stretching across a sink, cooking surface, or main work area, and cords should stay clear of cabinet doors and drawer slides. Indoor lighting belongs in the conditions listed on its label; a fixture intended for dry locations is not the same as one rated for damp locations. Care is generally straightforward: disconnect power, let the light cool, and follow the cleaning instructions for the housing and lens. Dust and cooking residue can reduce the light reaching the counter, while abrasive cleaners may scratch a diffuser. With the right fit, sensible cord placement, and controls that suit the household, under-cabinet lights can make the spots where daily chores happen easier to see and more comfortable to work in.