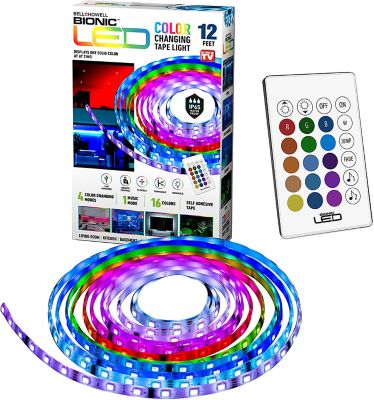
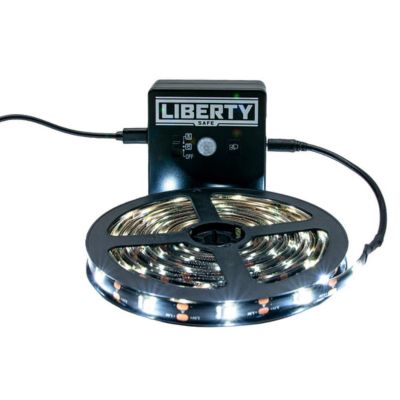
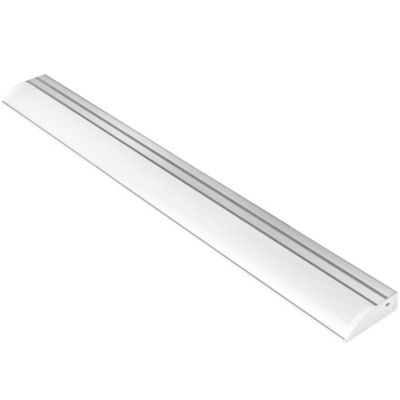
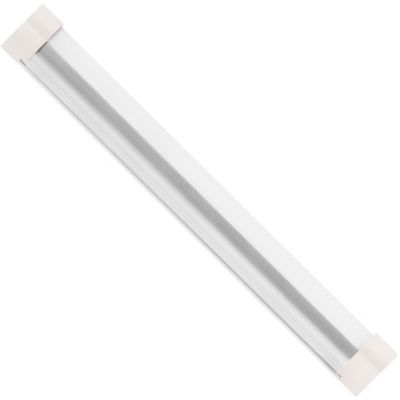
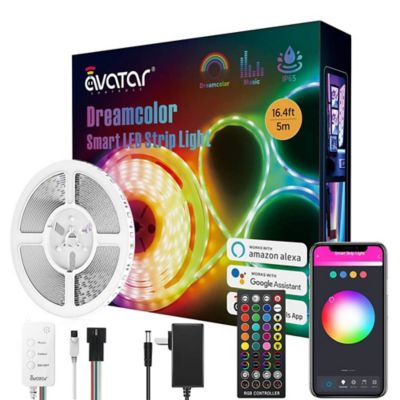
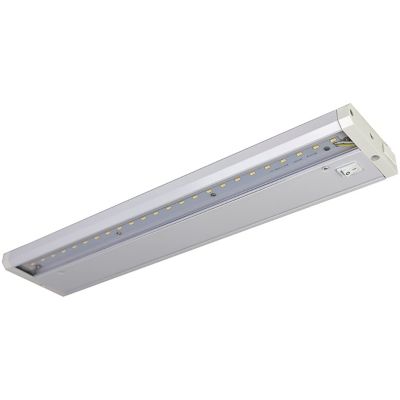
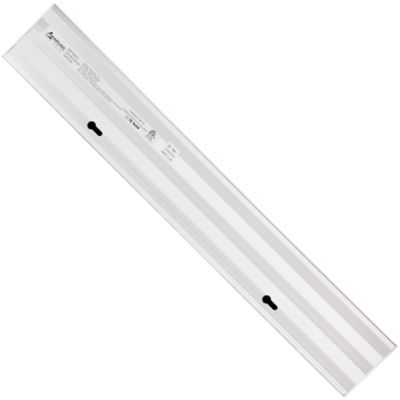
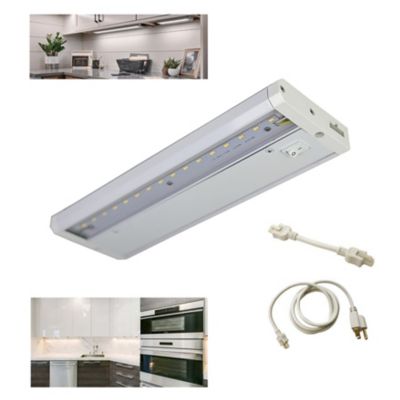
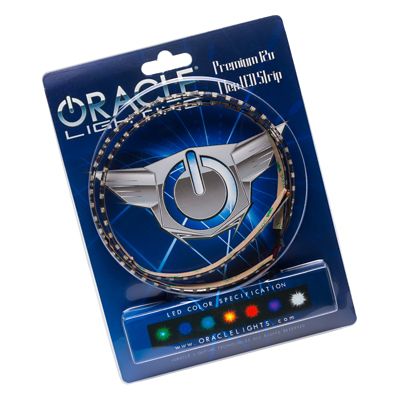
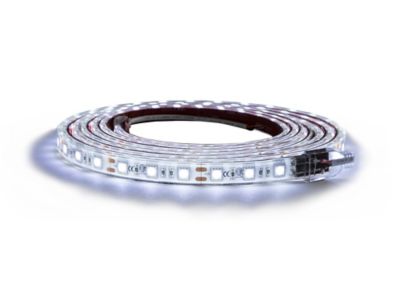
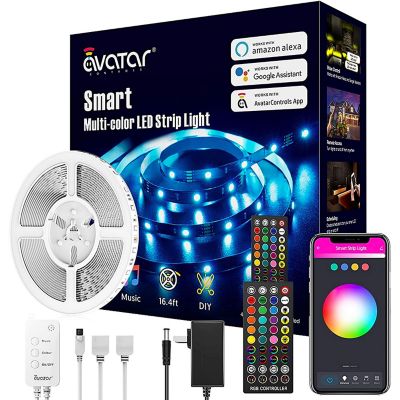
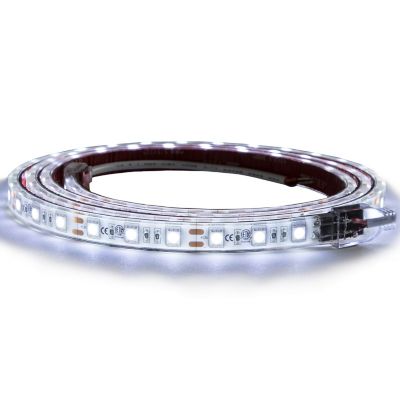
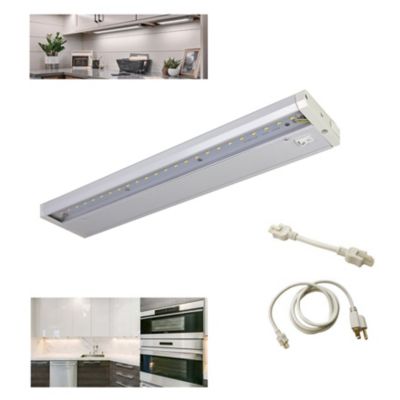
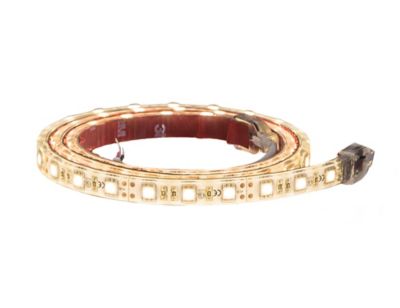
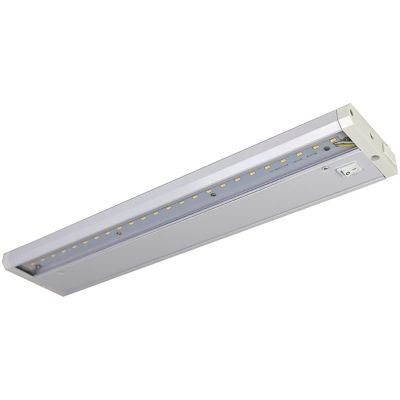
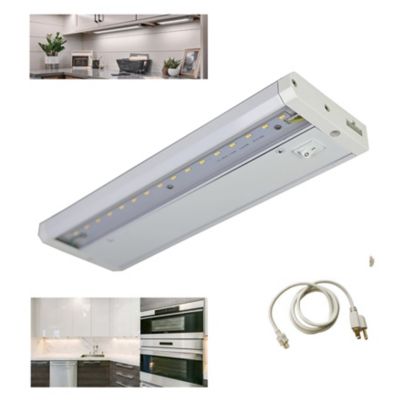
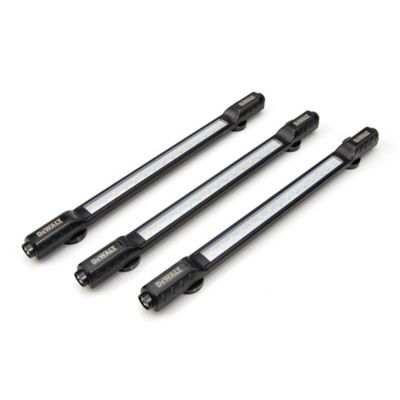
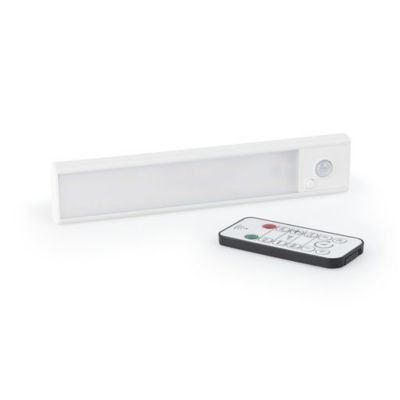
LED strips for under cabinet lighting put light close to the work, where an overhead fixture can leave your hands and the countertop in shadow. That makes a difference when chopping vegetables, reading the small print on a recipe, or sorting screws at a utility-room counter. Their slim shape fits beneath many wall cabinets without taking up shelf space or leaving a large fixture in view. Flexible strips can follow straight cabinet runs, while compatible connectors can carry a lighting layout around corners or across separate sections. A well-matched setup brings an even wash of light to the surface instead of a few bright circles with dark gaps between them. White light is often the practical choice for everyday work, with warm white around 2700K to 3000K giving wood cabinets and earth-tone finishes a softer appearance. Neutral white around 4000K offers a clearer-looking light for prep areas, laundry counters, and other spots where seeing small details matters. Neither choice has to feel harsh when brightness, placement, and the surrounding room lighting work together. Color rendering matters, too: a color rendering index, or CRI, of 90 or higher can help food, paint samples, and cabinet finishes look more natural. For comparing brightness, lumens per foot are more useful than wattage alone, since wattage describes power consumption rather than light output. The amount of light that reaches a counter also depends on cabinet height, strip placement, the lens or cover, and whether the surface is pale and reflective or dark and matte. Dimmable LED strips add flexibility, providing stronger light for detailed work and a lower setting when only a little background light is needed. For a kitchen that doubles as a gathering place, that range can make the same counter comfortable for both supper prep and sitting down with a cup of coffee.
Fit involves more than matching a strip to the width of a cabinet. The full lighting run includes corners, breaks between cabinets, connector space, and a route for power leads that stays clear of doors and drawers. Flexible LED tape generally has a thin circuit board with an adhesive backing; some versions also have a protective coating or sleeve. Adhesive mounting suits certain smooth, clean surfaces, while mounting clips or channels can provide added support where the cabinet material and lighting system allow them. Aluminum channels give the strip a straight mounting track and help carry heat away from the LEDs. Frosted covers soften the appearance of individual light points, especially where a glossy counter or backsplash might reflect them. A continuous-looking line of light depends on LED spacing, channel depth, and the cover as well as the strip itself, so a frosted lens does not always hide every point. Low-profile housings are helpful beneath shallow cabinet lips, while deeper channels may offer more room for diffusion. Cut-to-length strips need clearly marked cutting points, and any connectors must match the strip’s width, contact layout, and electrical specifications. Many under-cabinet systems operate on 12V or 24V DC through a power supply that converts household power. Those voltages are not interchangeable, and low voltage alone does not guarantee dimming capability or suitability near moisture. Longer runs also call for attention to the manufacturer’s length limits and power requirements, since voltage drop can leave the far end noticeably dimmer. The power supply needs sufficient capacity for the total connected load, including any extra capacity the manufacturer specifies. A strip, driver, controller, and connectors designed to work together help keep the setup straightforward. Around sinks or other splash-prone areas, the rating of the entire assembly matters; a coated strip does not automatically make its connectors and power supply suitable for damp locations. Dry-location lighting belongs in dry spaces, with electrical components positioned according to their installation requirements.
Power and controls shape how convenient under-cabinet lighting feels day to day. Plug-in systems can suit spaces with an accessible receptacle and a sensible cord path, while hardwired systems connect through an appropriate driver and can keep the finished arrangement more tucked away. Hardwired connections belong with a qualified electrician, particularly when a project involves adding a circuit, moving wiring, or changing a wall switch. Dimming requires compatibility across the strip, driver, and control; an ordinary household dimmer will not necessarily work with a low-voltage LED system. Depending on the lighting design, controls may include an inline switch, a wall control, a remote, or an app. Motion activation can be handy at a utility counter when both hands are full, provided the sensor location catches normal activity without triggering every time someone passes nearby. Placement matters just as much as controls. A strip mounted toward the front portion of the cabinet underside often spreads light across the working area better than one tucked against the back wall, though cabinet depth and sightlines affect the best position. A cabinet lip or suitable channel can shield the LEDs from direct view when someone sits at a nearby table. Cleanliness helps the installation last: grease and dust interfere with adhesive contact, and residue can build up on lenses over time. Cabinet surfaces need to be clean and dry before adhesive mounting, with finishes and cleaning products checked for compatibility. Once installed, lighting is generally best cared for with the power off, a soft cloth, and the cleaning method specified by its manufacturer rather than a spray aimed at electrical connections. Beyond the kitchen, these strips can brighten a laundry folding counter, a pantry work surface, or the underside of storage cabinets above a bench. For lighting needs farther out in the workspace,
LED Strip Lights for Garages offer a related direction to explore. Matching under-cabinet lighting to the surface, the task, and the electrical setup helps keep everyday work comfortably in view.