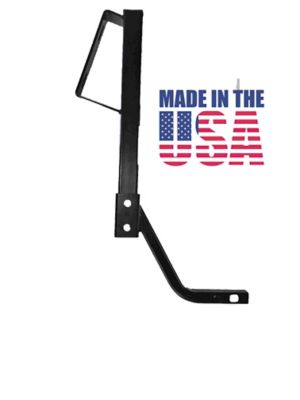
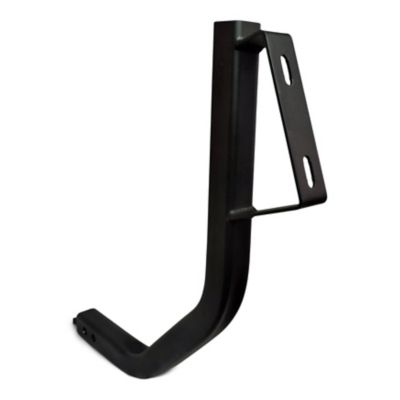
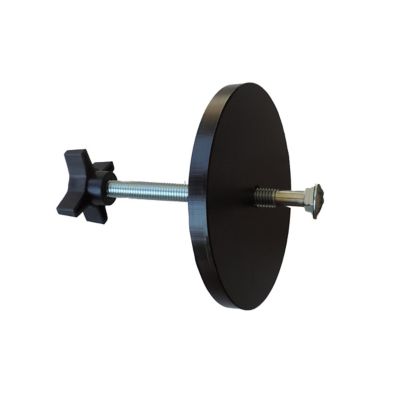
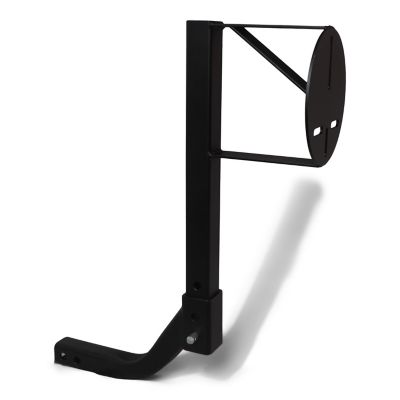
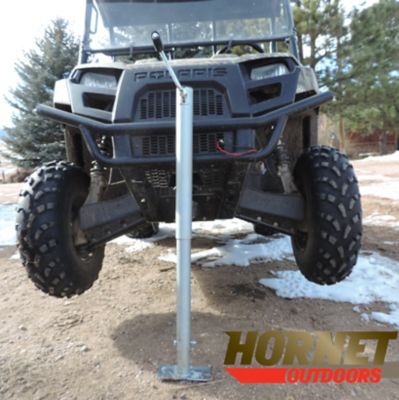
ATV and UTV spare tire mounts secure a spare wheel and tire to a compatible rack, roll cage, cargo bed, or receiver, keeping it from rolling around among tools and supplies. Depending on the mounting location, they can also free up cargo space for fencing tools, feed bags, recovery gear, or a cooler. A properly fitted carrier gives that spare a designated spot, whether the machine handles daily pasture checks, trips between outbuildings, or miles of backcountry trail. The right fit starts with both the vehicle and the spare wheel assembly. An ATV rack and a UTV roll cage have different attachment points and load limits, so a mount intended for one setup is not automatically suitable for another. Vehicle application, rack construction, cage tube diameter, and receiver dimensions can all matter, depending on the mounting style. Wheel compatibility matters just as much: check the bolt pattern, center opening, mounting hardware requirements, and the wheel and tire weight against the carrier’s specifications. Tire diameter, tire width, and wheel offset also affect how the spare sits and how much room it needs. A larger tire may fit the mounting plate but still interfere with a tailgate, bed latch, passenger area, or another accessory. Allow room for normal vehicle movement, steering, and suspension travel wherever the spare sits near moving parts. On a working machine, access counts, too. A carrier that blocks the dump bed or makes every toolbox trip a wrestling match can become a nuisance fast. Think through the everyday routine: opening gates, reaching a shovel, loading a sack of feed, and climbing in and out. The best mounting position for a particular machine balances attachment strength, clearance, cargo access, and manageable lifting height rather than simply putting the tire wherever there is an open spot. Keeping the spare within the vehicle’s intended footprint, where practical, can also help limit interference around tight gates and narrow trails.
Construction has a lot to do with how a spare tire carrier handles vibration, repeated loading, and the weight of the wheel assembly. Steel is common for brackets, mounting plates, and support arms because it provides strength in these applications, while some designs incorporate aluminum components to reduce weight. Material alone does not establish a mount’s load capacity; tube dimensions, plate thickness, welds, fasteners, and the overall design all play a part. Powder-coated, painted, or plated surfaces help protect metal from corrosion, though scratches and worn contact points still deserve attention. Clamp-style attachments need to match the supporting tube or rack, and any specified sleeves, backing plates, or protective pads should remain part of the installation. A clamp that seems close enough can still slip or put uneven pressure on the attachment point. Likewise, substituting mounting hardware without checking the manufacturer’s requirements can change how the assembly carries its load. Follow the installation directions for hardware grade, tightening sequence, and torque, and check whether the carrier requires an approved mounting location or additional support. Include the mount and spare in the vehicle’s total load, along with passengers, cargo, and other accessories; rack, bed, and receiver limits may apply separately. A spare positioned high or far behind the vehicle can affect handling, so placement deserves the same attention as attachment strength. After installation, inspect for movement as directed by the manufacturer and recheck fasteners at the recommended intervals. Routine care is straightforward: clear away packed dirt, clean with products suitable for the finish, and inspect welds, brackets, clamps, and wheel-retaining hardware. Look for cracks, bent pieces, corrosion, or shiny rub marks that may point to movement. Address damaged finishes and worn components according to the manufacturer’s recommendations rather than letting a small problem grow unnoticed. Keep release mechanisms clean and follow any lubrication instructions so the carrier remains practical to operate when the spare needs to come off.
The way an ATV or side-by-side earns its keep can help narrow down the most practical spare tire mount. For a ranch hand checking water tanks and fence lines, leaving the bed accessible may matter more than keeping every accessory tucked behind the cab. For a trail rider carrying recovery equipment, a cage-mounted carrier may preserve room for gear, provided the cage and carrier are approved for that arrangement. A receiver-mounted design can offer another attachment option, but its position may affect ground clearance, rear overhang, hitch access, or trailer connections. Swing-away and tilt-style arrangements can help with access on compatible setups, although their latches and moving joints add inspection points. No matter the style, consider how the wheel comes off, not just how it looks once attached. A full-size spare can be awkward to lift from shoulder height, especially when reaching across a loaded bed. Make sure the retaining hardware is reachable and that the tools needed to release it ride with the machine. Any locking feature should be treated as an added theft deterrent, not a substitute for the carrier’s required wheel-retention hardware. The spare itself should match the vehicle’s requirements, including any differences between front and rear wheel assemblies, and its inflation pressure and condition need regular checks. Carrying a spare does not replace having the proper lifting equipment, wheel tools, and a safe place to work. For machines hauled between the farm and the trailhead, the transport trailer has a separate spare-carrying need;
Trailer Spare Tire Mounts address trailer attachment applications rather than ATV or UTV fitment. Keeping those applications separate helps avoid mismatched hardware and unsuitable mounting points. A well-matched vehicle carrier keeps the wheel firmly attached, preserves the access needed for everyday chores, and makes the spare easier to retrieve when a tire problem interrupts the ride.