

How to Can Step-by-Step
Authored by Tractor Supply Company
You will be taken automatically to your search results.
Please enable your microphone
Your speech was not recognized
Click the microphone in the search bar to try again, or start typing your search term.
Authored by Tractor Supply Company
Perhaps you grew up watching an elder can and preserve food from the garden and want to try it for yourself. But you need some help with the details. A basic understanding of home canning, and a few step-by-step instructions, will help you to rest easy and have complete confidence that your experience will be just as joy-filled as those memories.
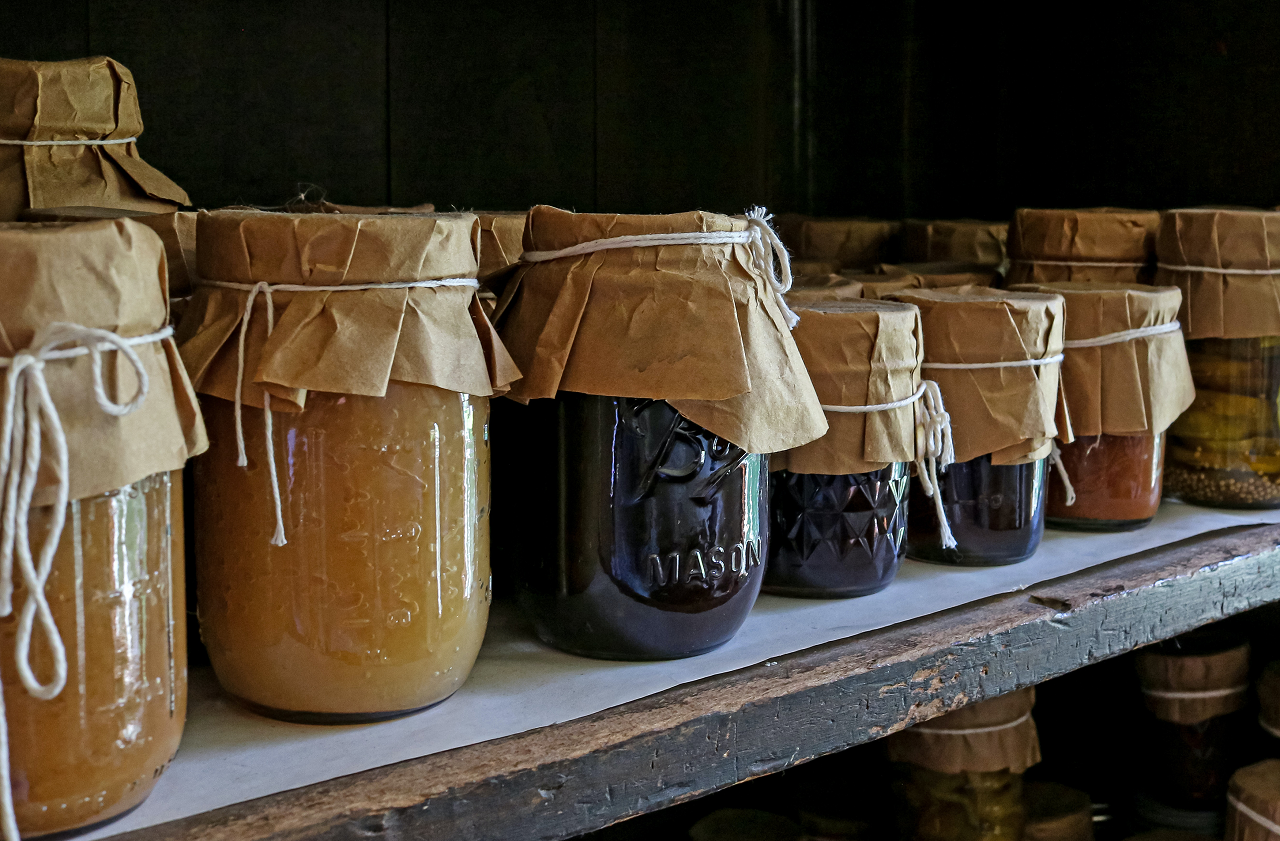
Canning food, either by the boiling water bath, pressure, or steam method, involves filling jars with food and processing them in a heated chamber to form a vacuum seal. The process requires precision and care, but it is rewarding. So to fill your pantry with good things to eat, follow these basic steps, no matter which method you use.
Follow these four 'P's to preserve your harvest.
Ensure all your equipment and work surfaces are clean before gathering your fruits and vegetables. Also, ensure you have enough jars, lids, and rings and that everything is in working order.
Here's a checklist for easy canning preparation:
Always use new lid flats and follow the manufacturer’s instructions for treating them. Also, only use jars and lids made for home canning, as they’re proven to withstand the rigors of the canning process.
Examine the jars and discard any with nicked or rough rims or cracks. Cracked jars will break in the canner, and any nicks or rough edges on the rim will prevent an airtight seal from forming.
Also, make sure you have all the necessary ingredients. It’s frustrating to get halfway through a recipe and realize you’re short on pectin or don’t have enough vinegar for the pickles.
Wash all canning jars in soapy water, rinse well, and keep hot. You can keep your jars hot in a stock pot of hot water, the oven, or the dishwasher. Packing cold jars with hot food often causes the jars to break.
Sterilize the jars if your recipe requires less than 10 minutes of processing time. For example, you can wash them in the dishwasher and keep them hot until used. Or, you can boil them in a stock pot of water for 10 minutes.
Add the necessary water to the canner and place it on the stove. If you don’t have a water softener, add a dash of white vinegar to the water to avoid leaving hard water deposits on your jars.
Gather food from your backyard or the wild early in the day before the heat takes effect. Also, pick or purchase only as much as you can process the same day.
Fruits, vegetables, and meat may be raw or hot when packed into jars. Add enough syrup, water, or juice to cover the food with the amount of headspace mentioned in the recipe.
Pack most fruits, vegetables, and meat tightly because they’ll shrink during processing. However, starchy items like corn, lima beans, potatoes, and peas expand during canning, so they should be packed loosely.
Raw Pack
Place raw, unheated food directly in jars. Pour boiling water, juice, or syrup over the food to obtain the proper headspace.
Hot Pack
To pack hot, boil or cook the food and then pack into jars and cover with boiling liquid. Always follow the recipe for cooking times, packing instructions, and the required headspace.
As you pack each jar, load it into the canner with the water simmering to keep it hot. Once you’ve filled the canner, follow the recipe for processing times.
How long do you need to boil or pressurize jars of food for canning?
If you’re using a pressure canner, then you need to pressurize a load of jars for about fifty-five minutes, according to the National Center for Home Preservation.
Water bath canning is faster than pressure canning. Thus, canning foods with a water bath takes about twenty to thirty minutes.
How should you determine which canning method is best for you?
The best canning method depends on the food you’re canning. If you’re canning acidic foods, such as fruits, then you should use a water pressure canner.
You can use a pressure canner for canning meats, sauces, soups and nonacidic vegetables.