

How to Build Your Own Rain Barrel
Authored by Erin White
You will be taken automatically to your search results.
Please enable your microphone
Your speech was not recognized
Click the microphone in the search bar to try again, or start typing your search term.
Authored by Erin White
Did you know your residential water use increases up to 50% in the summer months? Most of that increase is due to outdoor water use, and definitely affects your water bill. Save money on your water bill this summer by installing a rain barrel.
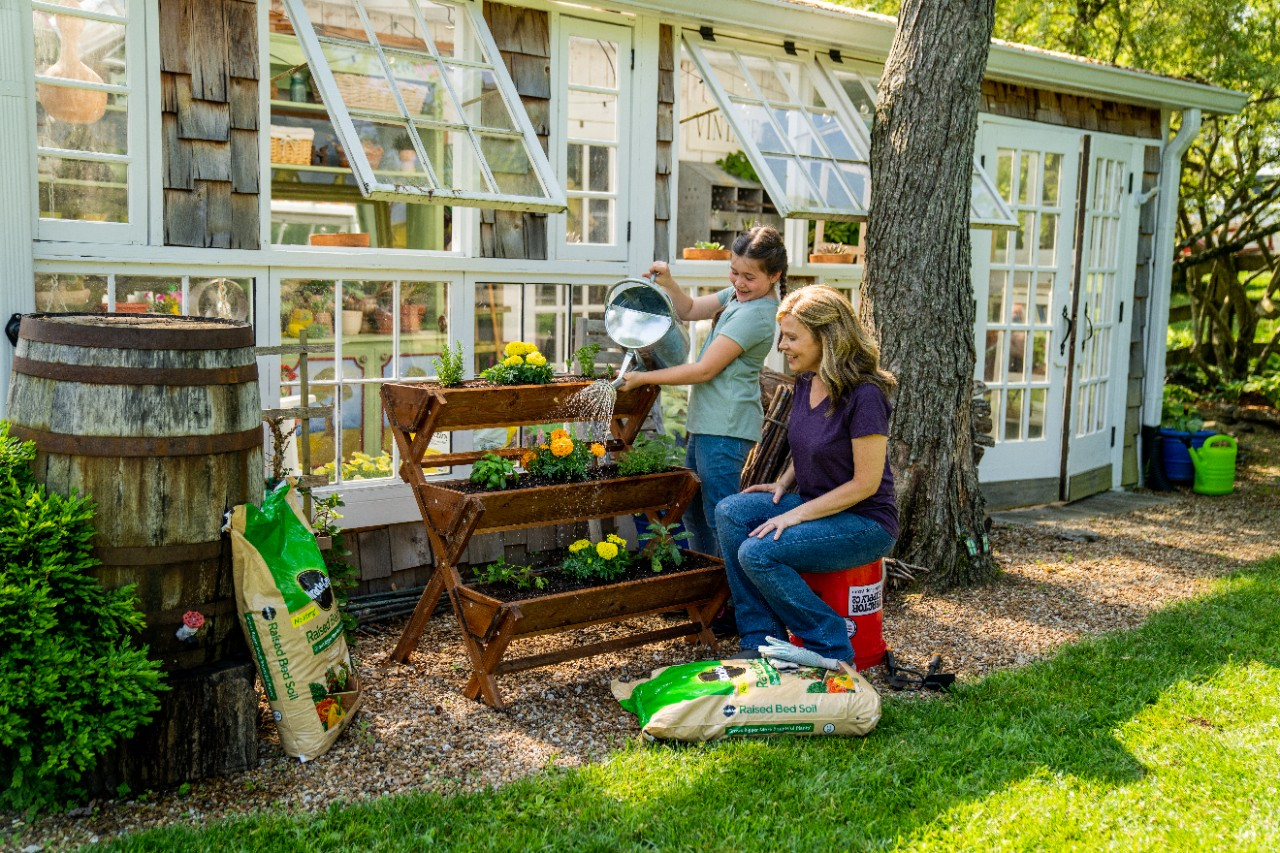
Rain barrels collect and store rainwater from rooftops to use for watering your garden, plants and yard. Rainwater can actually help improve the health of your green spaces due to it being naturally “soft” and devoid of minerals, chlorine and other chemicals found in city water.
A rain barrel can conserve approximately 1,300 gallons (about 4921.03 L) of water during the peak summer months. That’s a lot of free water for your garden. You can purchase rain barrels or make your own with ease.
Follow these steps to create your own rainwater collecting spot. These four steps will have you being an eco-friendly gardener in no time.
Select a drill bit that is a little smaller than the faucet. Drill a hole in the side of your trash barrel, about 3 inches from the bottom, leaving enough space to put watering cans underneath for filling.
Helpful tip: Install the faucet lower on the barrel and put your barrel on top of cinder blocks to allow room for filling watering cans.
The faucet should fit securely. Attach the metal washer onto the end of the faucet, and then add a tightly fitting rubber washer- helping to prevent leaks. Put sealant over your rubber washer and push the faucet into the barrel. Allow time for the sealant to dry. Insert the rubber washer and another metal washer on faucet inside the barrel. Secure the faucet inside with the hose clamp.
Out of sealant? You can also seal the hole around the faucet with Teflon tape.
Cut a hole in the top of the lid, big enough to allow the water to flow from the downspout. You’ll want to position the hole directly under your downspout. Drill a couple holes at the top of your barrel for overflow.
Helpful tip: Put a second rain barrel beside your main barrel. Run a hose or PVC pipe between them to catch the water overflow.
Cut the landscaping fabric to fit over the top of the barrel, then place lid over the top to anchor the fabric. This helps keep the debris from getting into your fresh water. Place your rain barrel under your downspout.
Now you just wait for rain. Making a rain barrel is an easy way to keep your costs down and save precious resources like rainwater. And you can get creative! Try making a rain barrel out of different types of containers such as a whiskey barrel, or give it a fresh coat of paint to blend in with your home.
