We Are Listening...
Say something like...
"Show me 4health dog food..."

You will be taken automatically to your search results.

Please enable your microphone

Your speech was not recognized

Click the microphone in the search bar to try again, or start typing your search term.

We are Searching now...

Your results will display momentarily!

false
true
true
My TSC Store:
Nearby Stores:
My Tractor Supply store
true
true

There are no items in the cart. Start shopping to add items to your cart. There are no items in the cart. Start shopping to add items to your cart. Log in to your TSC Account to see items added to cart previously or from a different device. Log In

Items in Cart Subtotal:
See price at checkout
Info

    Tractor Supply Company

    Find it in App Store

    Pressure Canning for Beginners

    Authored by Carol J. Alexander

    One of the most popular methods of food preservation, pressure canning allows you to put up jars of green beans, stew meat, and other low-acid foods. Whether you raise and process meat animals, grow your own vegetables, or just buy in bulk when you see a great deal, pressure canning allows you to preserve more types of food than water bath canning.

    What is the history of pressure canning

    Believe it or not, French physicist Denis Papin invented the precursor to the modern-day pressure canner in the late 1600s. The process involves heating glass jars of food under pressure at a higher temperature than boiling, forcing air from the jars to form a vacuum seal that prevents harmful microorganisms from forming inside.

    Foods that require a pressure canner

    Safely preserving low-acid foods with a pH between 4.6 and 14.0 requires the pressure canning method because they don’t contain enough acid to prevent the growth of Clostridium botulinum spores. Examples of low-acid foods include meat, vegetables, root crops, and mixed recipes like soup. 

    Safety note about canning

    To kill botulism spores, food must reach a temperature greater than 240 degrees Fahrenheit. Unfortunately, no matter how long you boil a water bath canner, the temperature won’t exceed 212 degrees. Therefore, don’t be tempted to can low-acid food using the water bath method. 


    Supplies needed for pressure canning

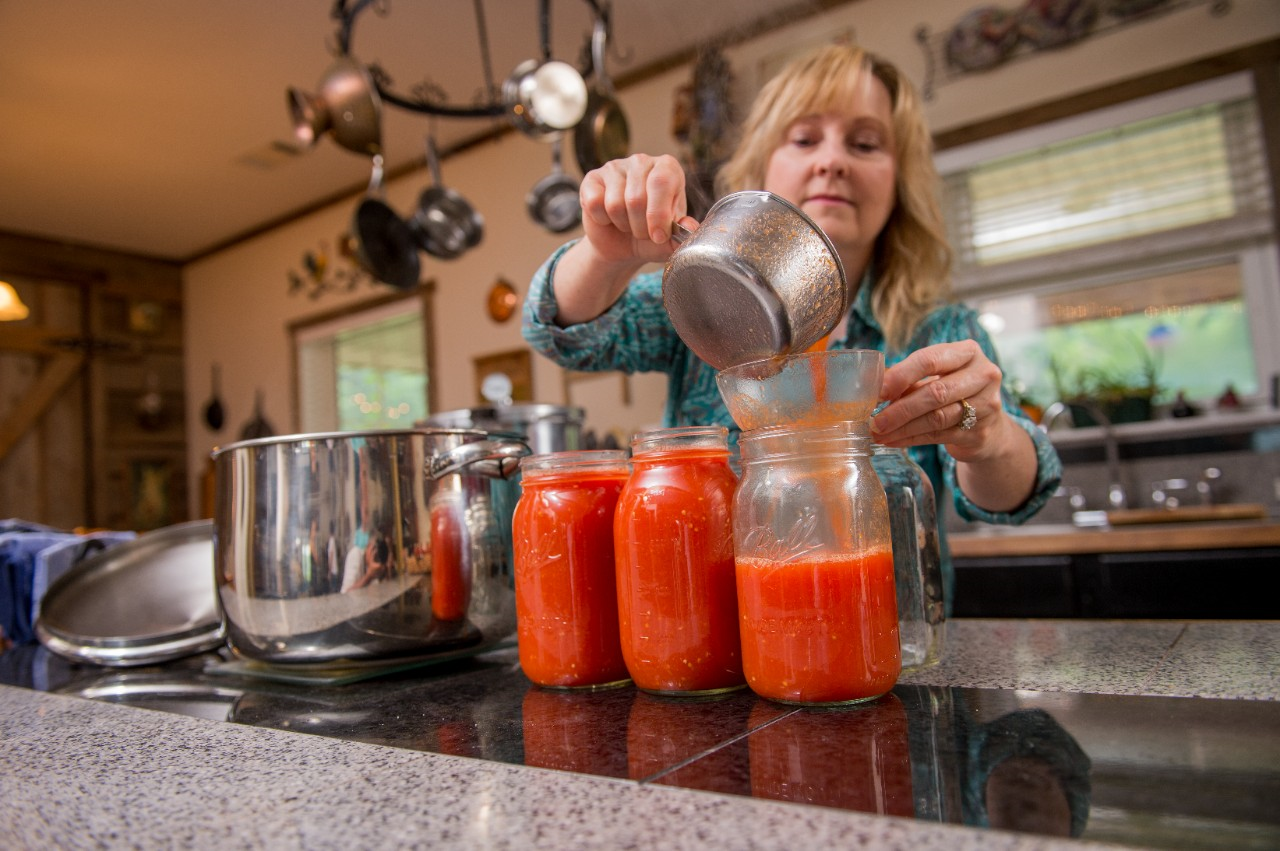
    To safely preserve food using the pressure canning method, you’ll need a pressure canner with a rack, jars, and lids. Always use jars made for home canning and their lids, as they’re created to stay intact under pressure and high heat. And they come in standard sizes ranging from a ¼-pint to ½-gallon. 

    Other supplies you’ll want to add to your kitchen for a safe canning experience include:

    • Canning funnel
    • Canning jar lifter
    • Plastic knife or rubber spatula
    • Kitchen timer
    • Large spoon or ladle
    • Oven gloves

    See our article Canning Supplies to learn more.

    How to use a pressure canner: step-by-step

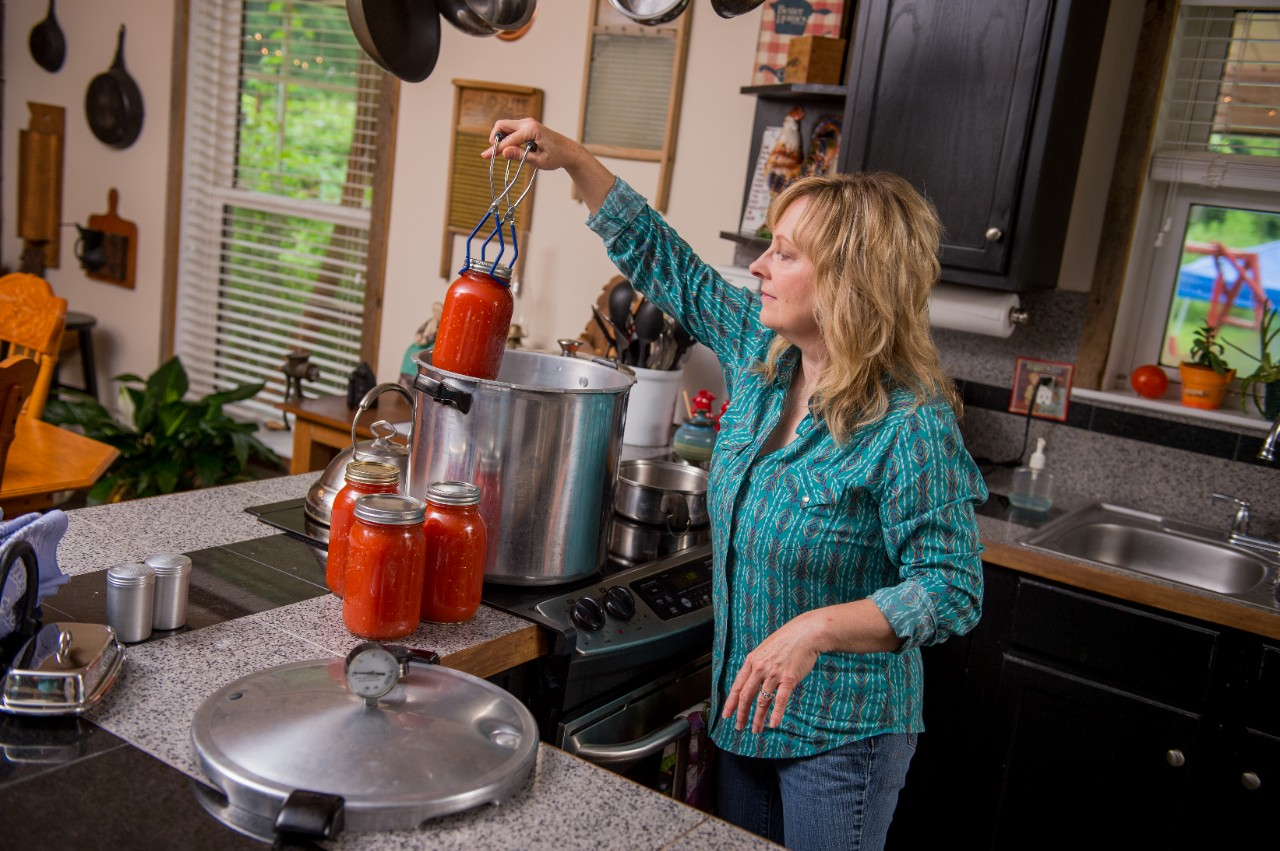
    Before jumping into the pressure canning process, read How to Can: A Step-by-Step Guide for instructions on preparing your equipment, gathering and preparing food, and packing the jars. Some pressure canners have a gauge that measures the pounds of pressure inside the canner. Each year before the canning season, have your gauge tested for accuracy. Local Extension service offices and some hardware stores offer this service for free. Finally, read through the instructions for your canner and the recipe several times to familiarize yourself with each step.

     
    1. Fill the canner with several inches of hot water. Keep it hot while you’re packing the jars.
    2. Pack each jar, leaving the amount of headspace indicated in the recipe.
    3. Use a plastic knife or chopstick to release any air bubbles trapped around the food.
    4. To ensure a good seal, remove any food particles on the rims of the jars by wiping them with a clean cloth.
    5. Apply the flat lid and the band, firm but not so tight the air inside the jar can’t escape.
    6. Place each jar in the canner as you pack it. 
    7. Apply the canner lid and watch for steam leaks around the seal. Next, turn the burner on high and wait for steam to blow from the vent. Allow the steam to escape for 10 minutes before proceeding. This step removes any air from the canner that could result in under-processing.
    8. After 10 minutes, follow the procedure for your canner to close the vent. If your canner has a weighted gauge of varying pressures, make sure to use the correct pressure.
    9. Following the instructions for your specific canner, adjust the heat until the proper amount of pressure is reached. At that point, start timing. 
    10. Periodically, check the pressure on the gauge or count the jiggles of the weight, depending on your canner type. Then, adjust the heat as needed to maintain steady pressure.
    11. When the time is up, carefully remove the canner from the burner. If it’s too heavy, just turn it off.
    12. Allow the pressure in the canner to drop all the way. This step takes 30 to 45 minutes, depending on your canner and the load size. Don’t rush the process by running water over the canner; never lift the weight or open the vent.
    13. When the pressure reaches zero, it’s safe to open the lid. Always tilt the lid away from your body to avoid hot steam burns. Use the jar lifter to remove the jars and place them on a cooling rack or dry towel, not a cold countertop.
    14. Allow the jars to remain undisturbed for 12 to 24 hours before moving them to long-term storage.

    Pressure canning tips for beginners

    • New to canning? A little hand-holding never hurts. So, ask someone with experience to join you the first couple of times to show you the ropes. 
    • Food preservation follows a scientific method for safety. 
    • Add a tablespoon or two of white vinegar to the water in the canner to prevent hard water deposits on your jars. 
    • Jars and bands are reusable, but the flat lids aren’t. Always purchase new lids to avoid failed seals. 
    • Recycled condiment jars may break under the pressure of the canner.

    Check out our latest canning equipment catalog, where you’ll find all the necessary supplies for preserving your harvest by pressure canning.