

Planning a Fence Step-by-Step
Authored by Carol J. Alexander
You will be taken automatically to your search results.
Please enable your microphone
Your speech was not recognized
Click the microphone in the search bar to try again, or start typing your search term.
Authored by Carol J. Alexander
Adding a fence to your property adds value to your home, increases your privacy, and creates a safe place for all. And, from backyard to garden to farm field, proper planning is the first step to a successful fencing project. This step-by-step guide will help you plan the perfect fence to meet your needs Out Here.
Why you want a fence will help dictate the type of fence you install and the materials it's made of. Here are a few of the most popular reasons for adding one to your property.
Before sinking fence posts, consult with local officials to see what regulations you must follow. Ask about restrictions to the height and location of the fence. Confirm where your property lines are. And ask if you need to get a survey before proceeding.
If you live in a restricted subdivision, check your homeowner’s association guidelines before making any exterior improvements to your home. In addition to any municipal regulations, the HOA may include style and color restrictions. And finally, it’s always the neighborly thing to do to let adjacent property owners know when you intend to erect a fence between adjoining properties.
Before starting any home or property improvement project, it helps to have a rough idea of your budget. When you know how much you can spend, you’re better able to select the materials and the style of fence you can afford. Also, if you’re going to hire a fence company to install your fence, don’t hesitate to reveal the limits of your budget so they can know how to serve you best.
Fencing comes in many different materials, styles and configurations. Once you know the fence's purpose and how much you can spend, you’re ready to choose materials. Here is a list of the most popular fencing materials.
Wood is used for privacy, perimeter, and picket fencing. Typically, wood fences are made of water and rot-resistant wood like cedar, redwood, or pressure-treated pine. Painting or staining gives it added protection and curb appeal. Though wood fences cost less upfront, they require more maintenance than other options.
Many people choose vinyl fencing because it’s virtually maintenance-free. It withstands moisture better than wood and doesn’t require staining or painting. An occasional washing, and it looks beautiful for years.
A mixture of wood fiber and recycled plastic, composite fencing material is formed to look like wood. But, it doesn’t require the maintenance that wood does and is UV protected.
Metal fences take several forms.
Chain link used predominately for backyards and dog kennels.
Iron fences are ornamental and the most expensive option. You see them surrounding historic homes and old churches or cemeteries.
Welded wire is created by welding the intersections of wires that form 2-inch by 4-inch openings. Welded wire is best suited for constructing small animal hutches, keeping chickens, or protecting the garden from critters.
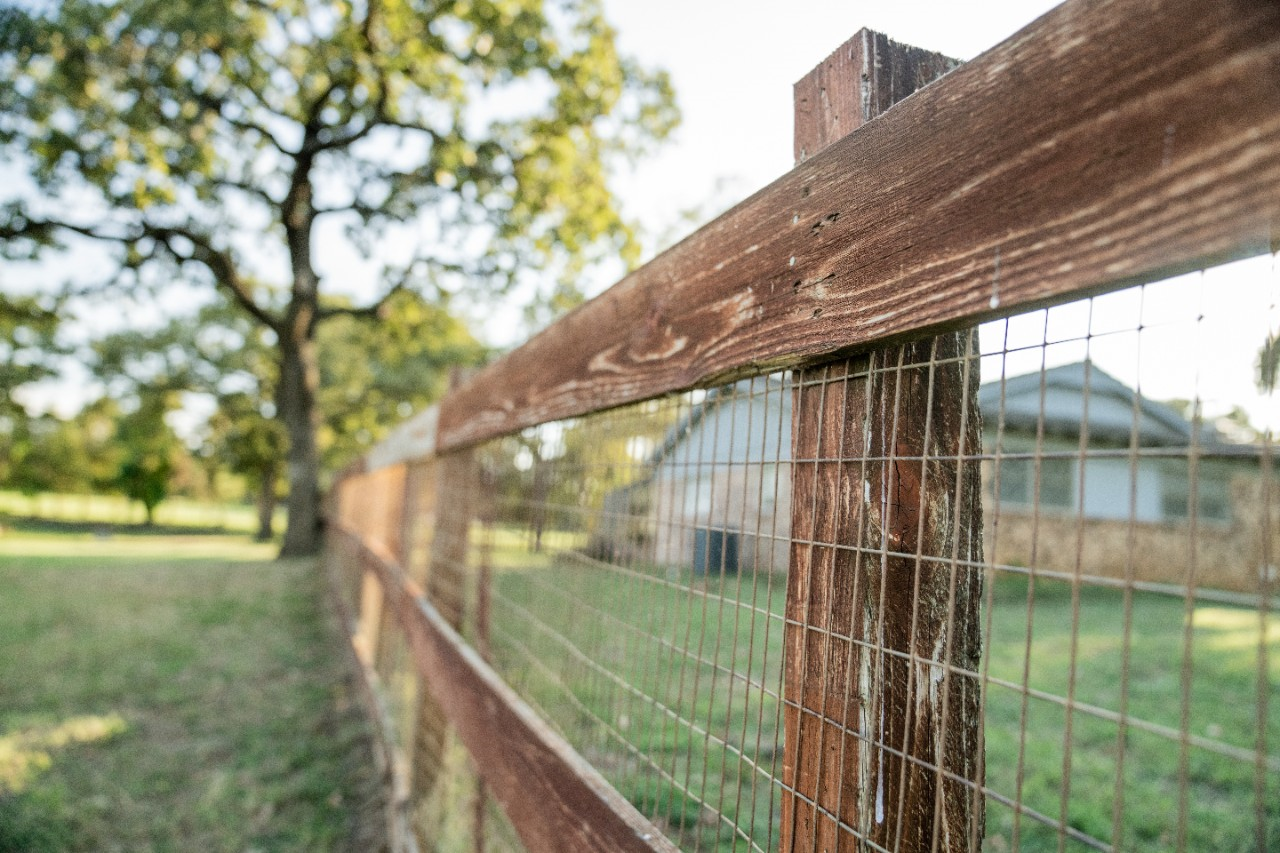
In woven wire fencing, the intersections are knotted, and the openings are larger. Known as field fencing, it’s a popular choice for fencing livestock.
Barbed wire fencing has two strands of wire twisted together with a barbed knot every so often. The barbs deter large animals like cattle from rubbing, leaning, or squeezing under. However, it isn’t suitable for small livestock.
Electric fencing has 4-5 strands of high tensile wire through which electric current runs. It’s an excellent option for goats, sheep, horses, cattle, and llamas.
Once you know where to run your fence, think about where you want the gates. Gate size and placement are vital considerations if you want to be able to drive through to the other side or need to access the area frequently.
Now’s the time to draw up your plans and submit them to your local authorities for a permit. If your neighborhood has a homeowners’ association, submit your plans to it, as well. And before you start digging holes for the fence posts, always call 811 to verify there are no utility lines underneath that you could damage.